Category

Education

An Intro to Permaculture

By All Seasons, Education

“And we pray, not for new earth or heaven, but to be quiet in heart, and in eye, clear. What we need is here.” 

– Wendell Berry

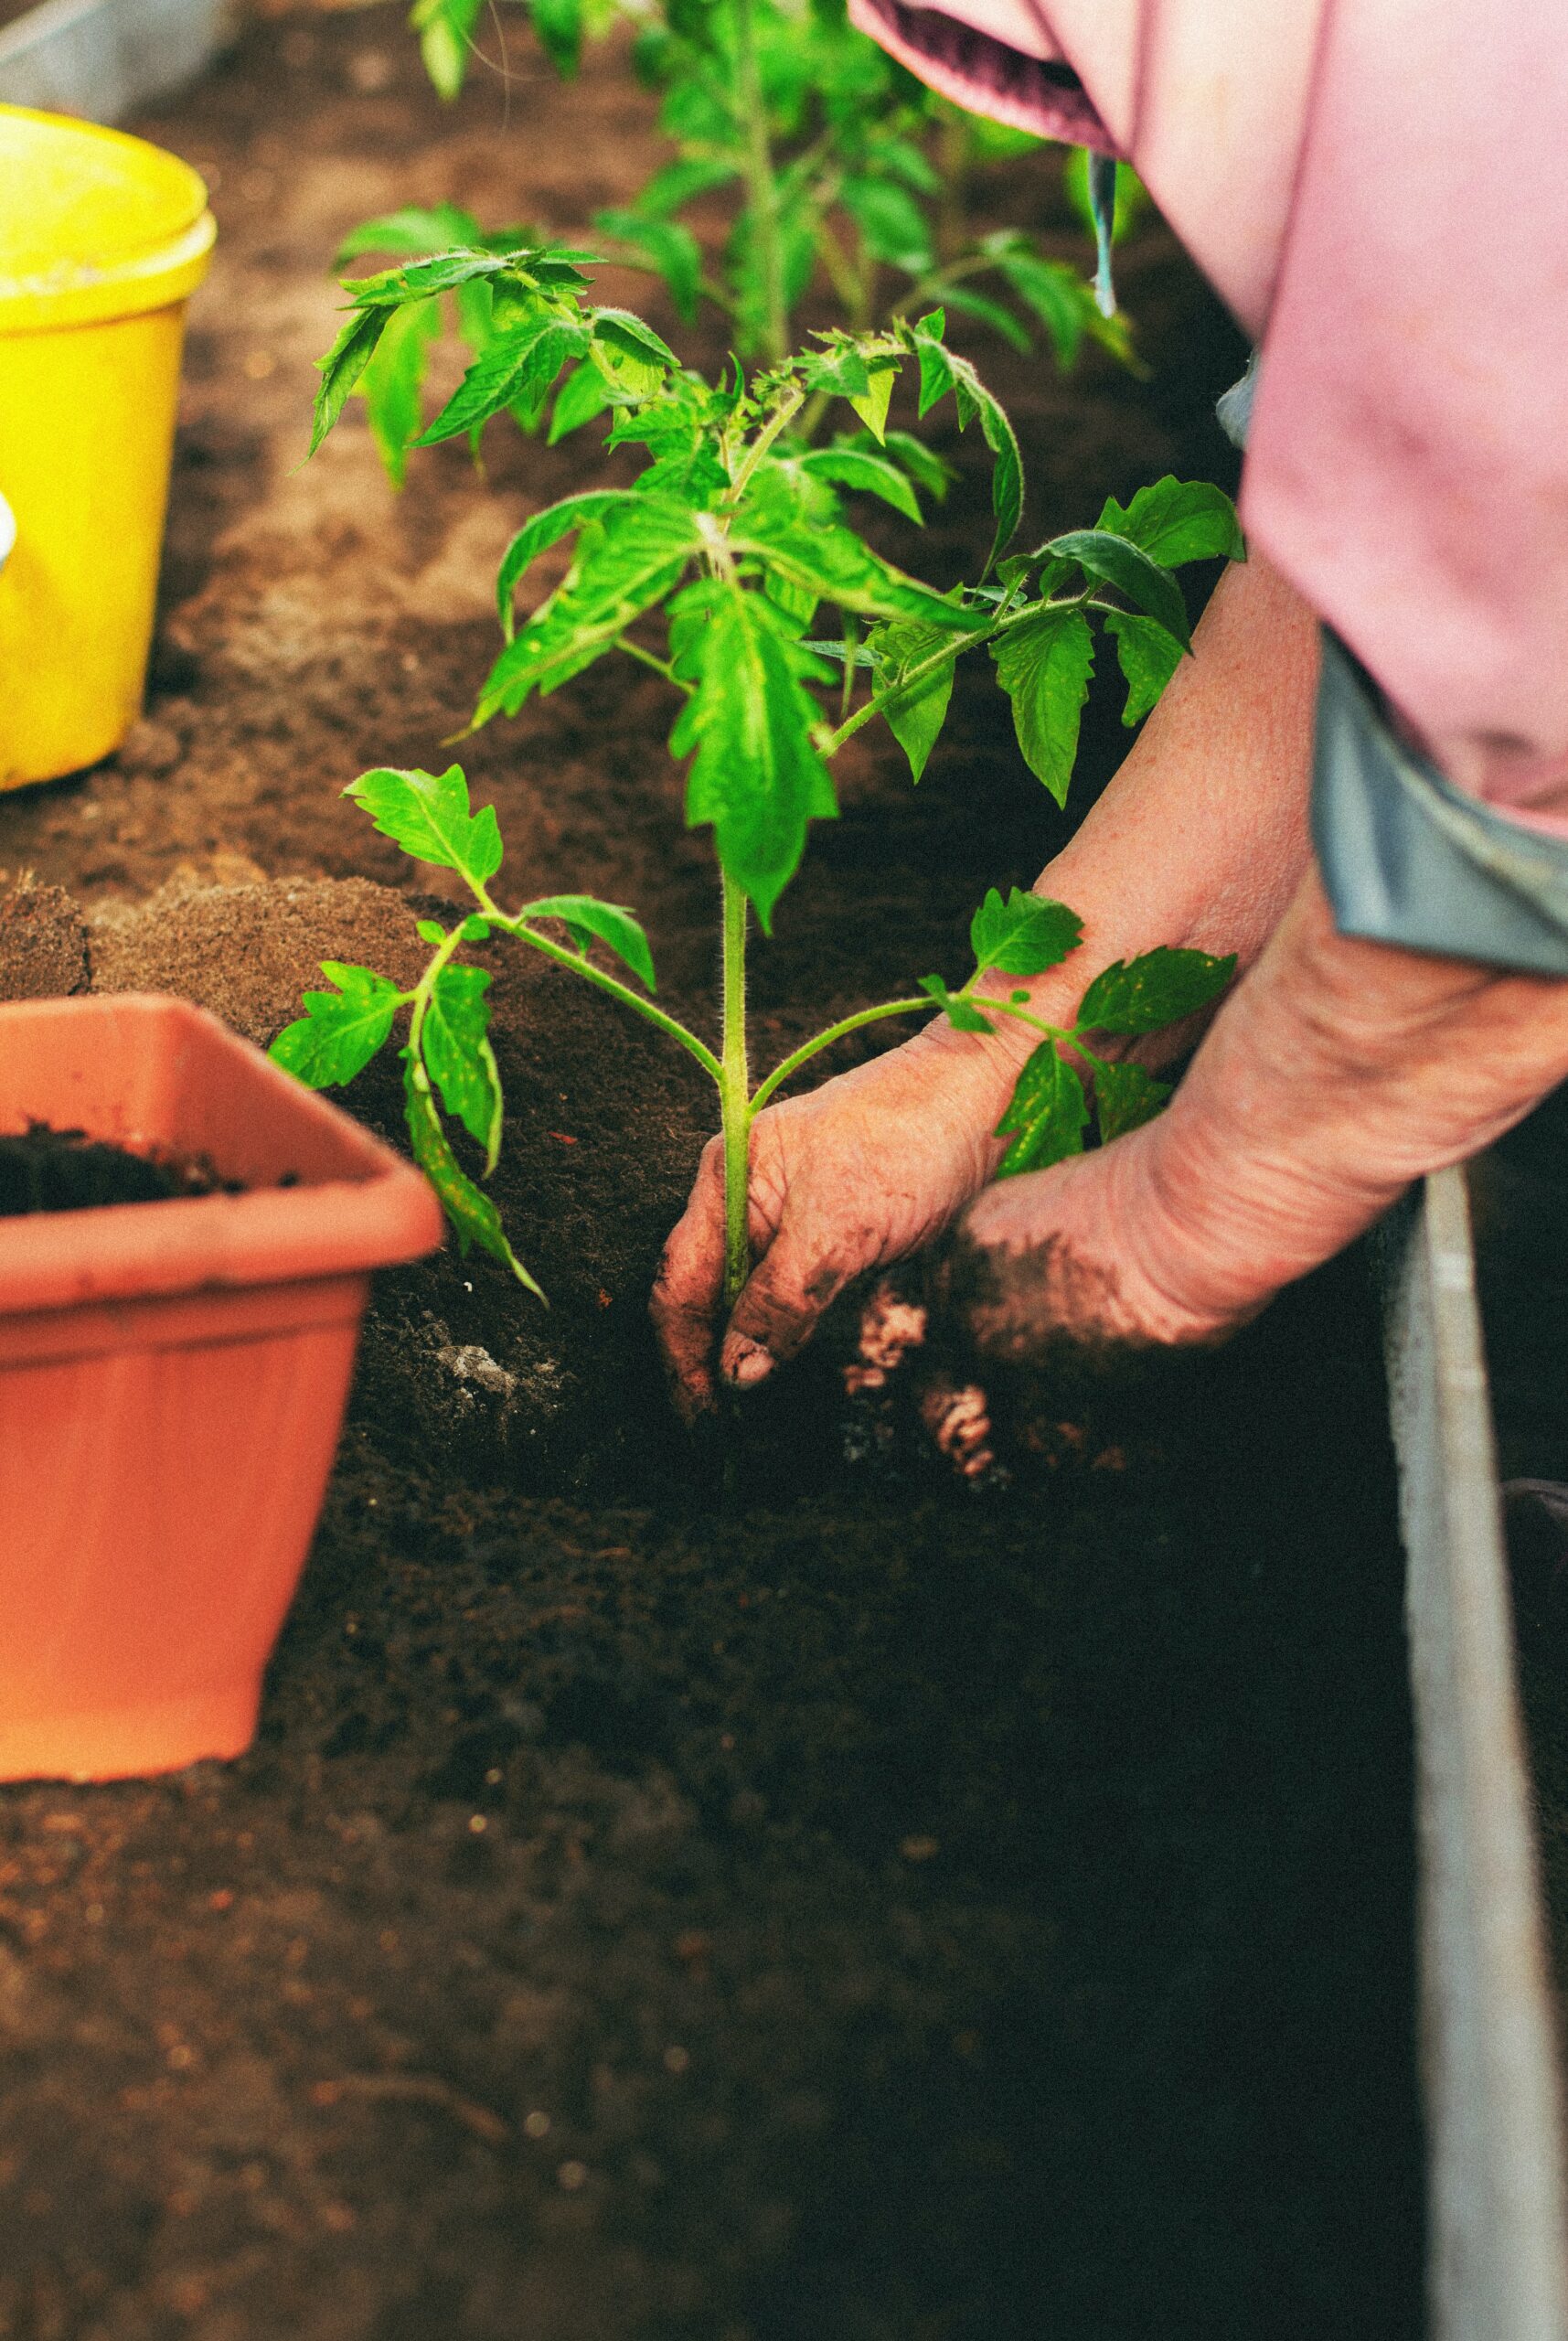
As the days get longer, we all start thinking about our first seedling trays and dreaming of the harvests to come. Although February is a little early to start most annuals, it’s an excellent time to plan for potential changes in our gardens and outdoor spaces, and one powerful tool for doing that is permaculture design. 

Although the term “permaculture” was coined in the late 1970’s in Australia, it’s become widely acknowledged as an extension of the nature-based mindset that drives traditional cultures all around the world. As a movement and global community, permaculture strives to use observation of natural processes to find better solutions for the problems we face–whether those are in the garden, or in fields as varied as finance, governance, architecture, education, or technology.

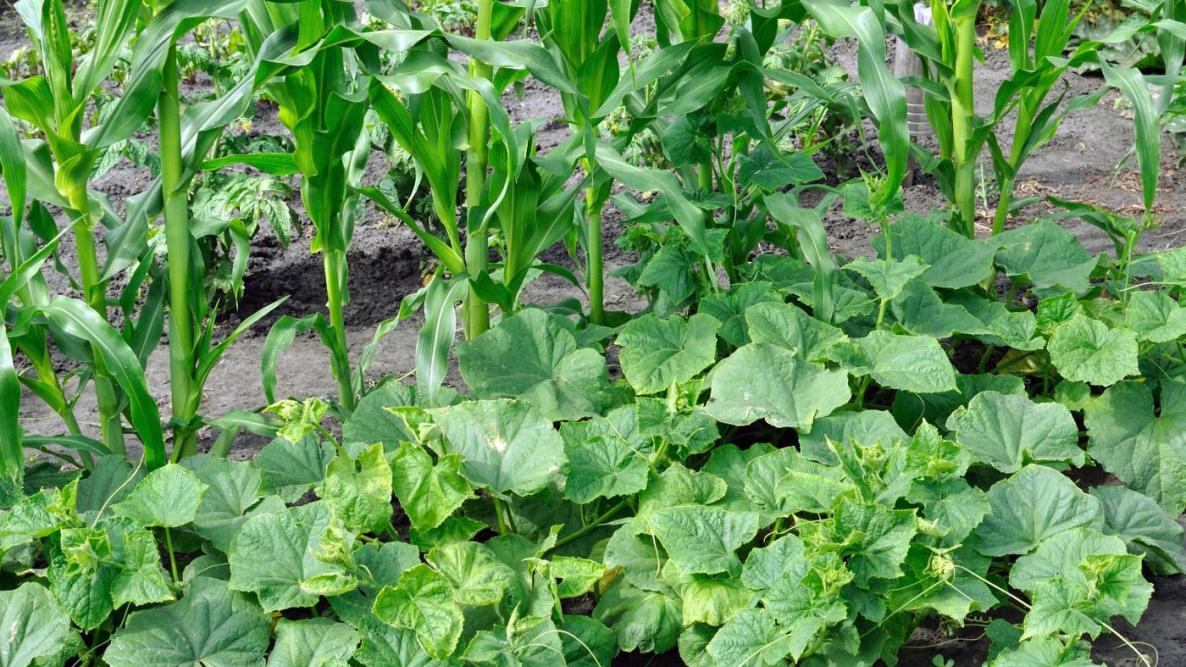
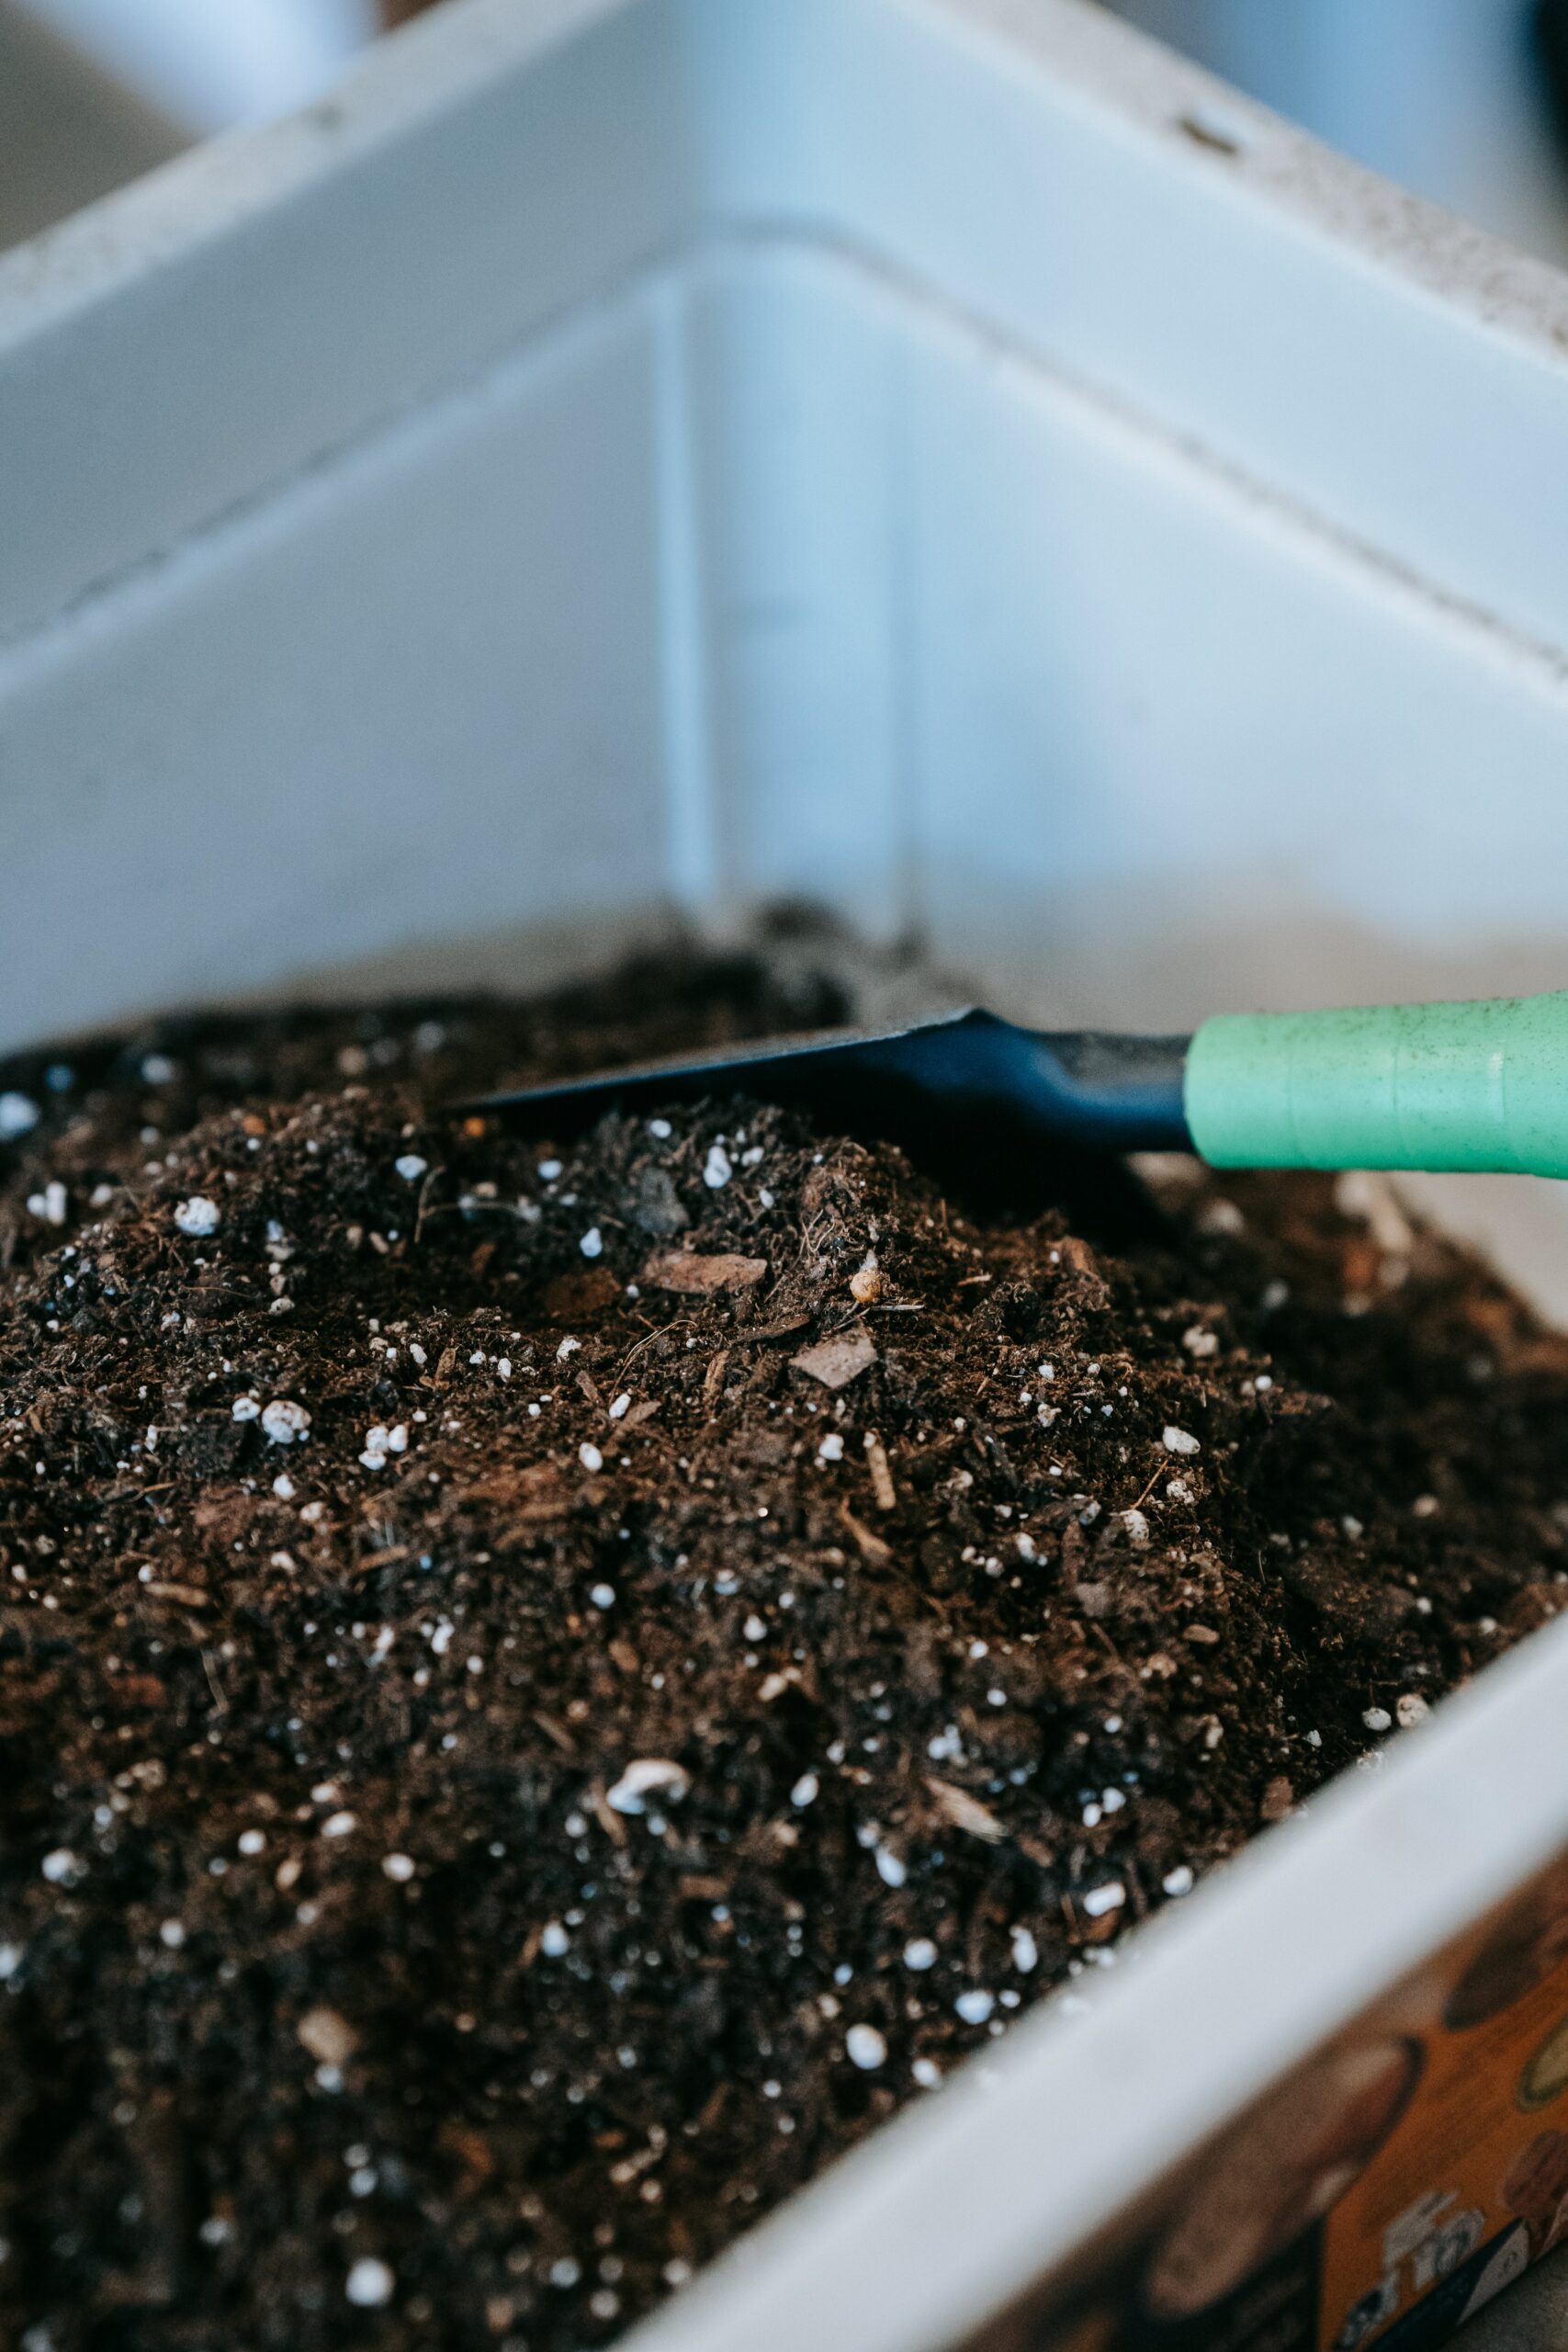
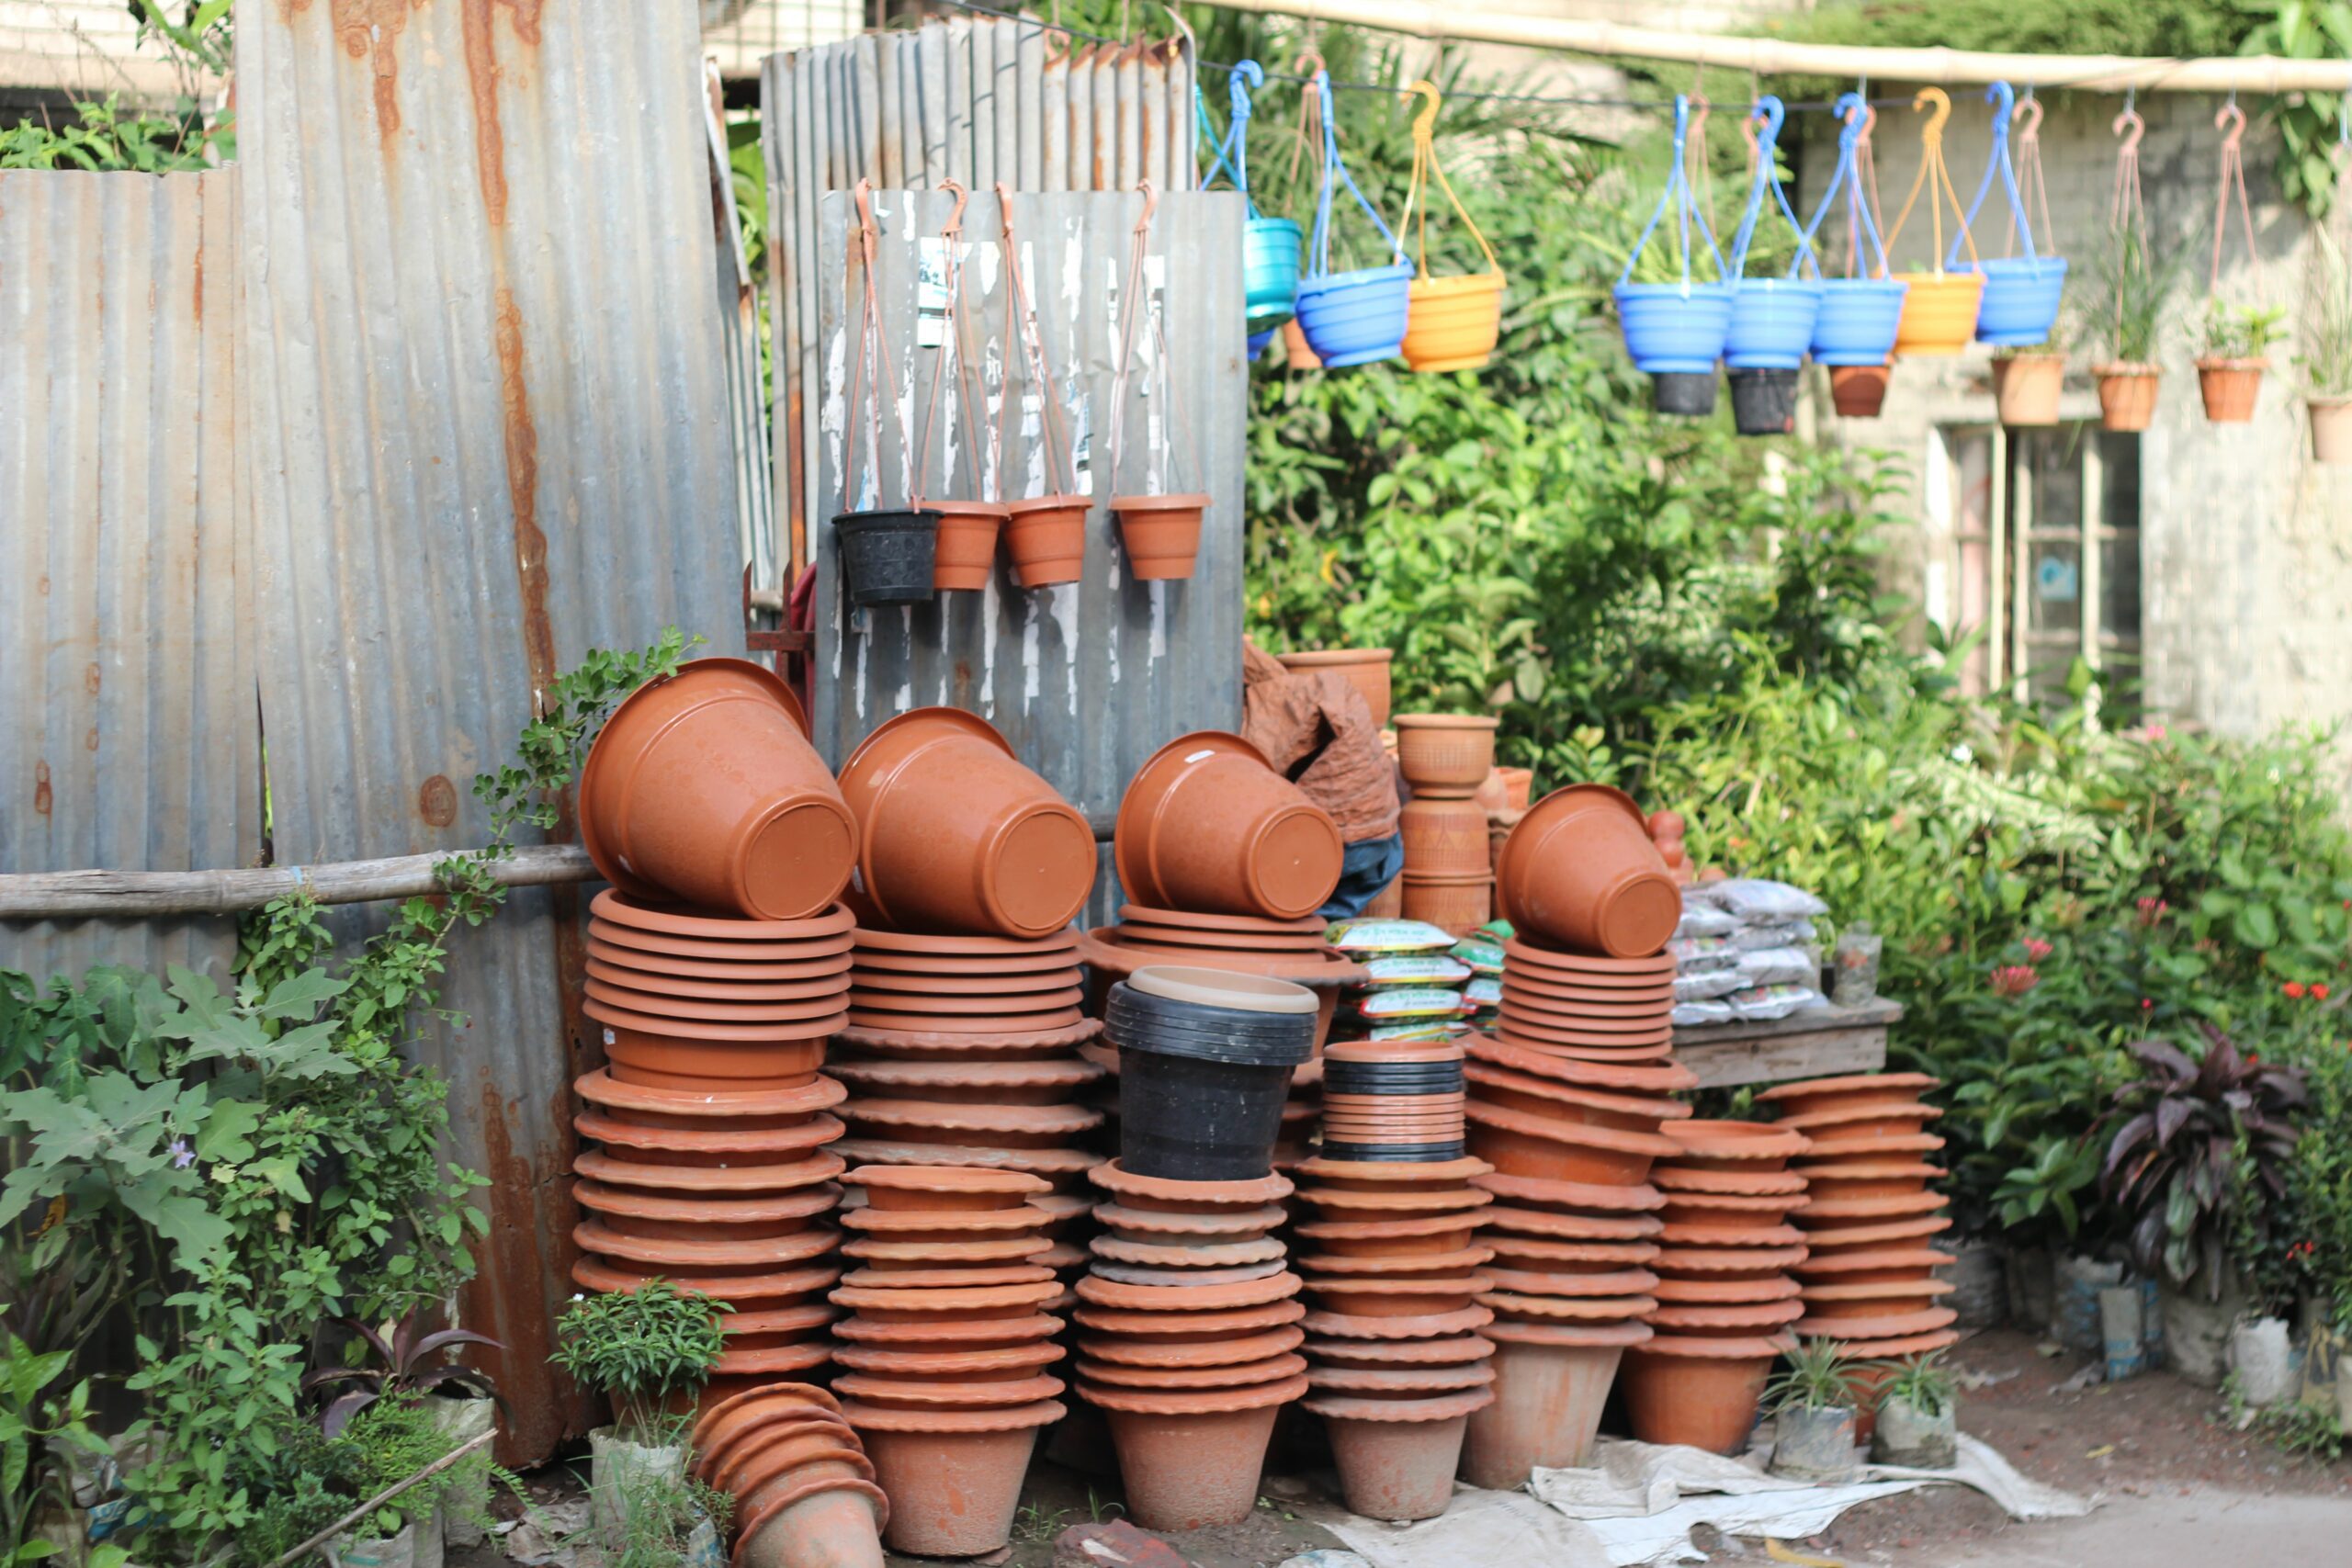
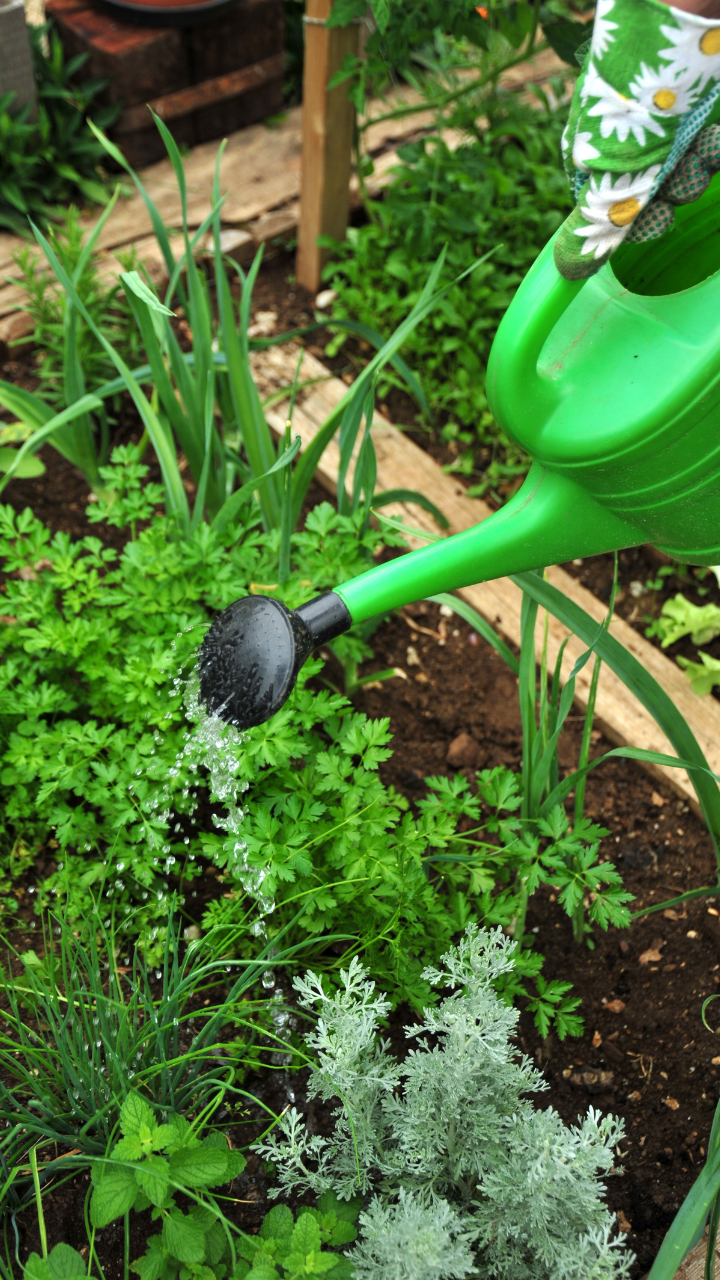
Sometimes gardening can seem like an exercise in constant importing: bags of soil, tap water, seeds from thousands of miles away, not to mention hoops, shade cloth, tools, and everything else you might use every year during the growing season.

But in nature, it’s rare for an ecosystem to rely on inputs from very far away. One of the most liberating ideas that permaculture offers is that everything we need to succeed is already around us.

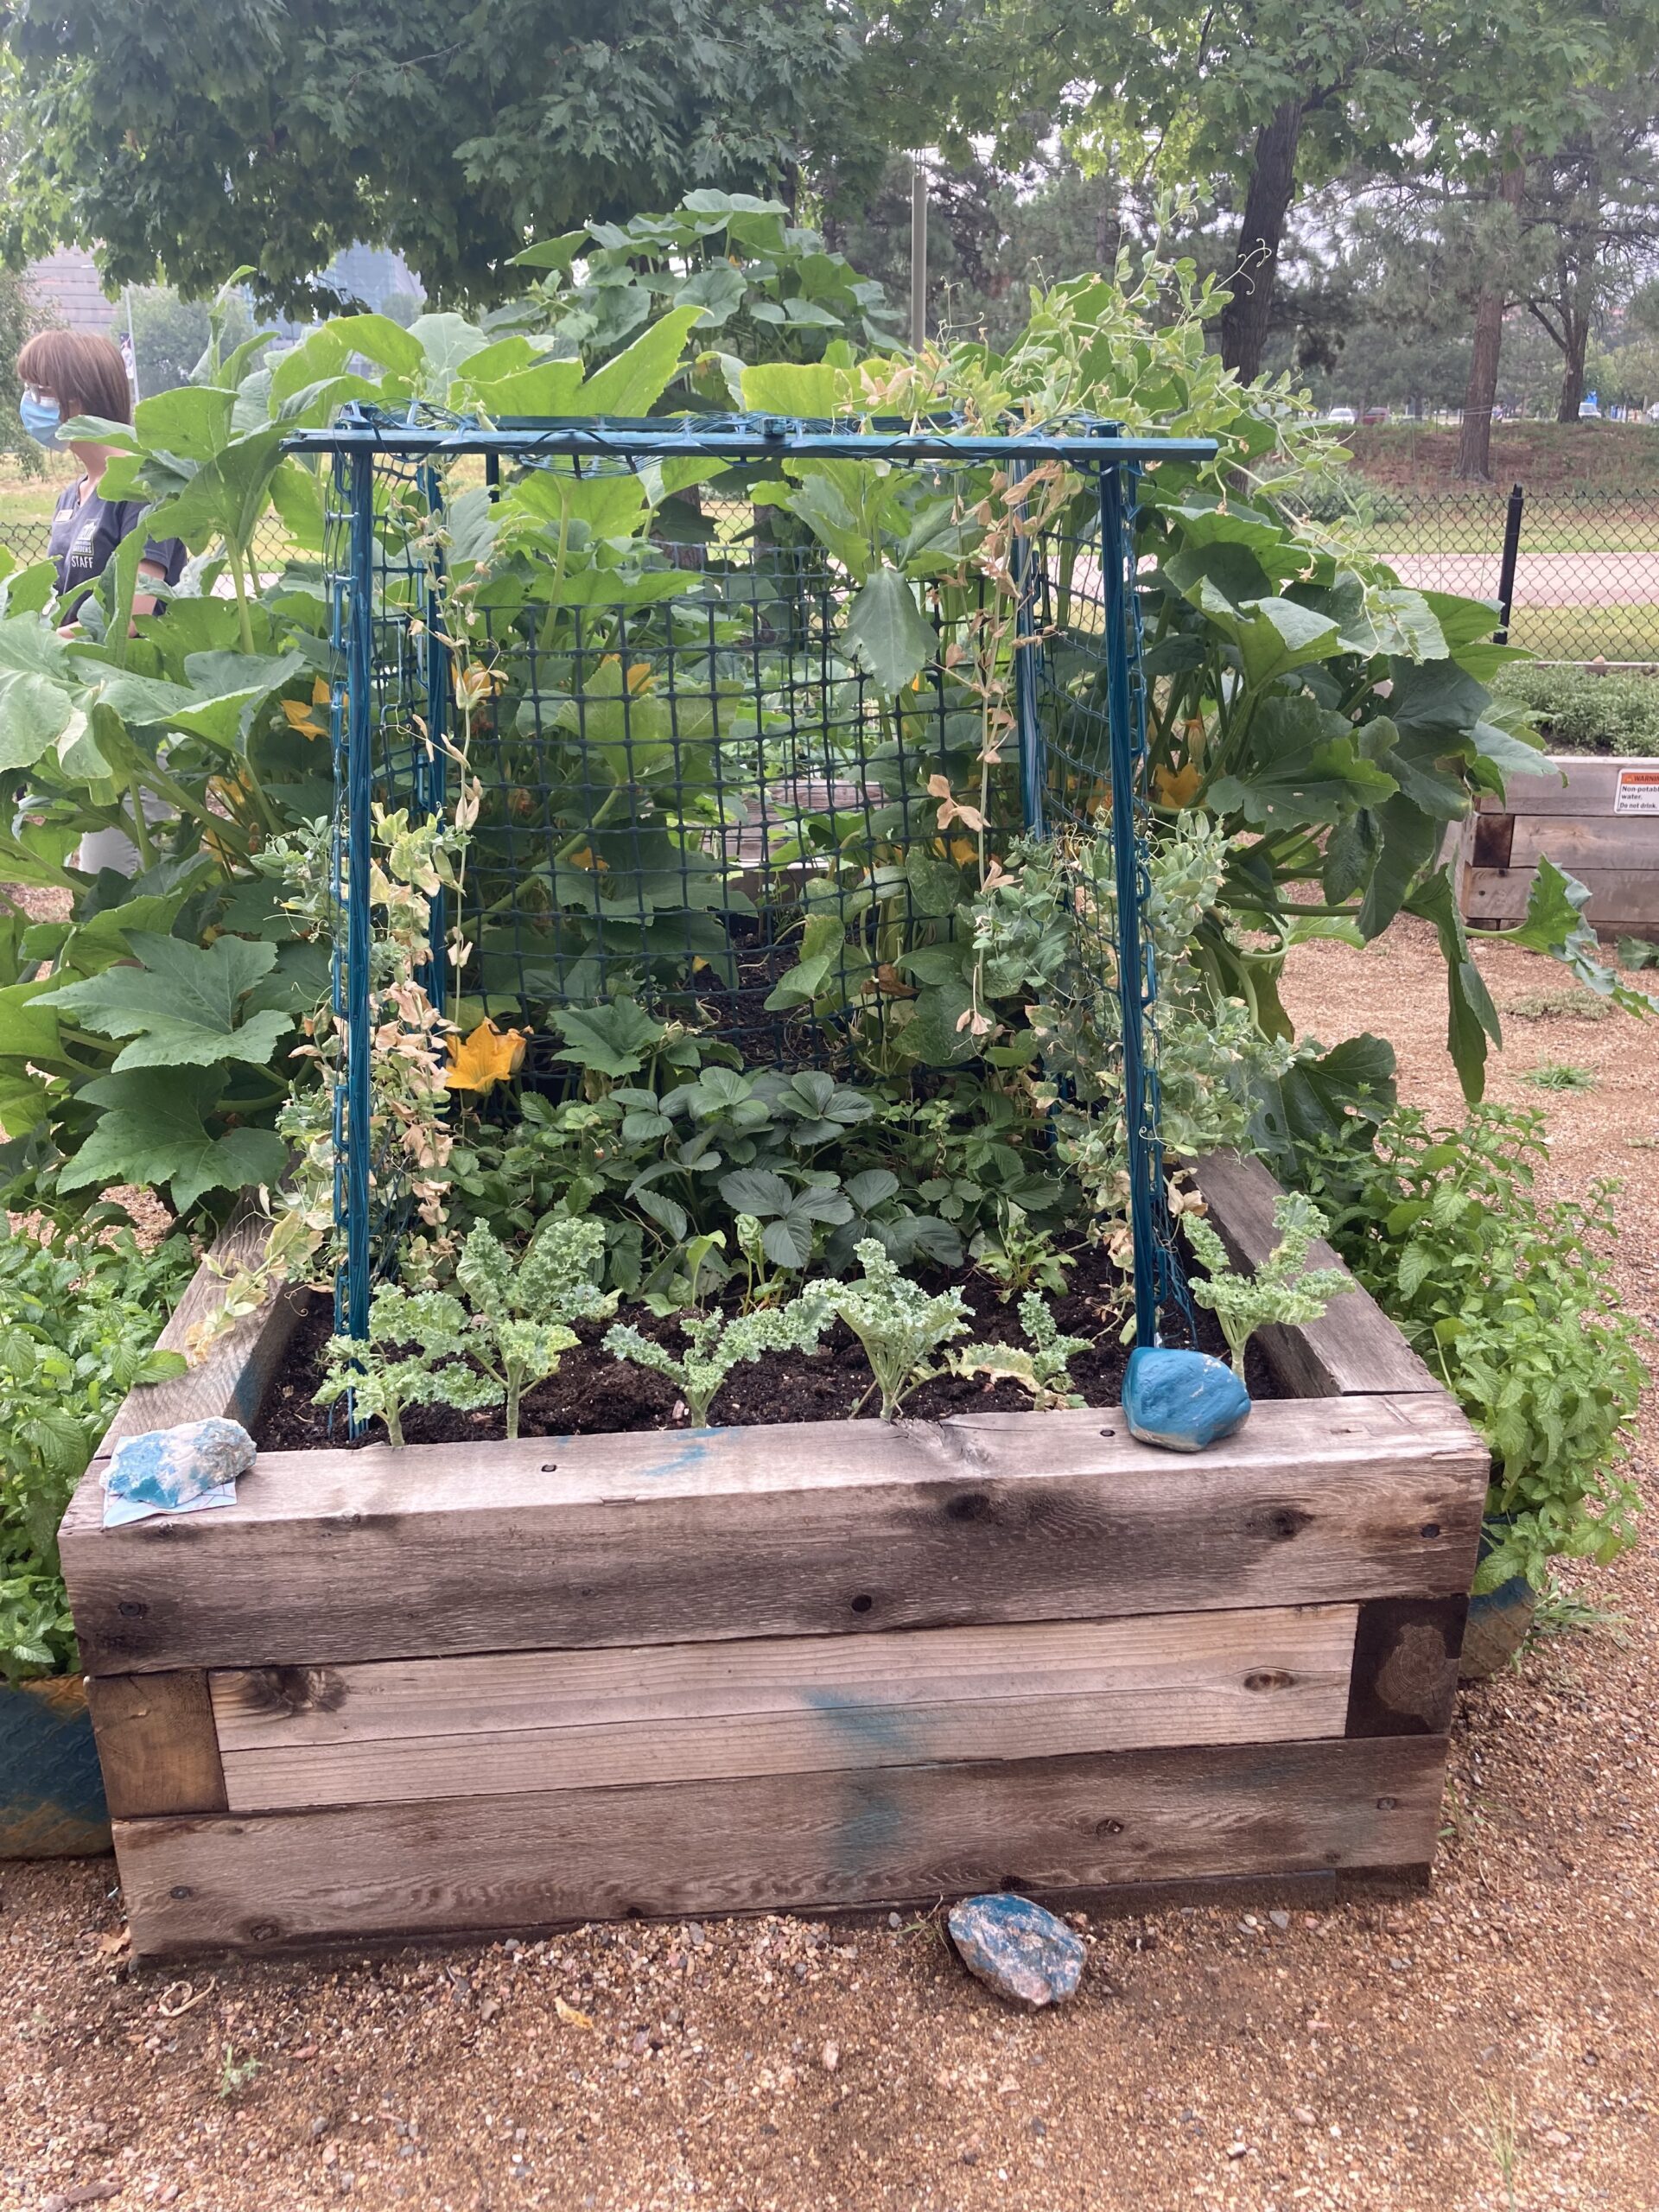
Looking at our gardens with that lens, we can start to replace our inputs with self-generating materials and systems. Here are some examples:

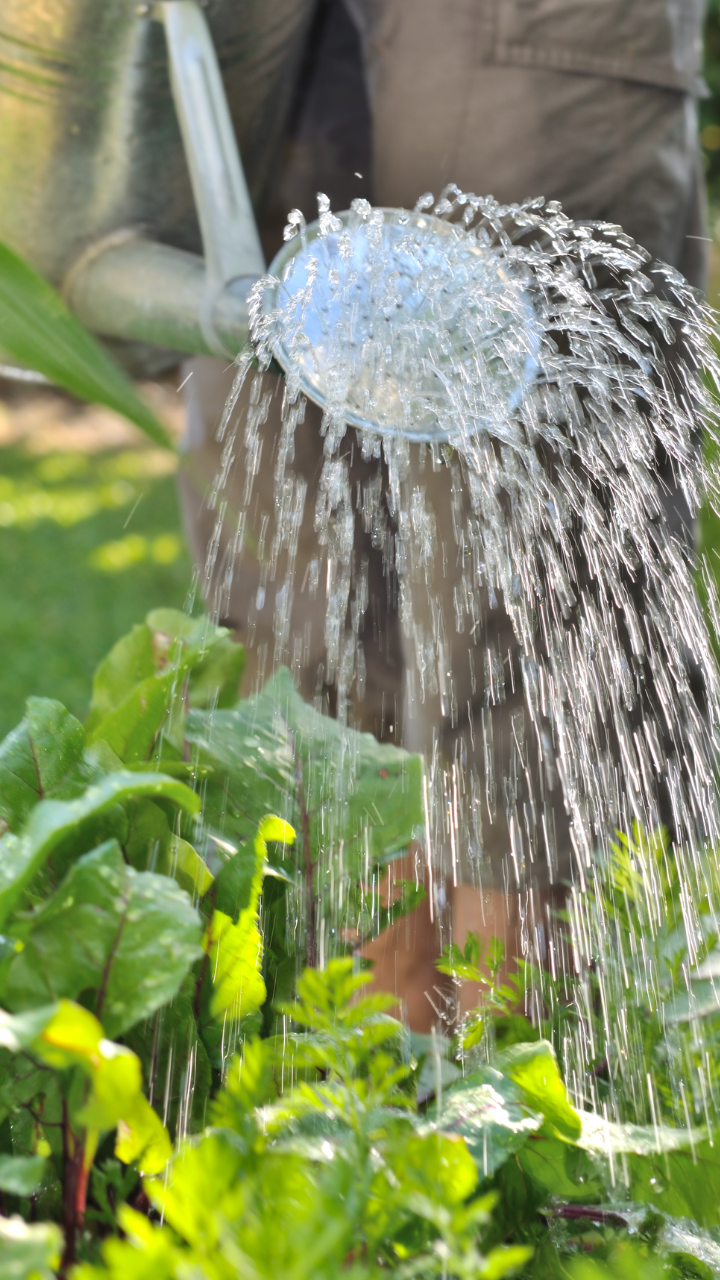
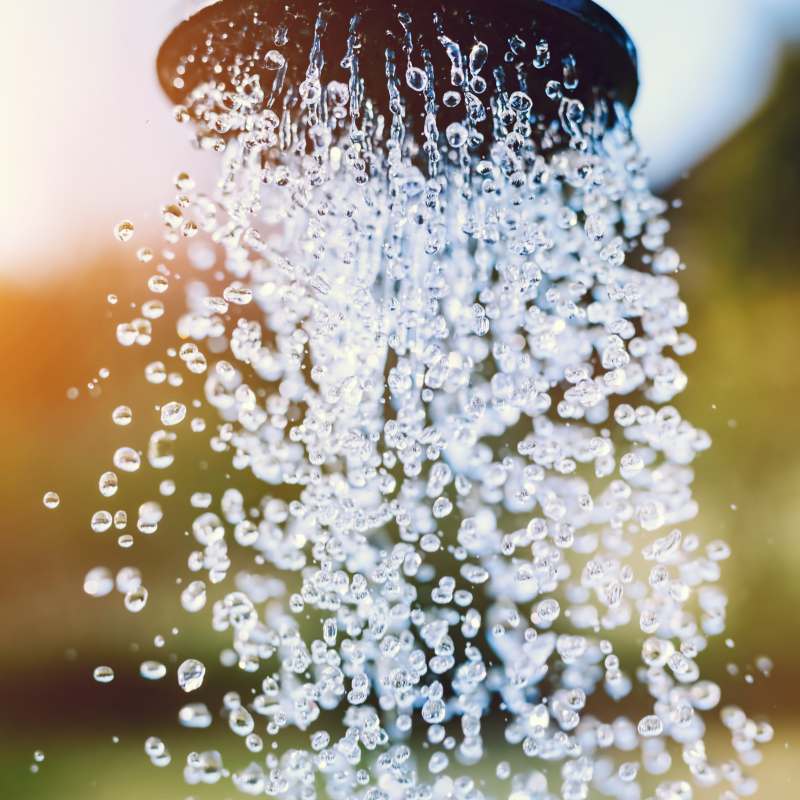
We live in a dry climate, but there’s so much impermeable surface (roads, sidewalks, roofs) in Denver that there’s a lot of opportunity to direct runoff towards plants, mitigating flooding, and nourishing soil life at the same time. When was the last time you made a map of where your downspouts go?

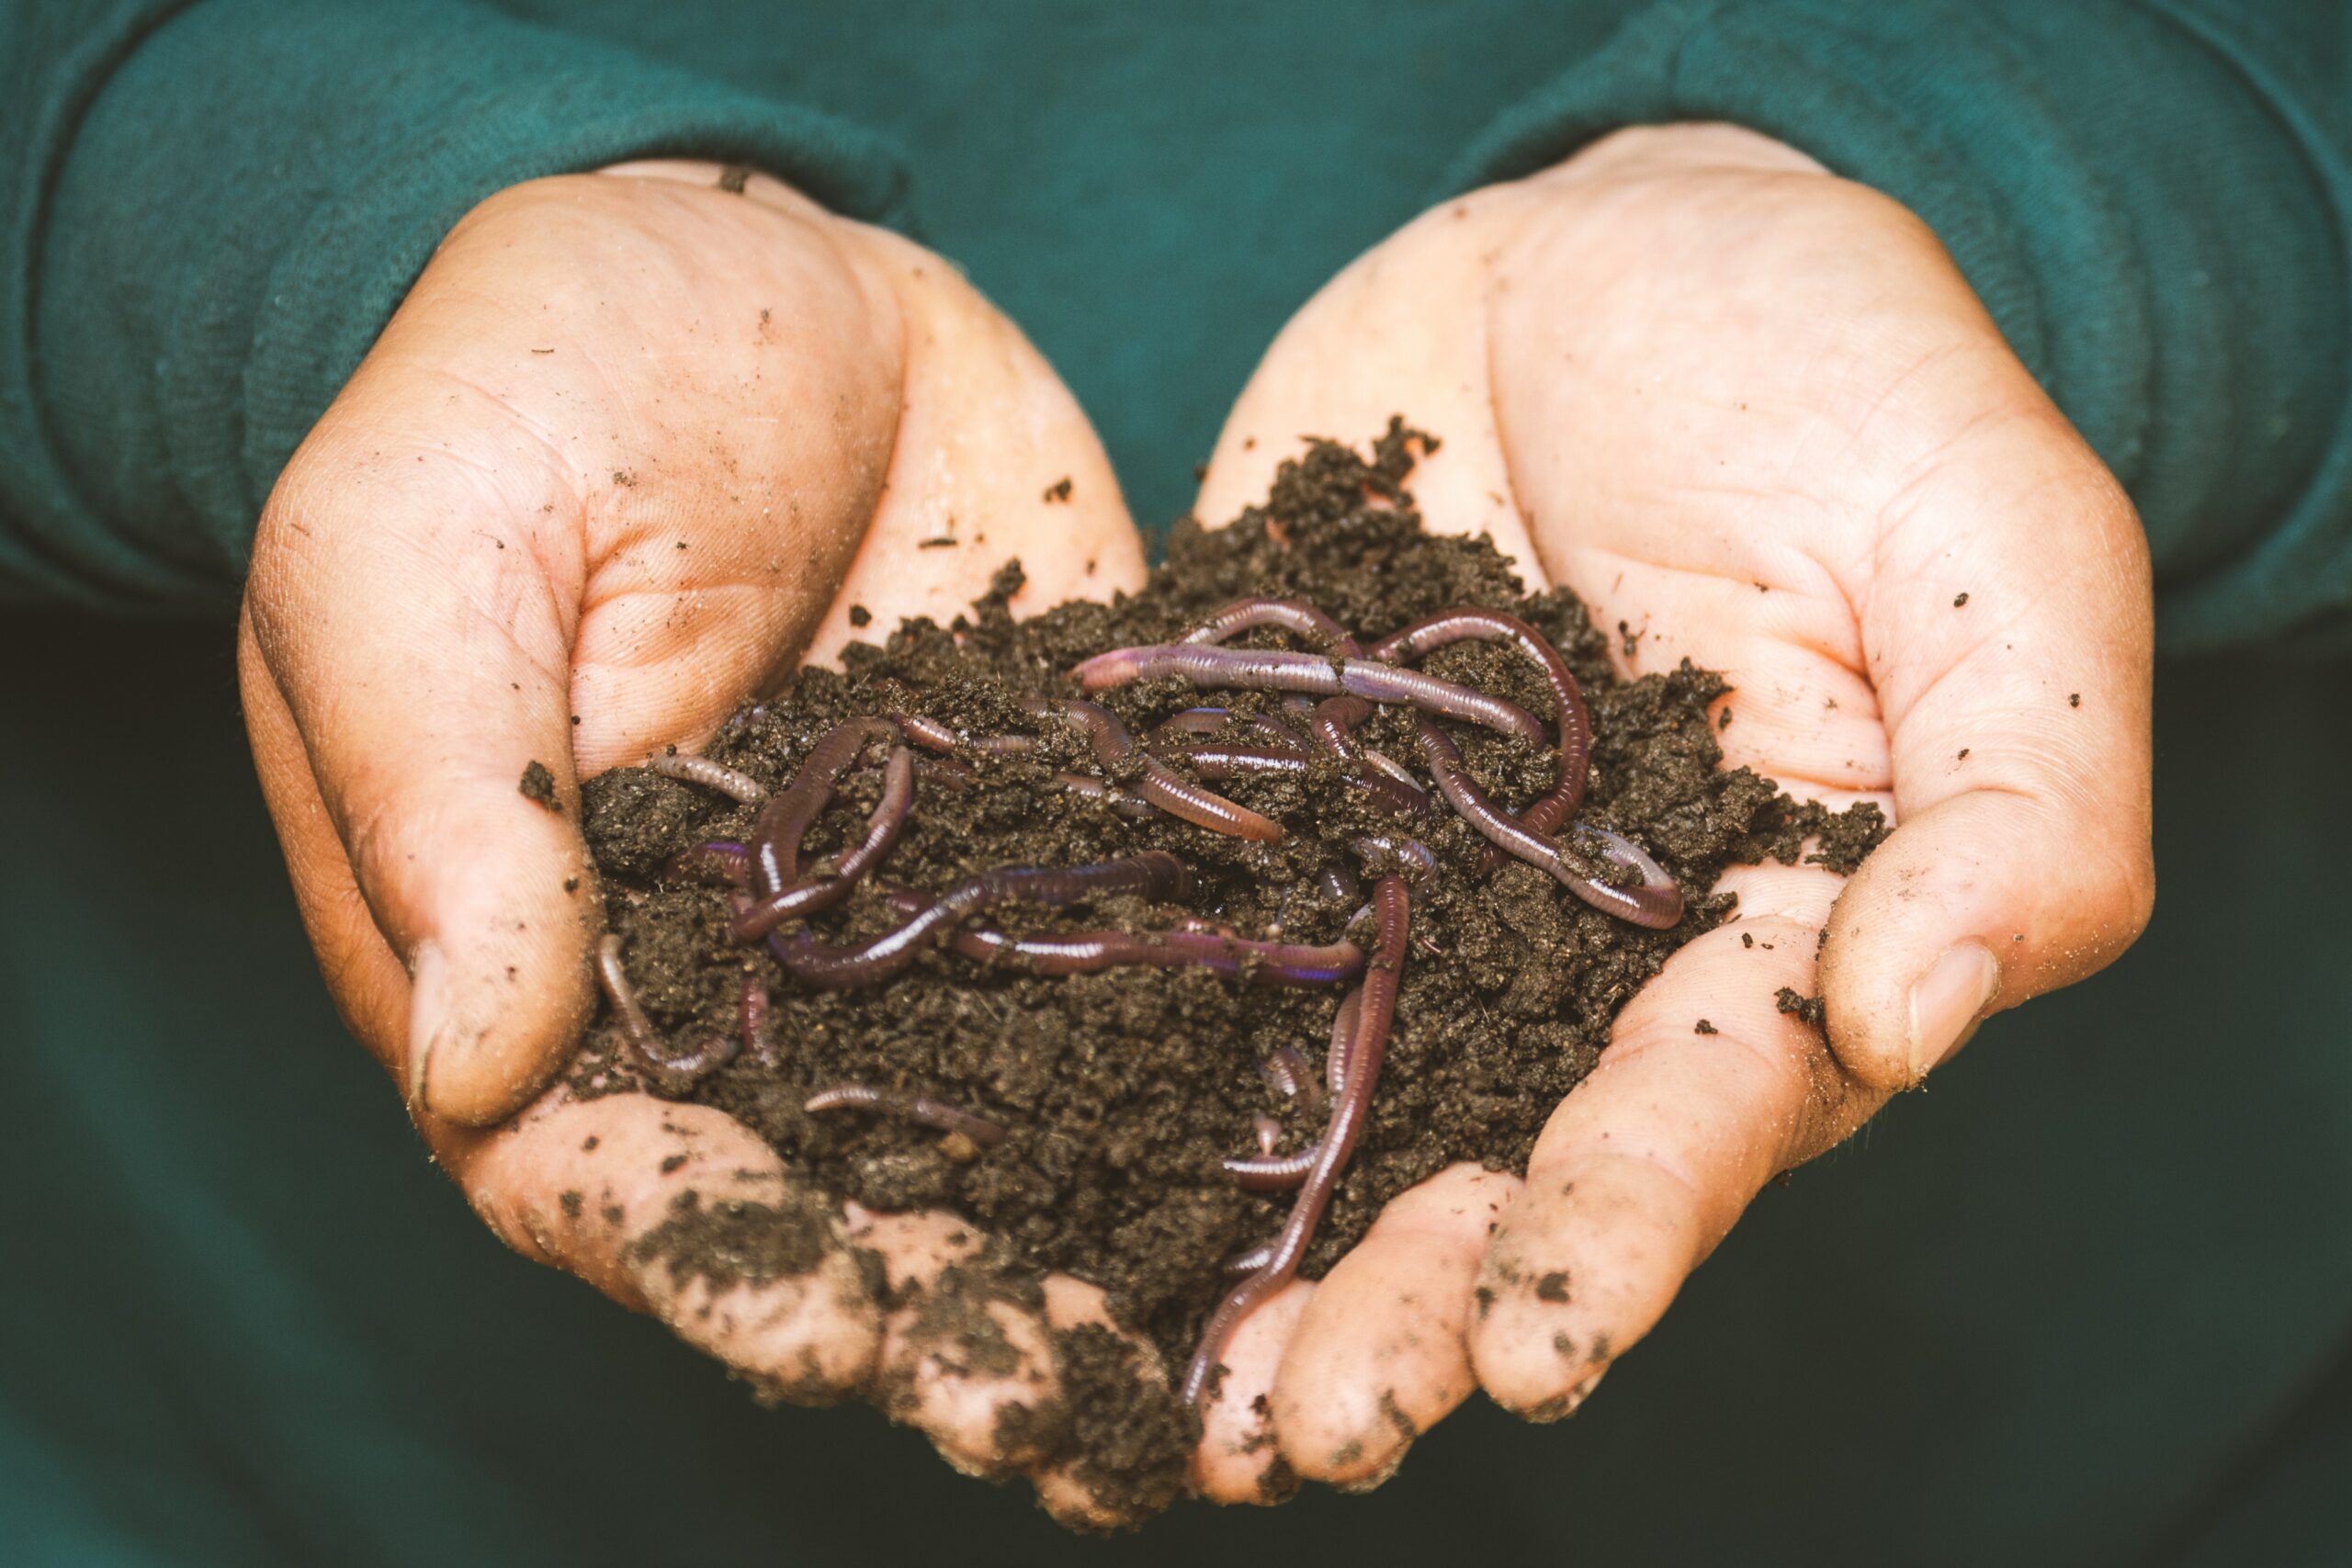
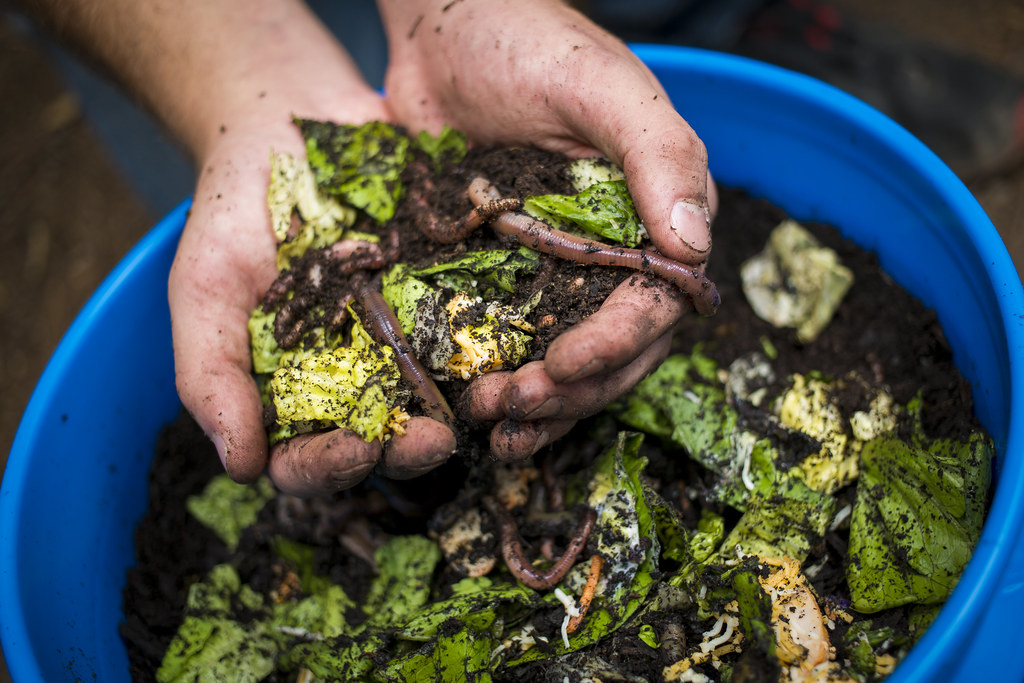
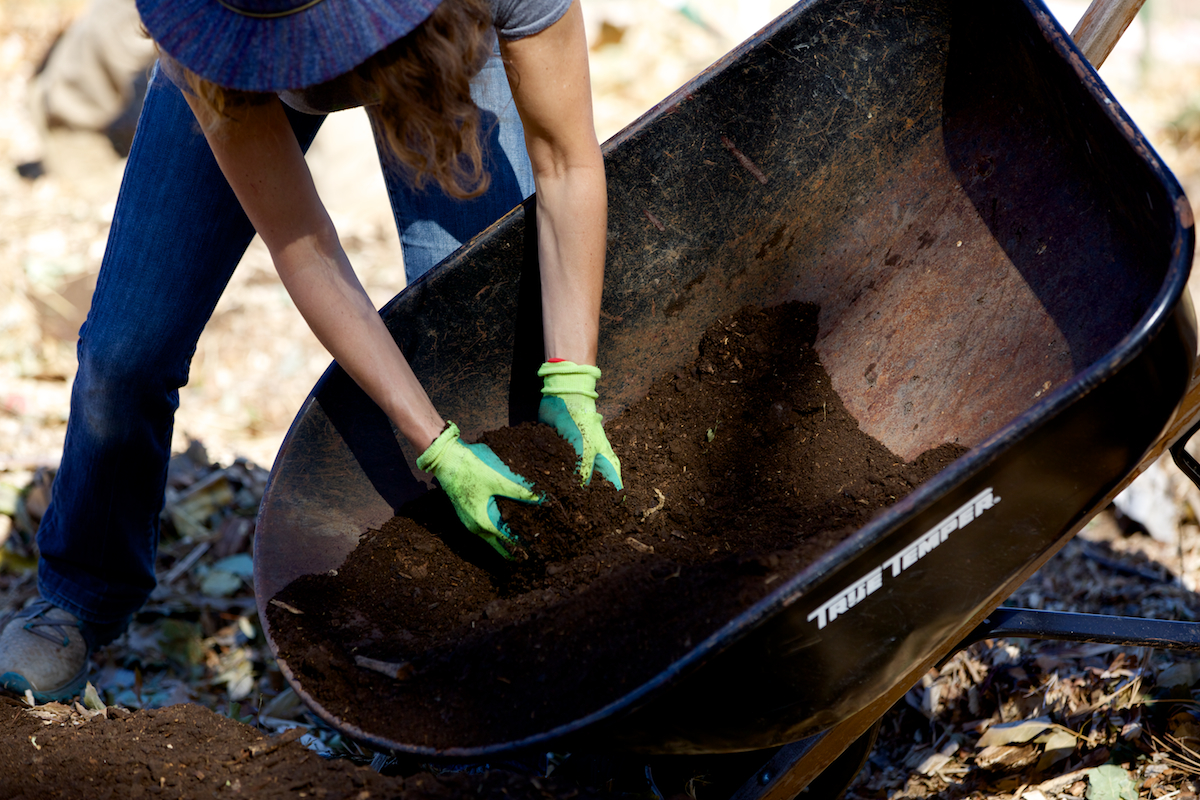
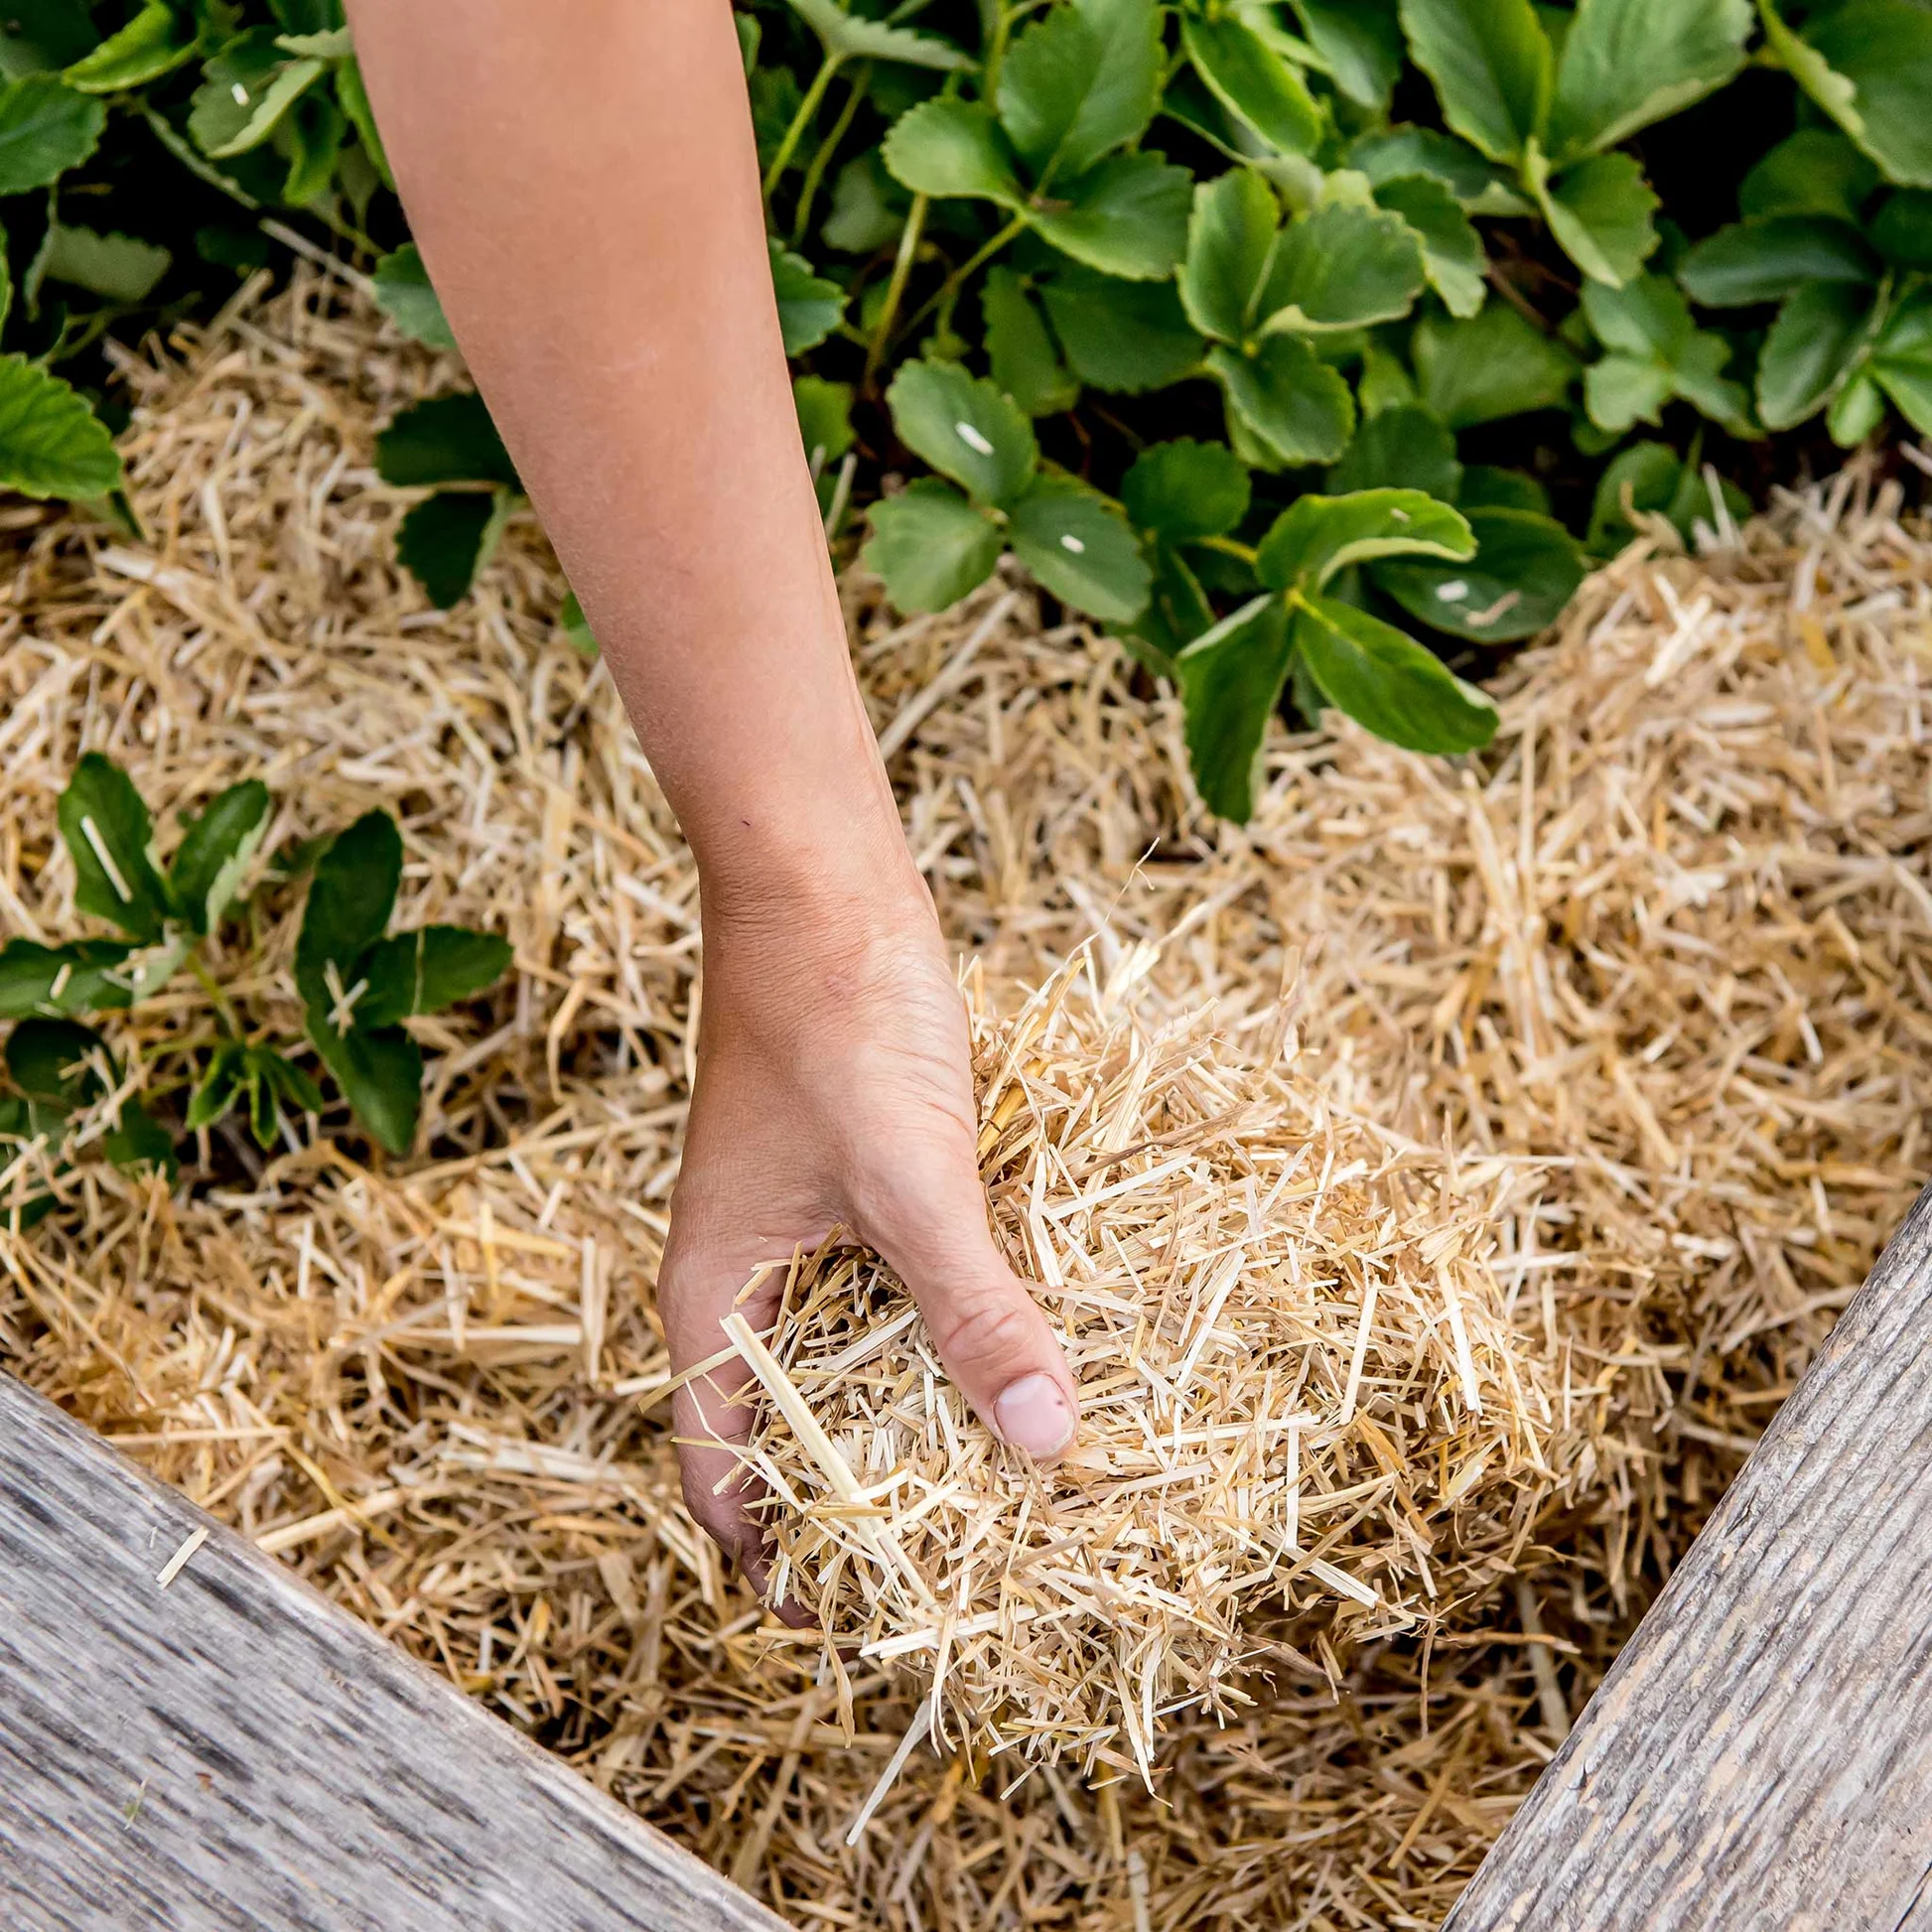
Another resource in a city is waste, in the form of organic material. Check out Chip Drop for a free load of locally-produced mulch; put up a sign in the fall asking for bags of leaves; if your neighbor doesn’t want to turn their lawn into gardens but doesn’t spray herbicides, ask if you can take the clippings instead of letting them go to a landfill.

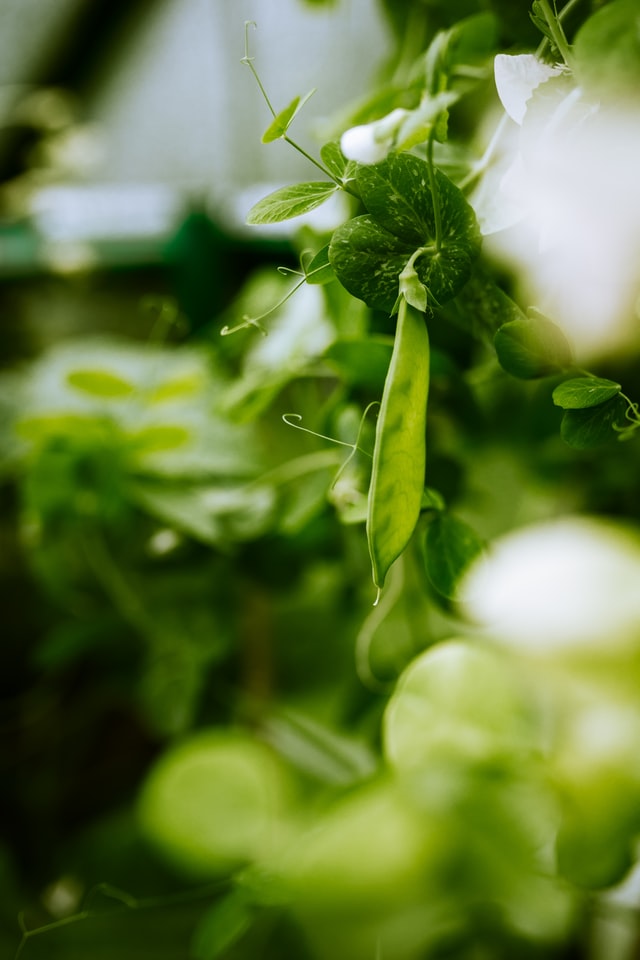
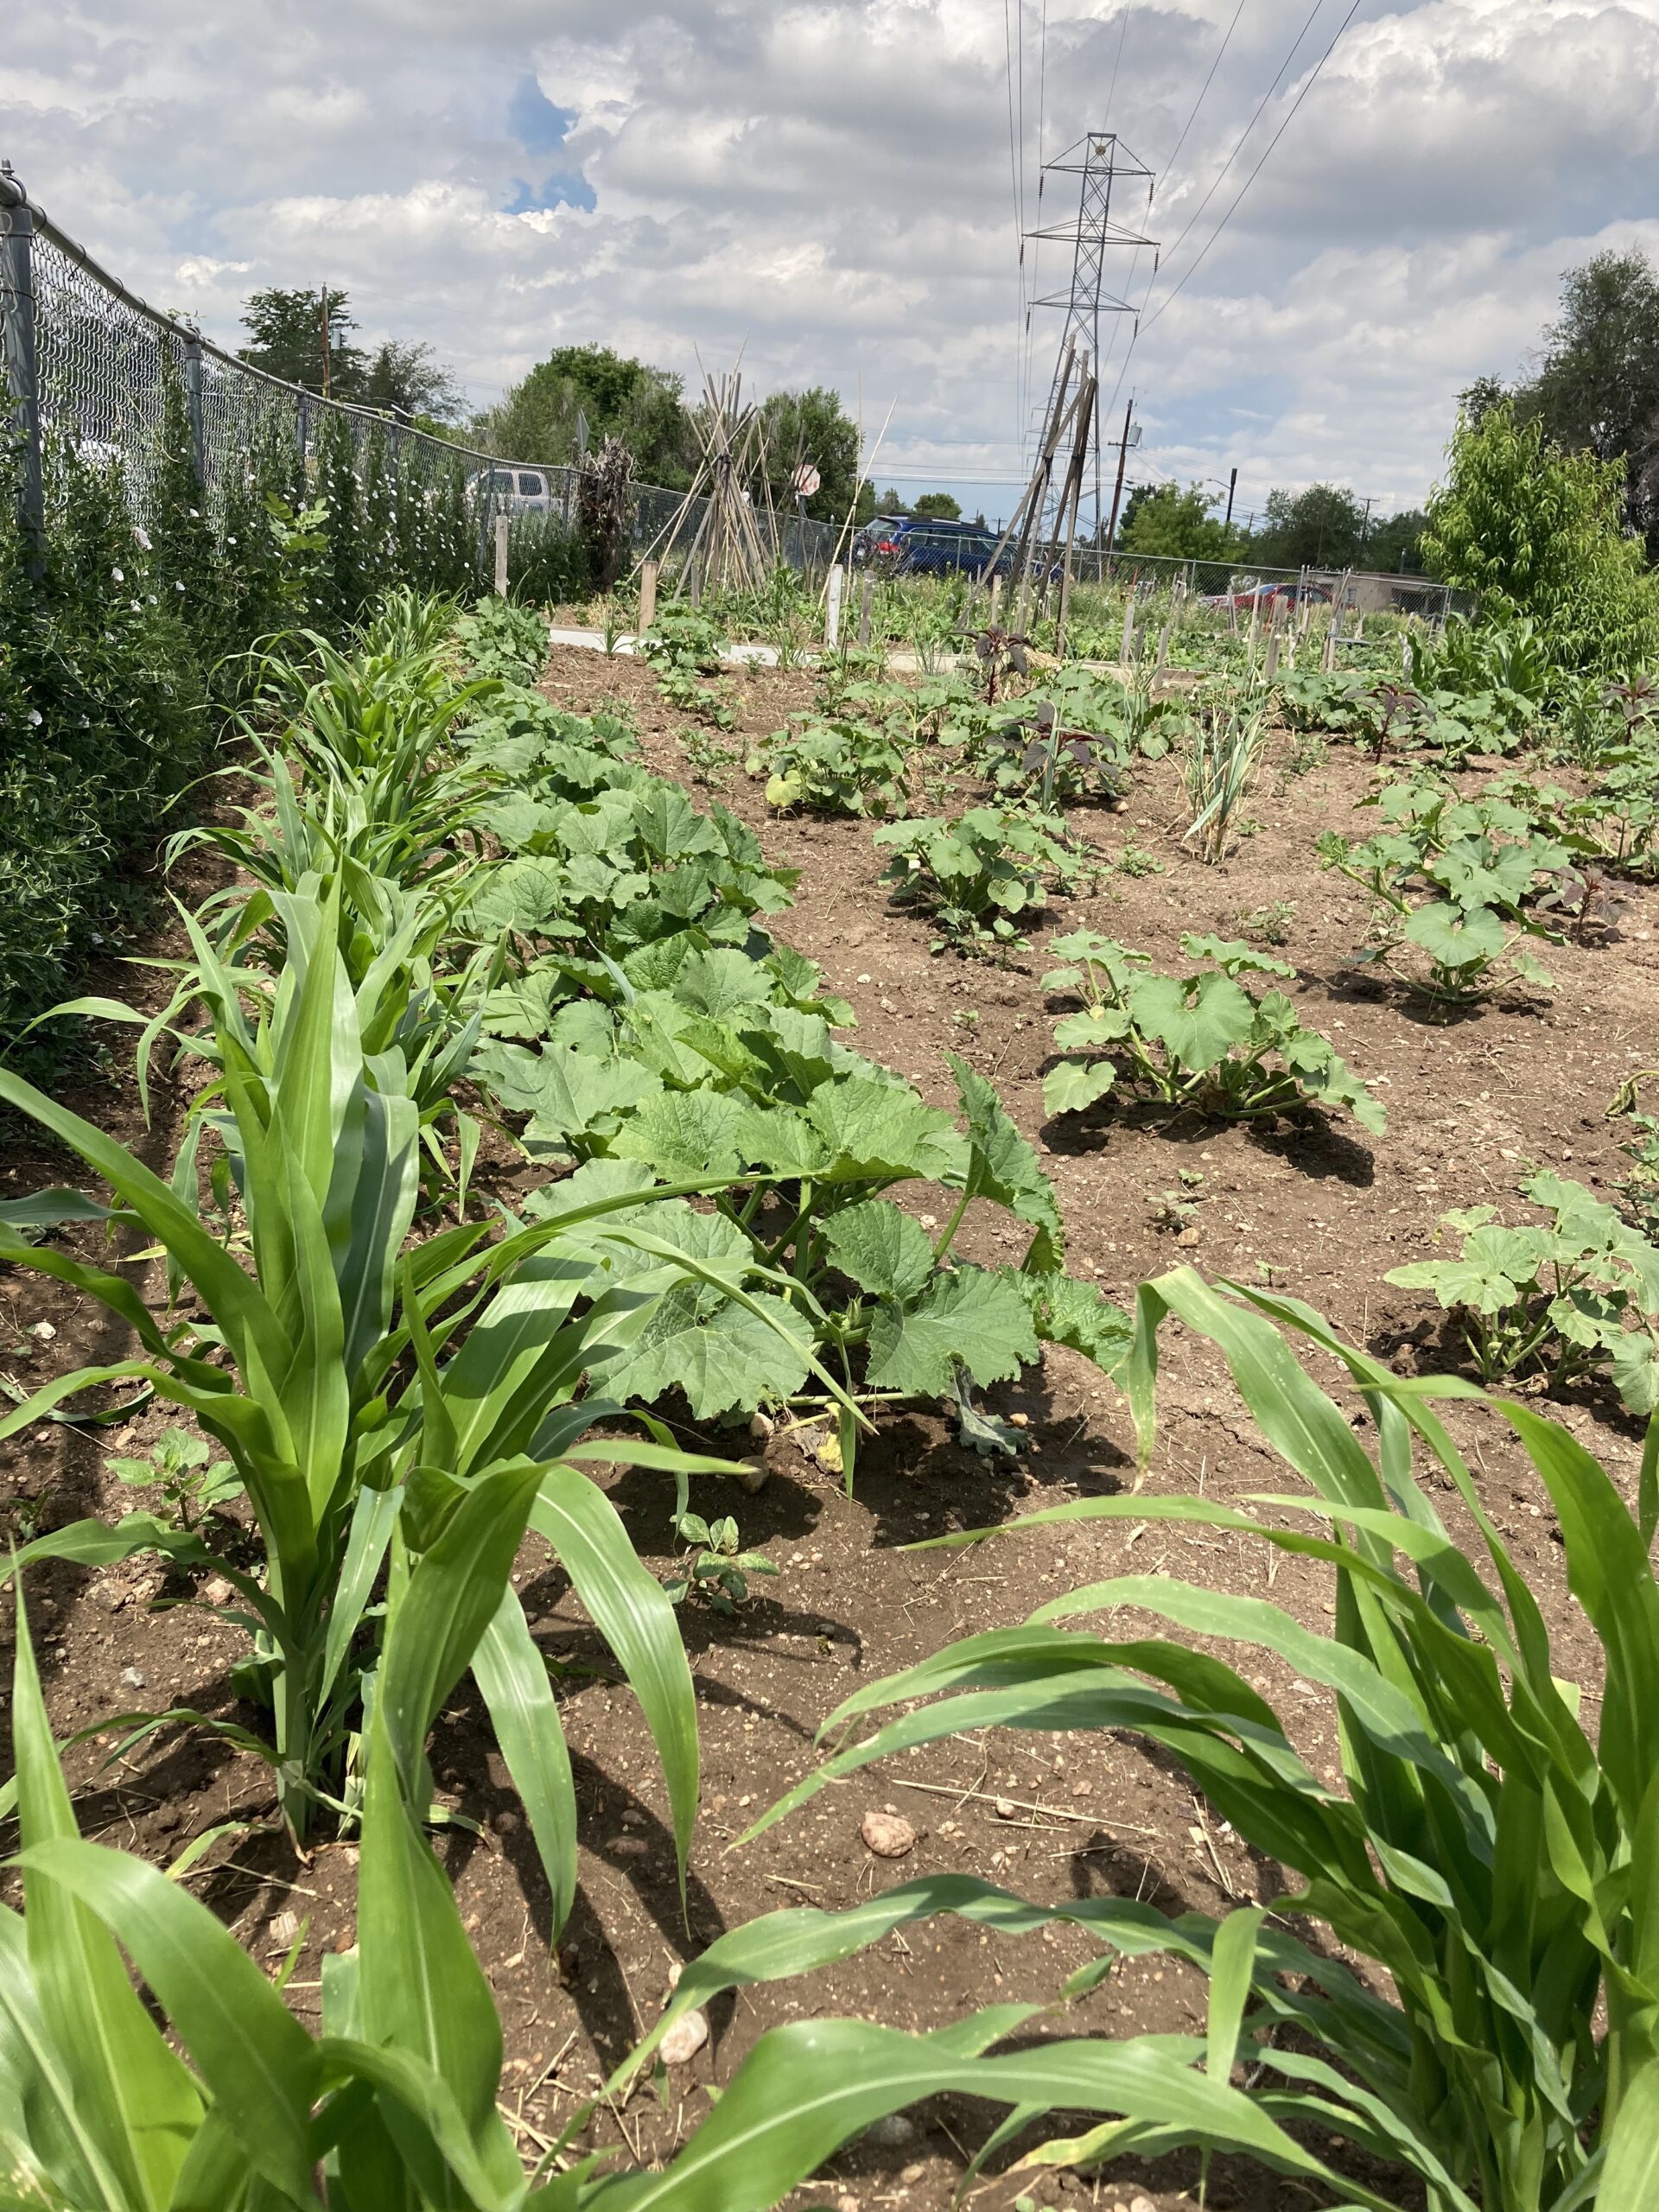
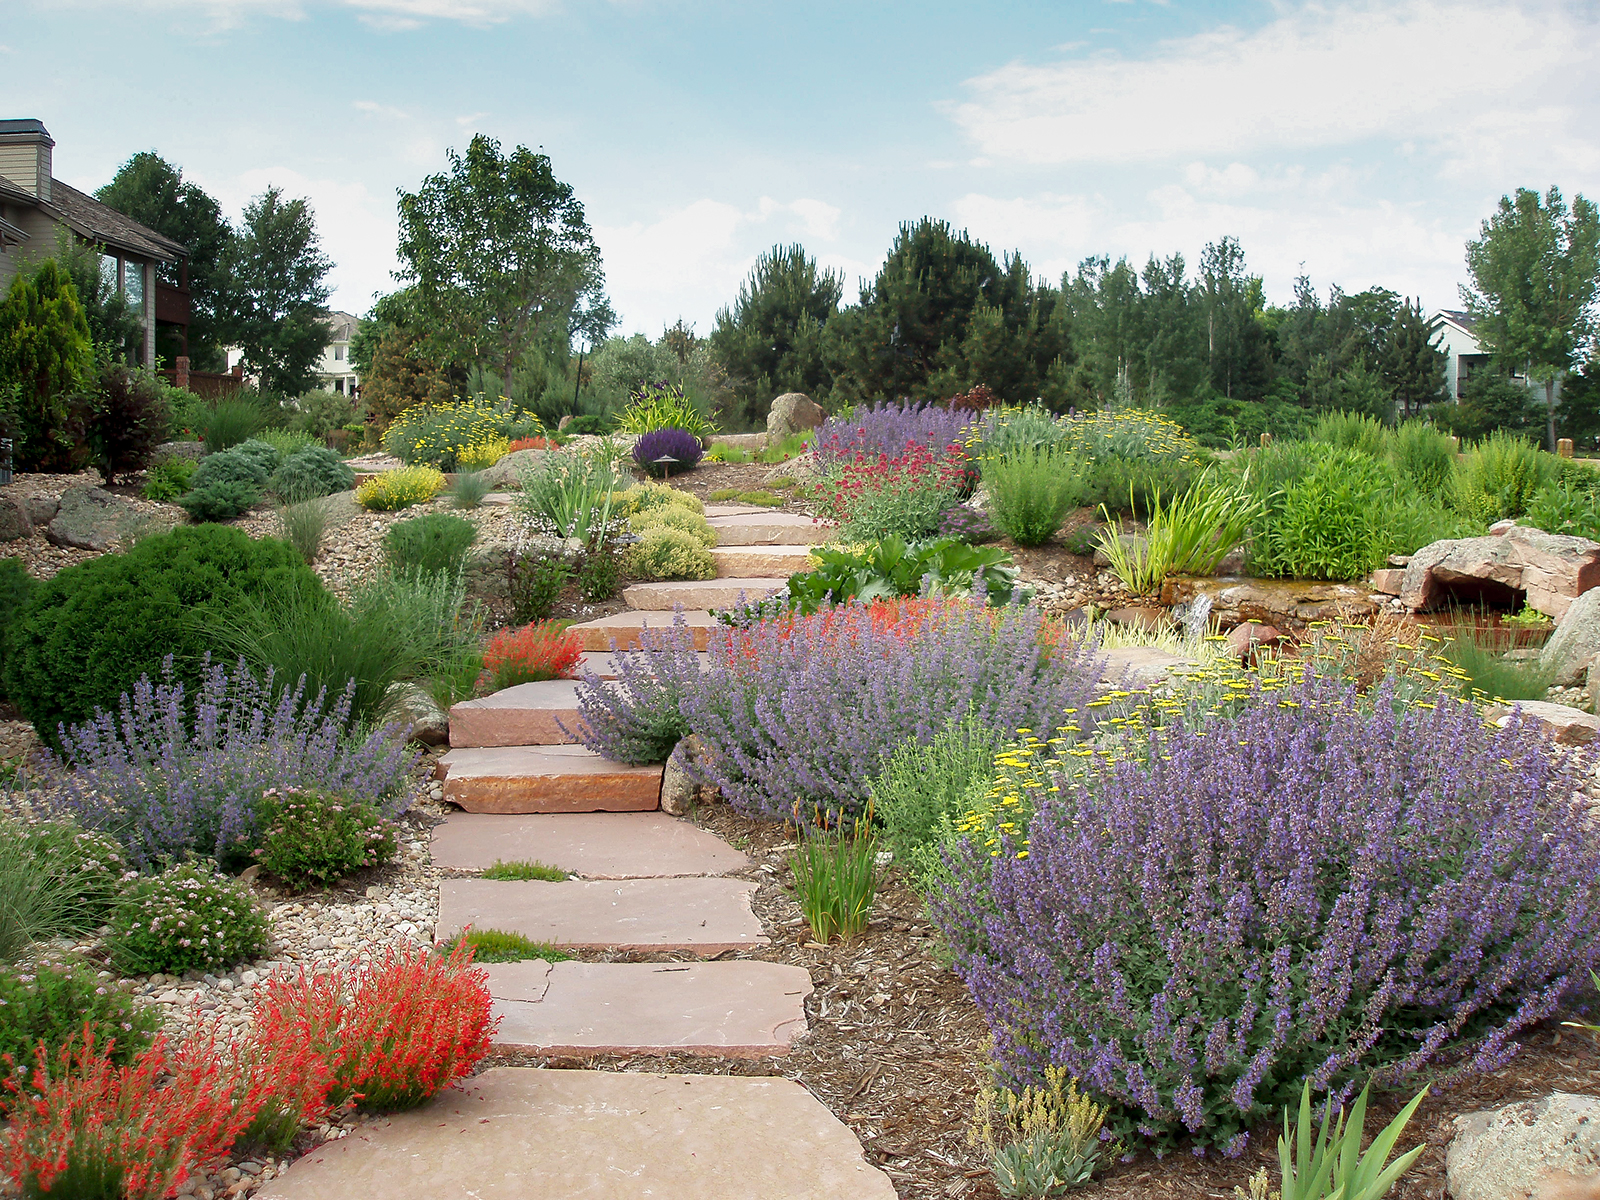
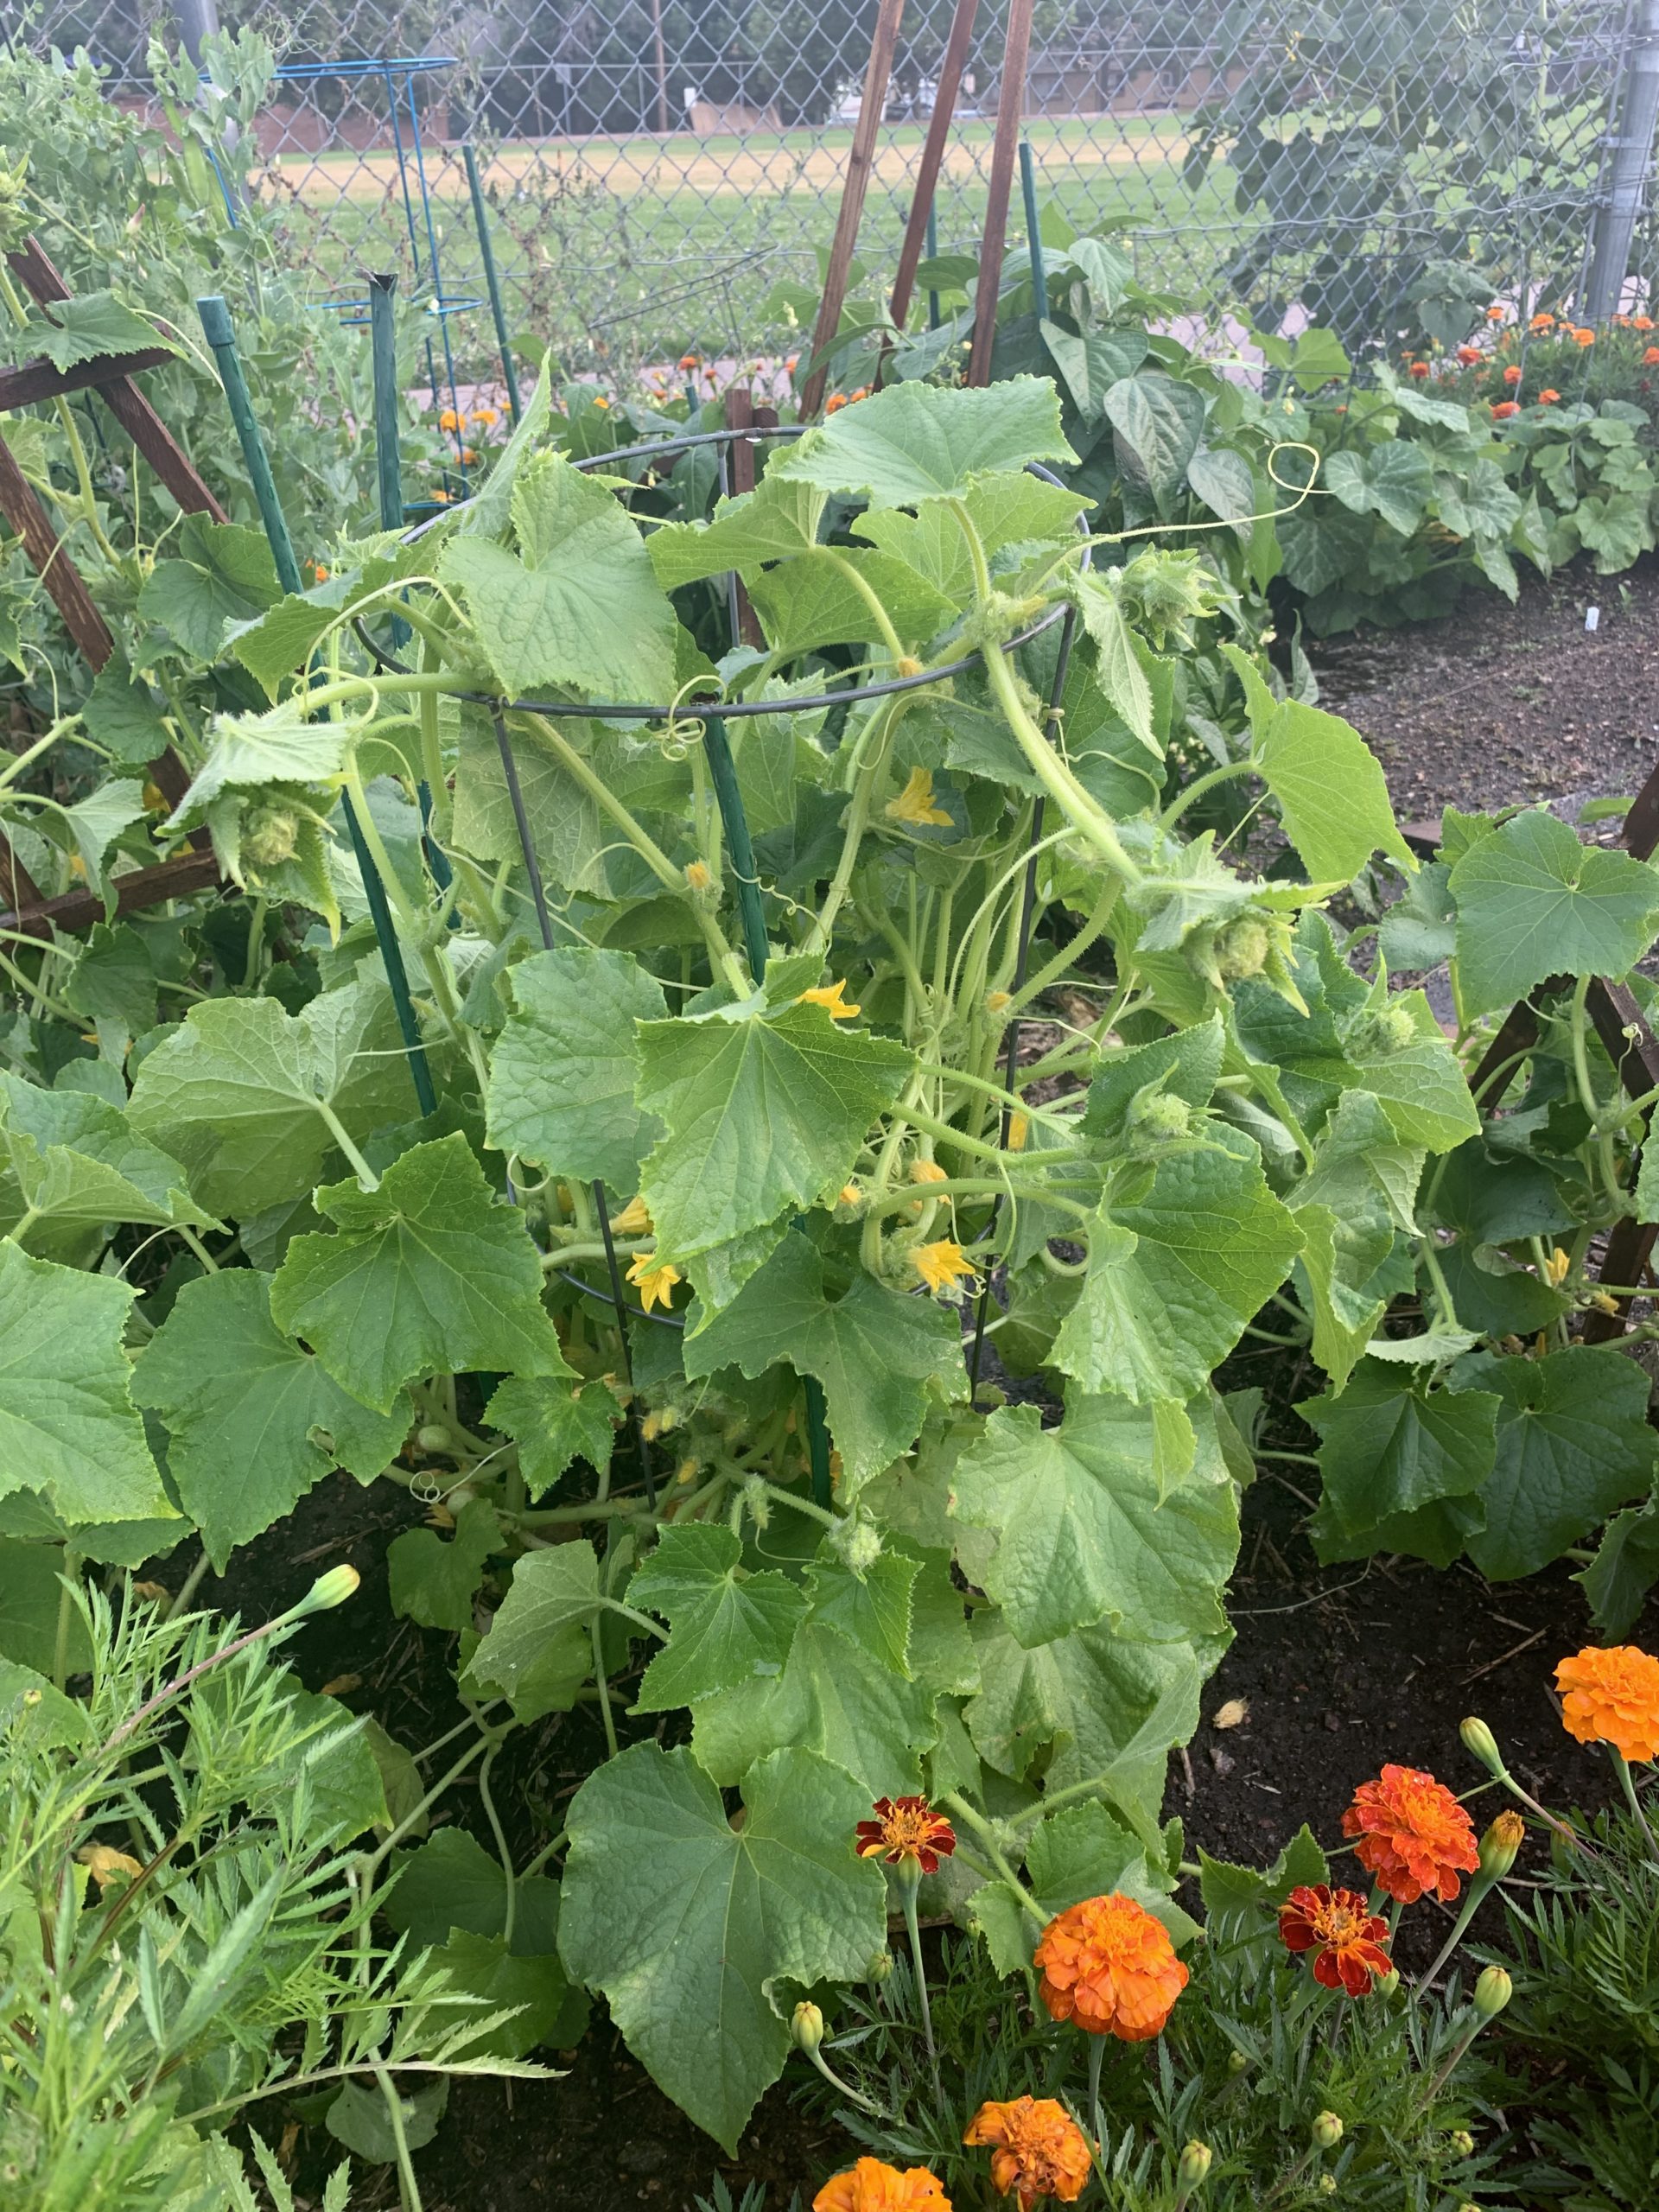
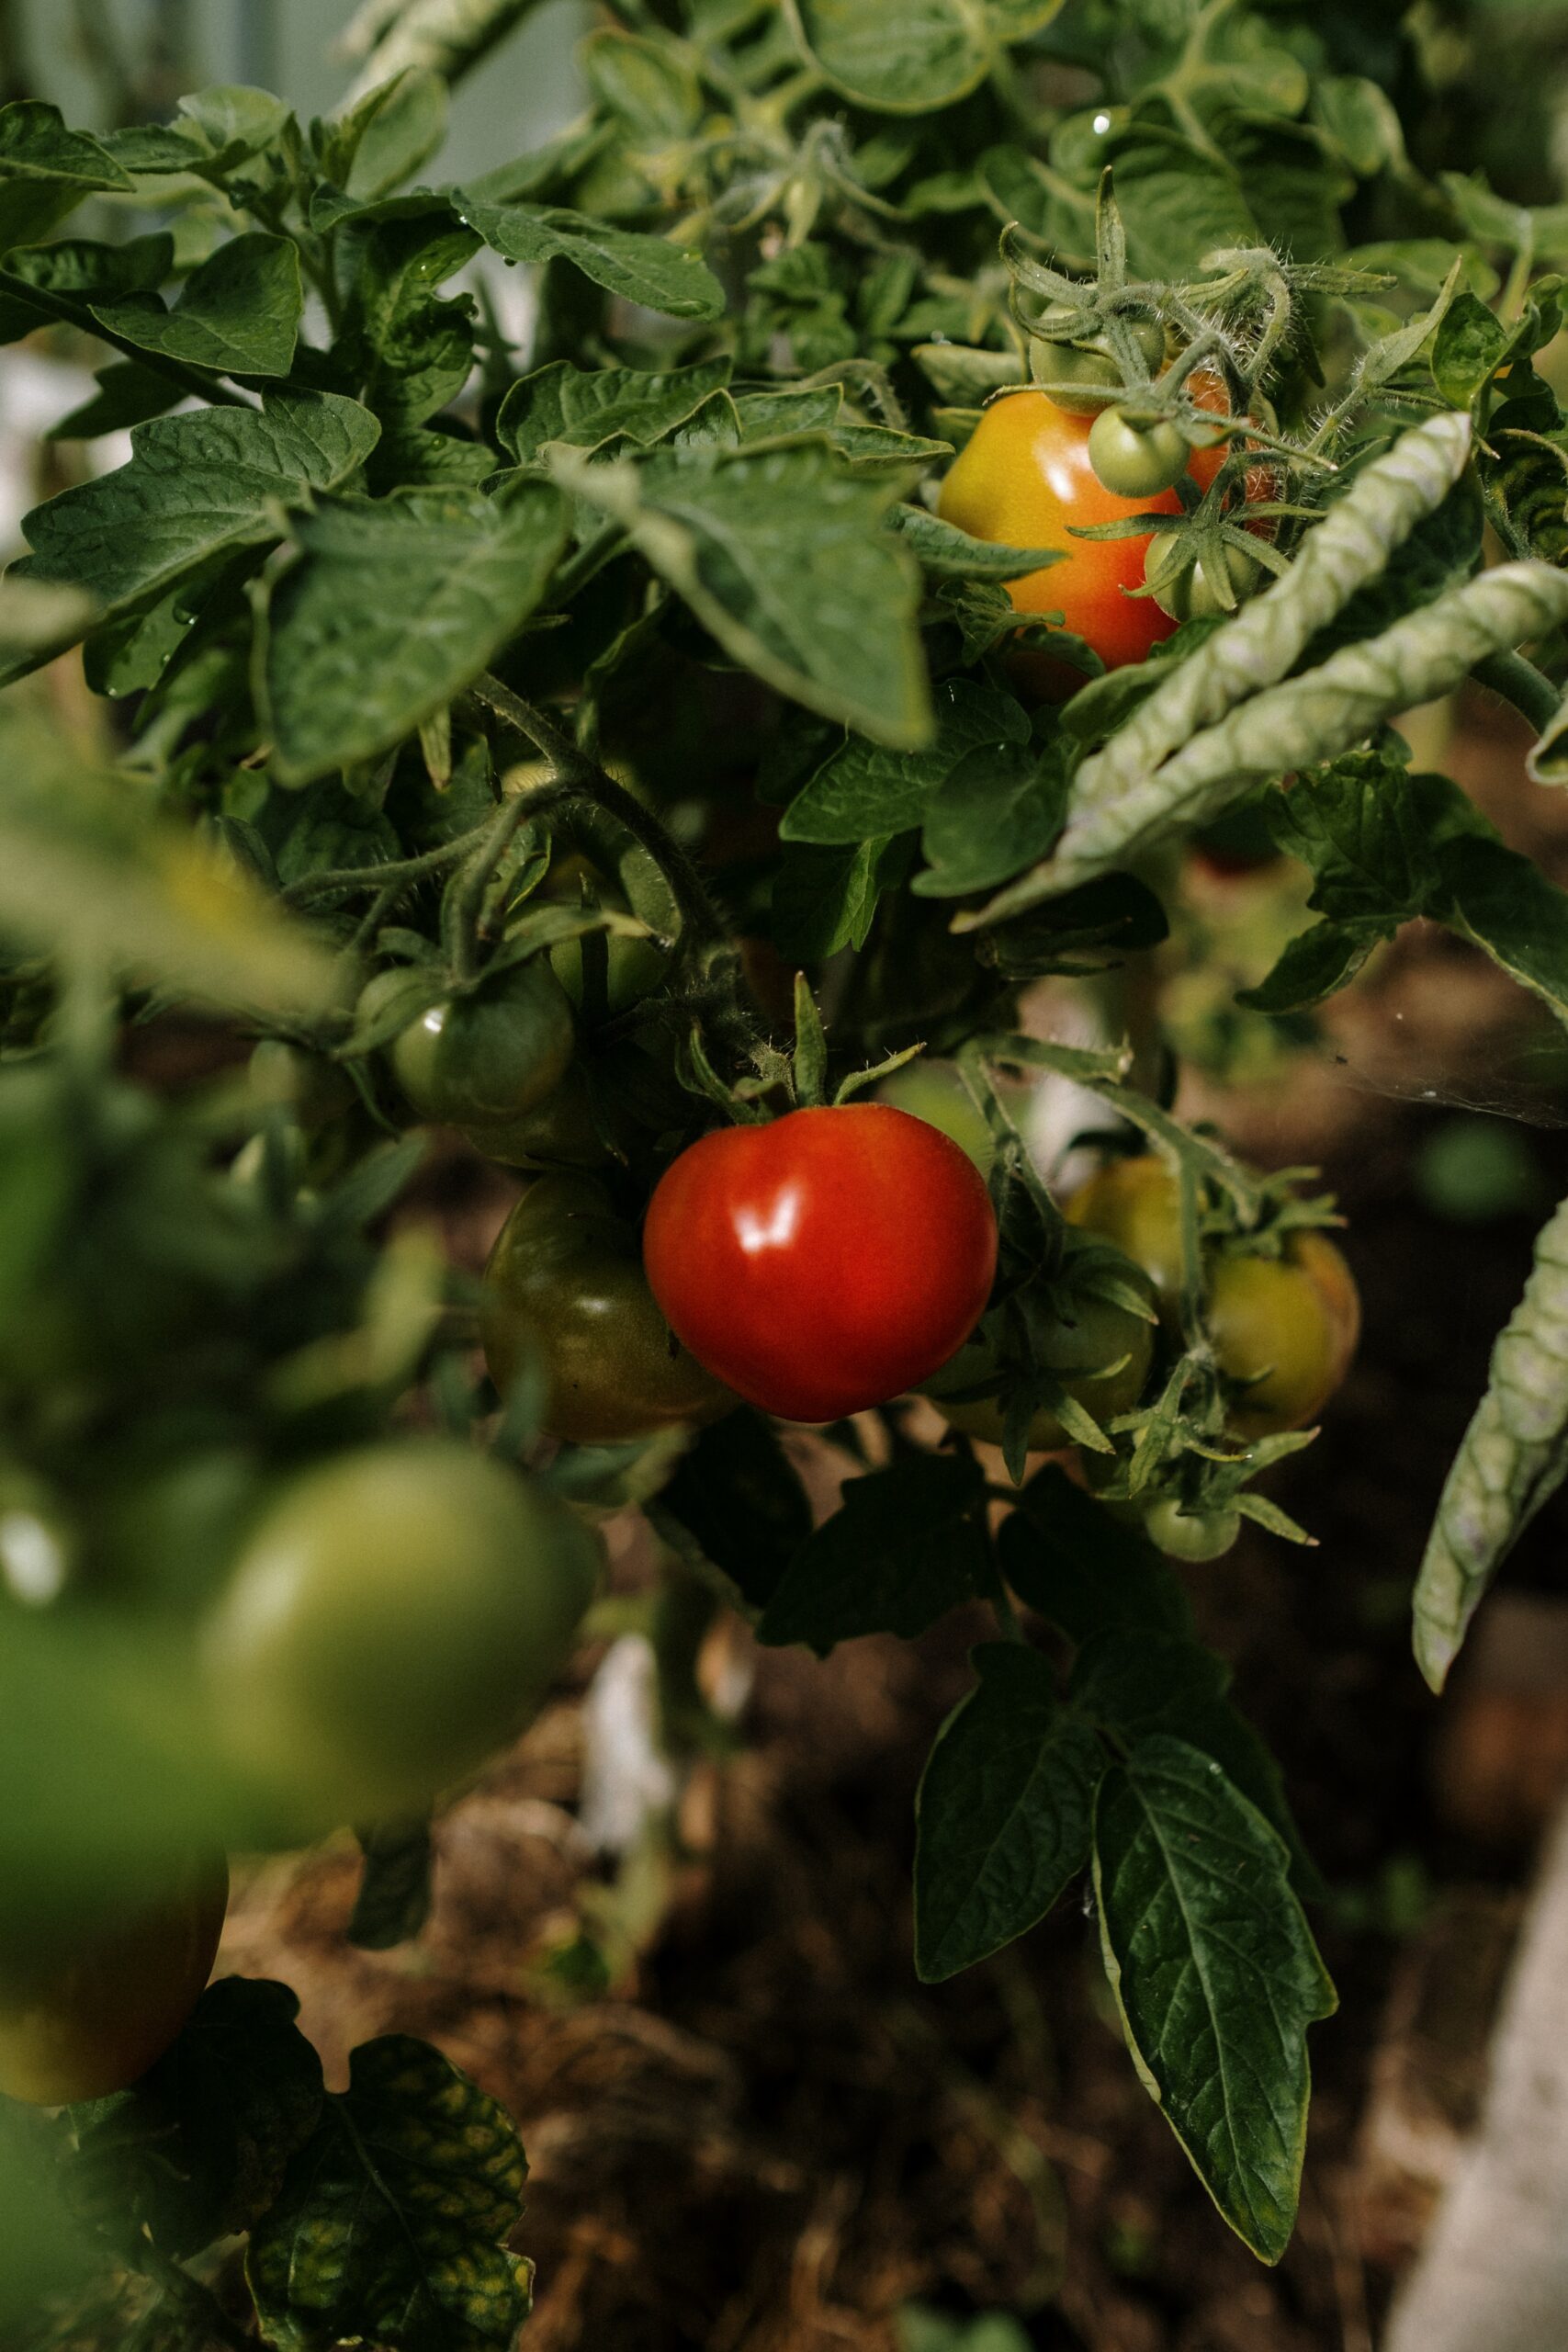
Lettuce can be hard to grow in our hot summers, but if you live next to someone who’s letting their trees hang over the fence, plant lettuce in the shade, and save the sunny spots for peppers and tomatoes. Similarly, all of our brick buildings means there are a lot of south-facing red earthen walls that will trap heat and extend the growing season without building anything extra.

Permaculture is all about careful placement; don’t force something into an area where it won’t thrive! 

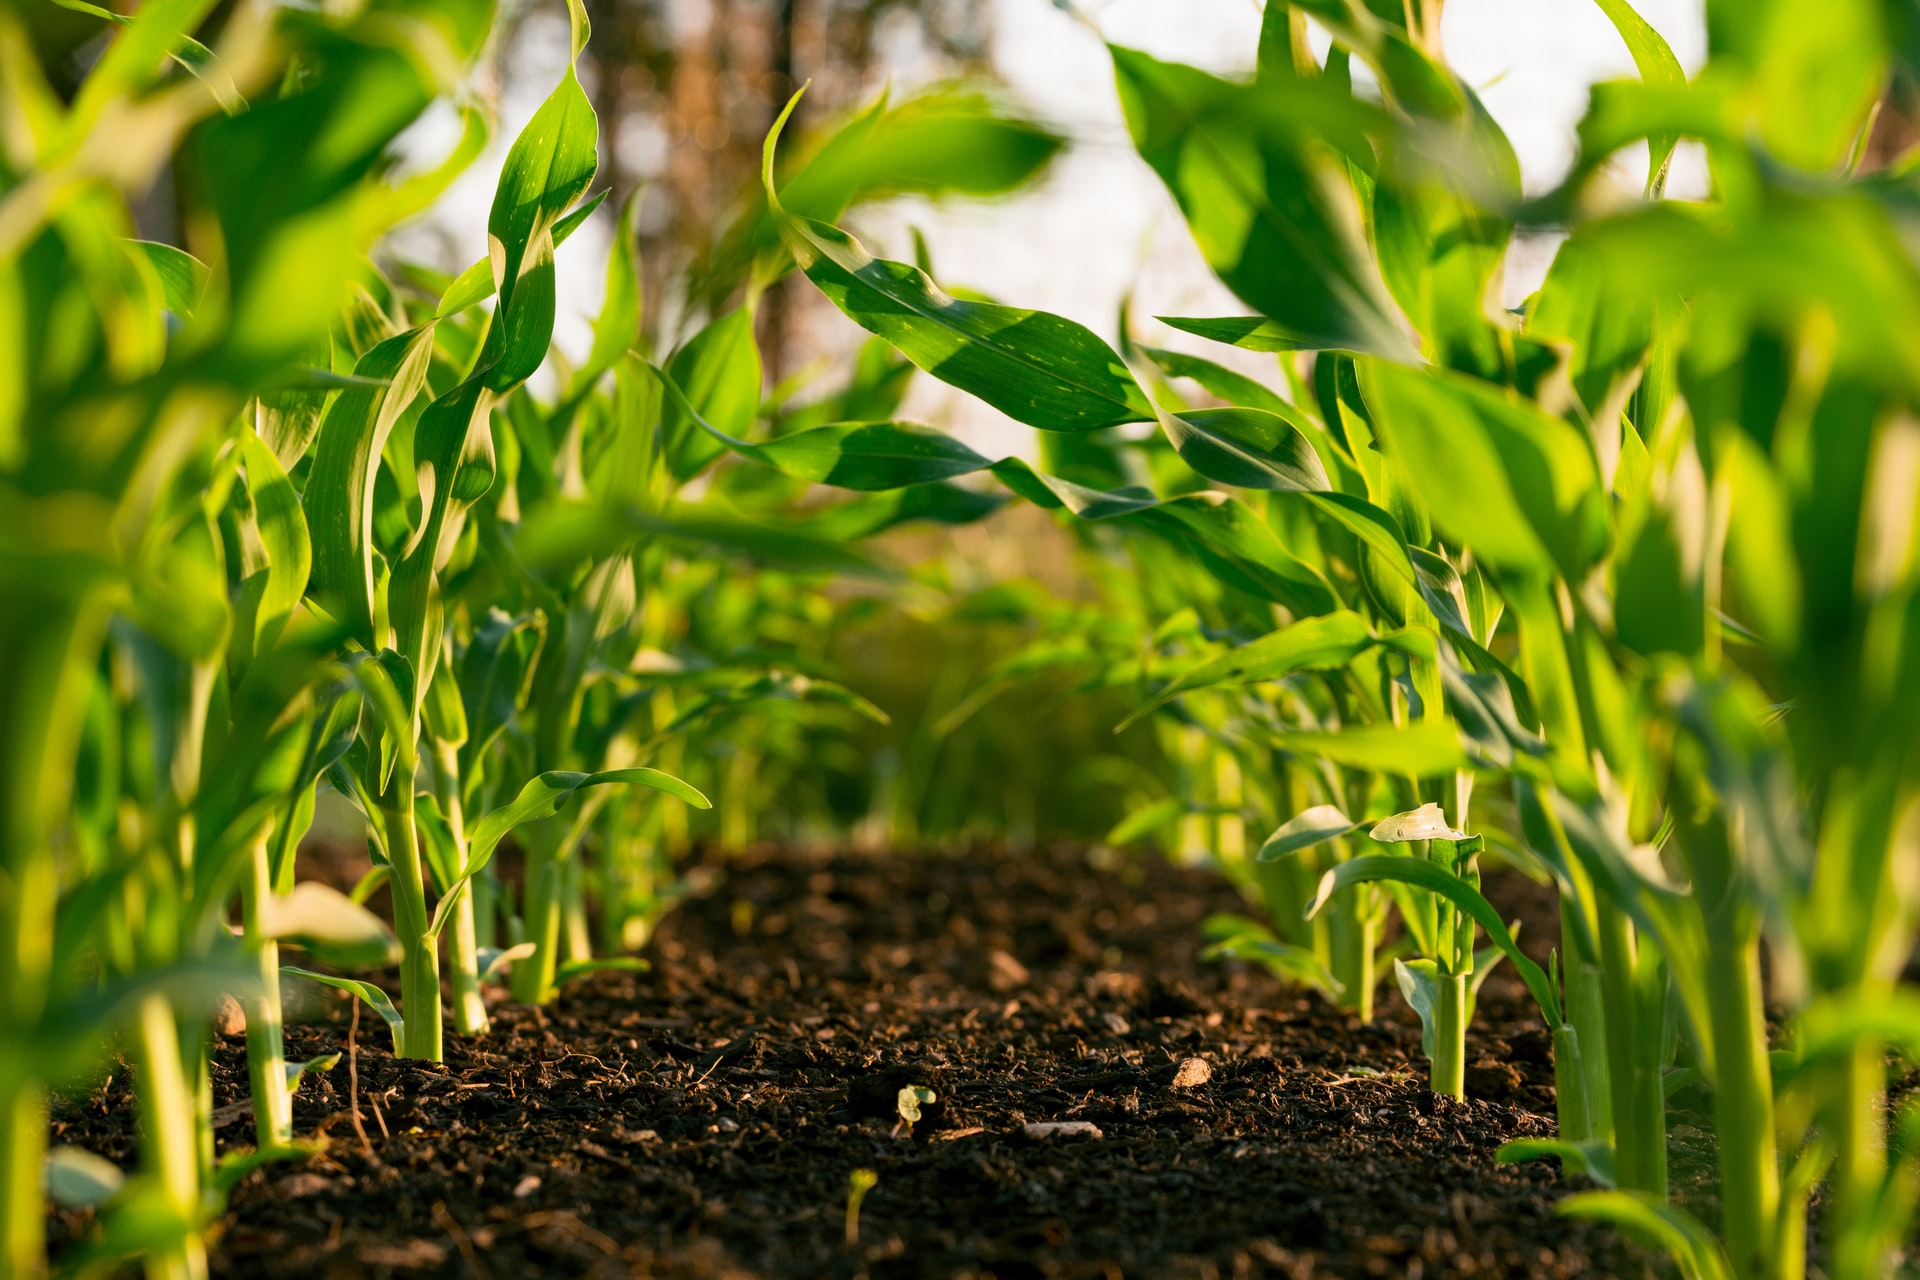
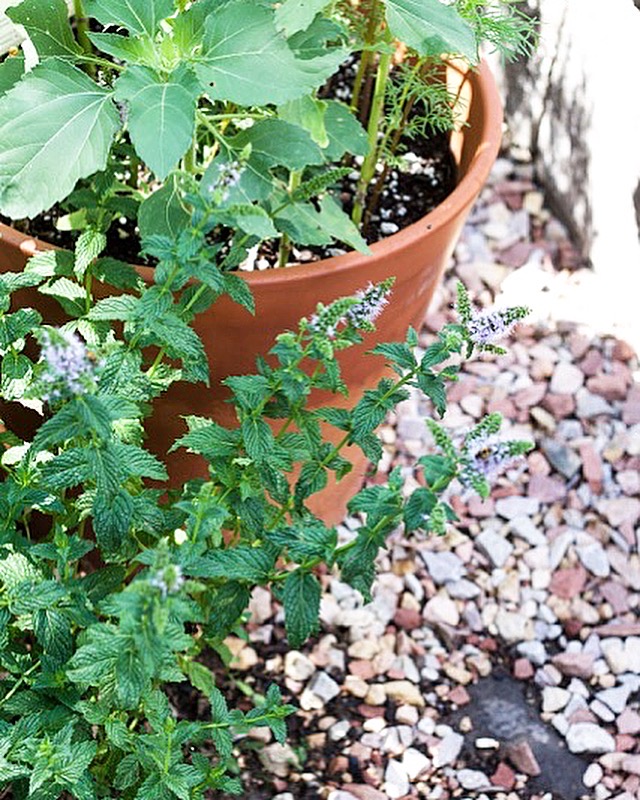
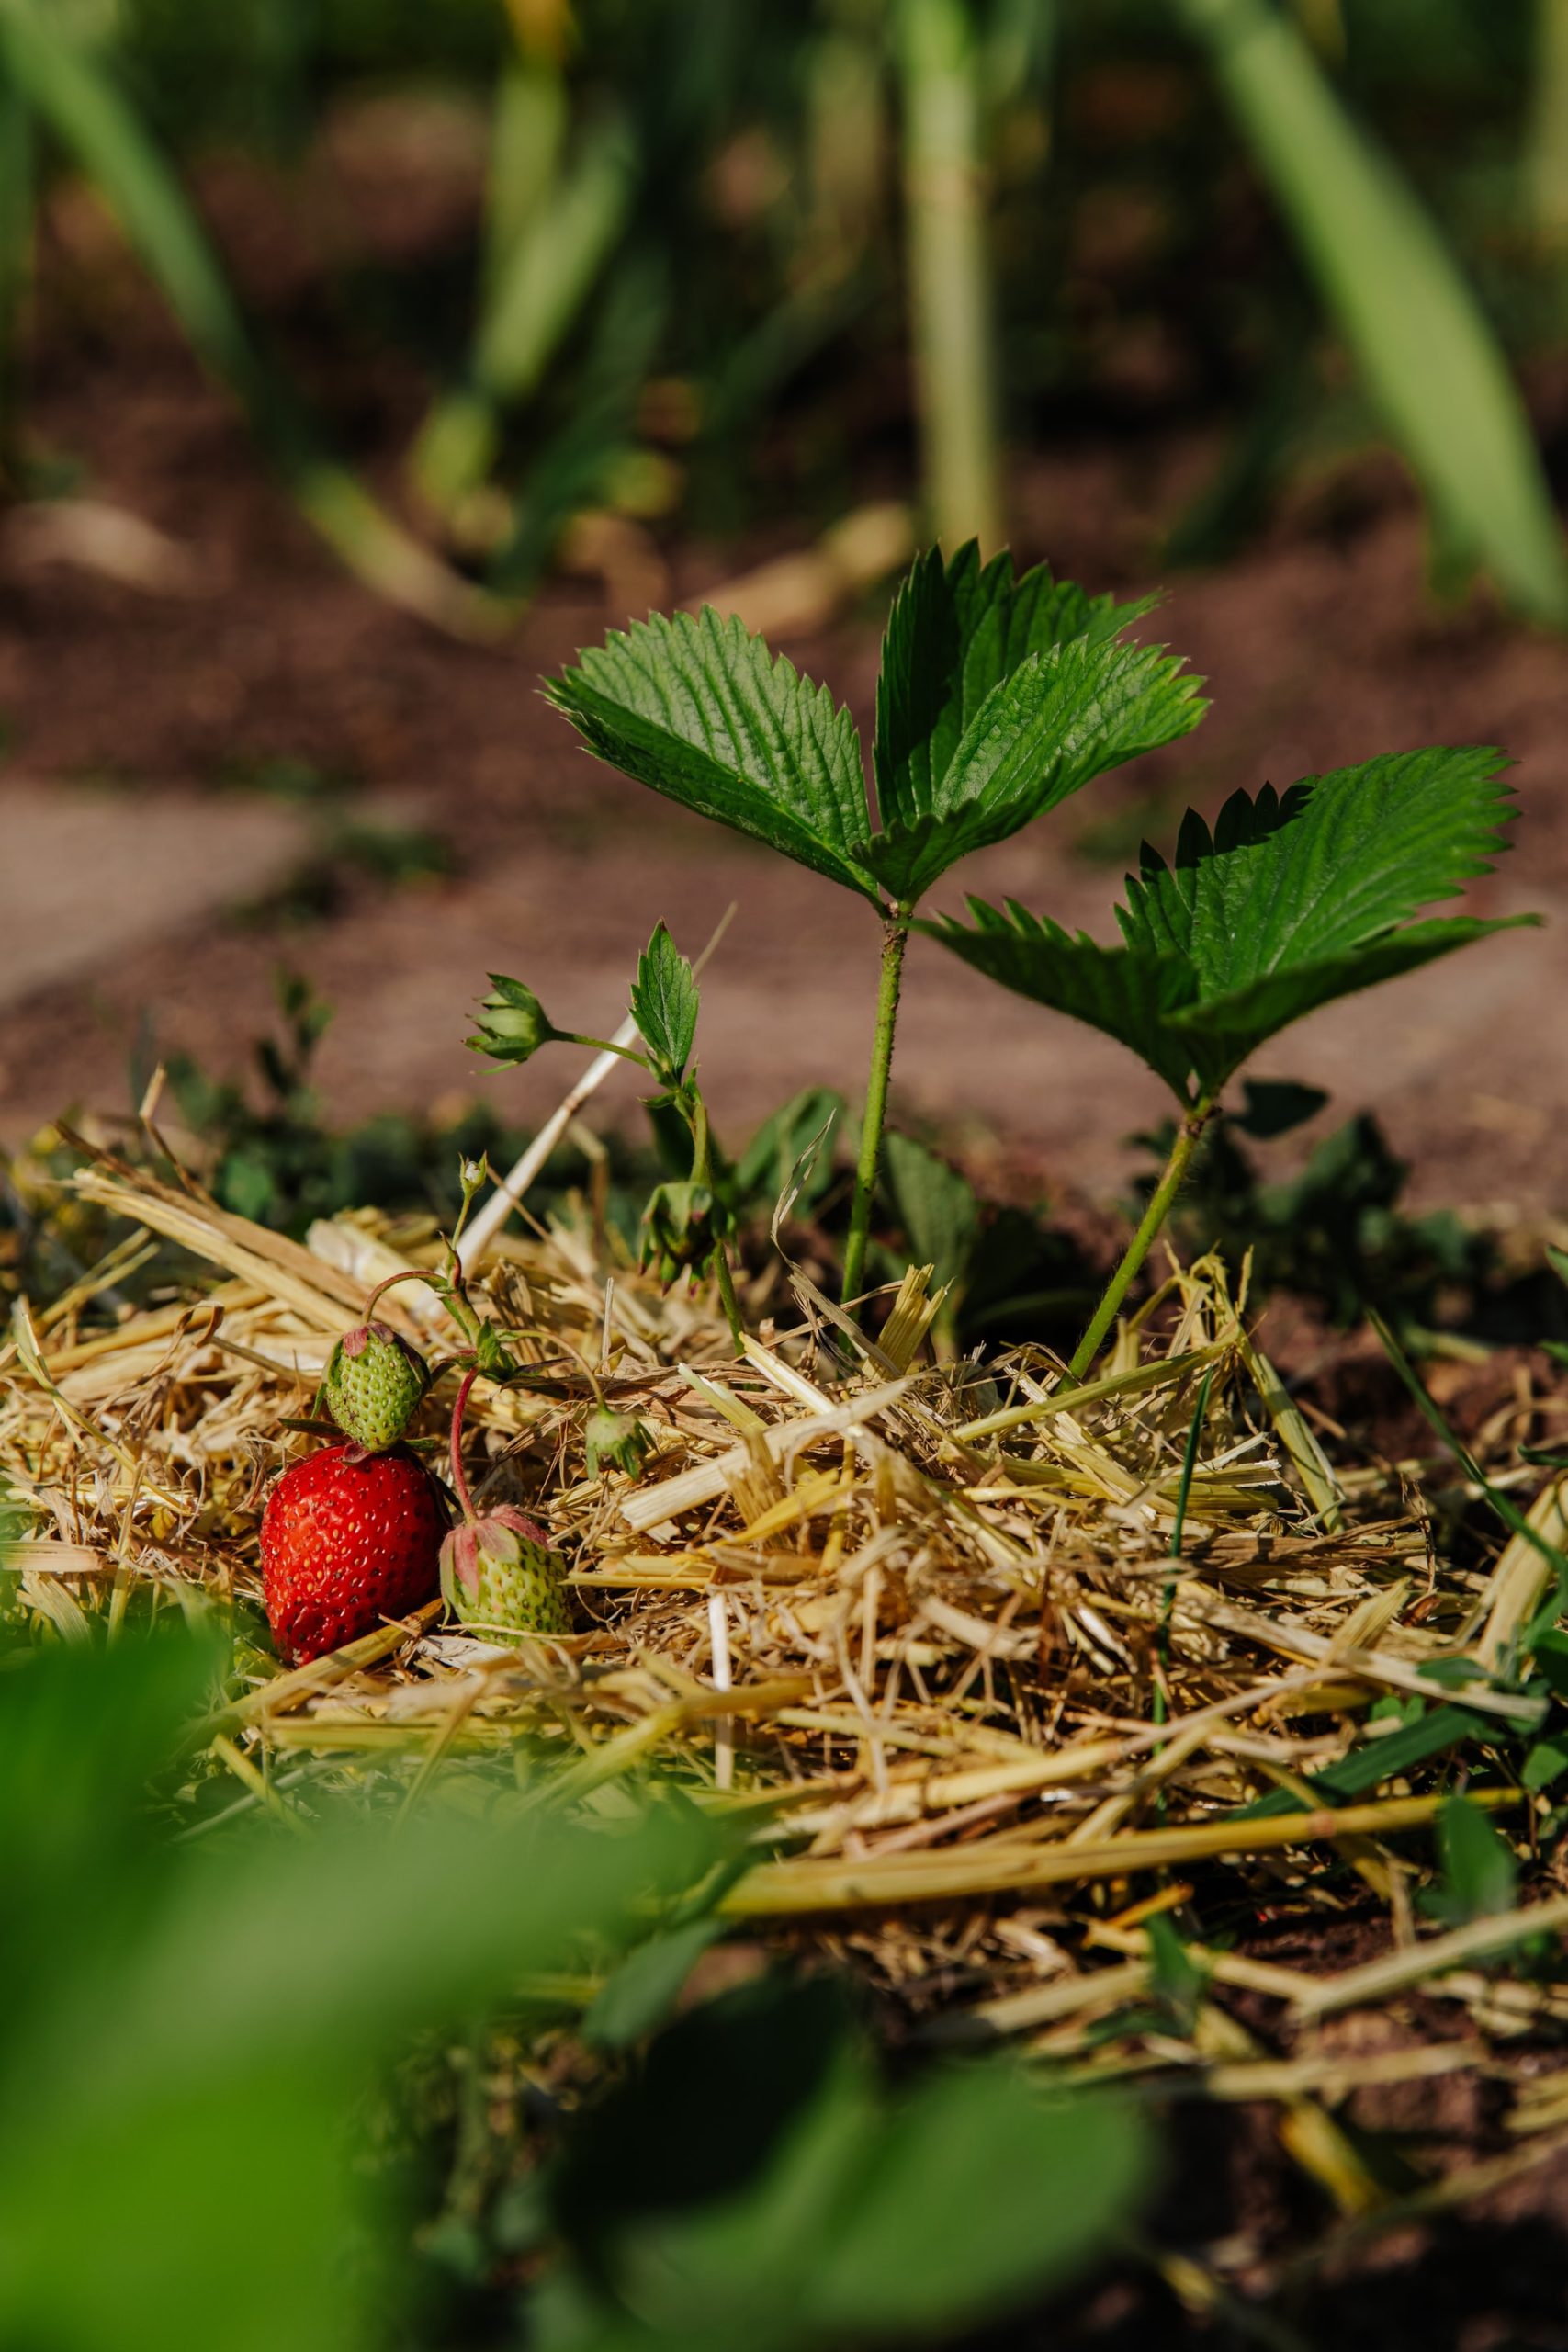
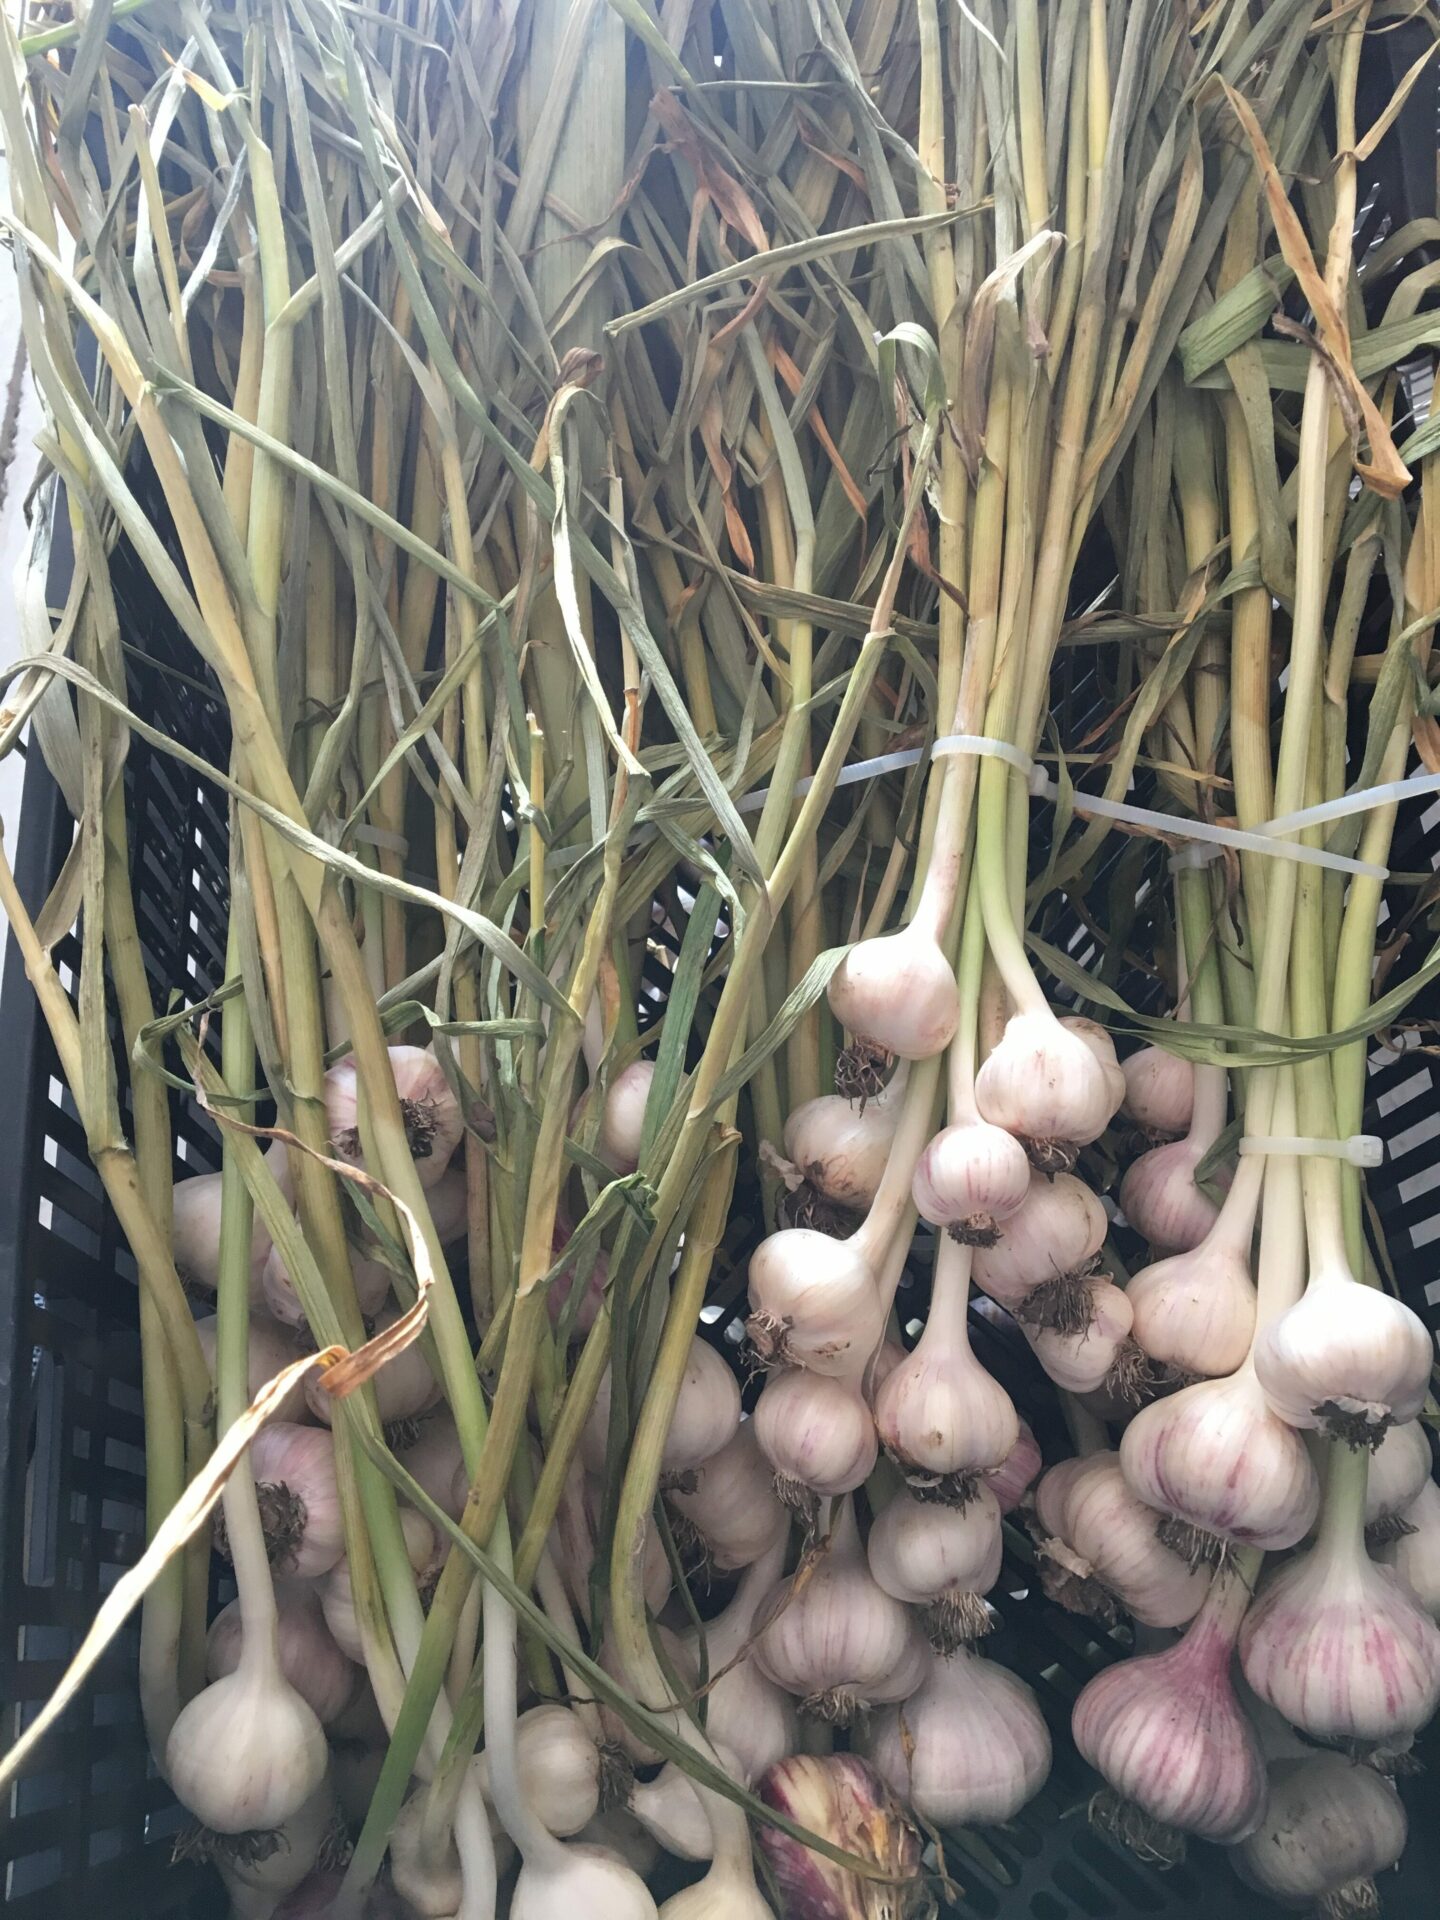
Something else to think about for this year might be perennial plants.

Permaculture design looks to create deep-rooted, regenerative systems in all facets of human life, but certainly in the garden as well, and plants that come back year after year will give an increasing yield, while simultaneously requiring less maintenance and input each year.

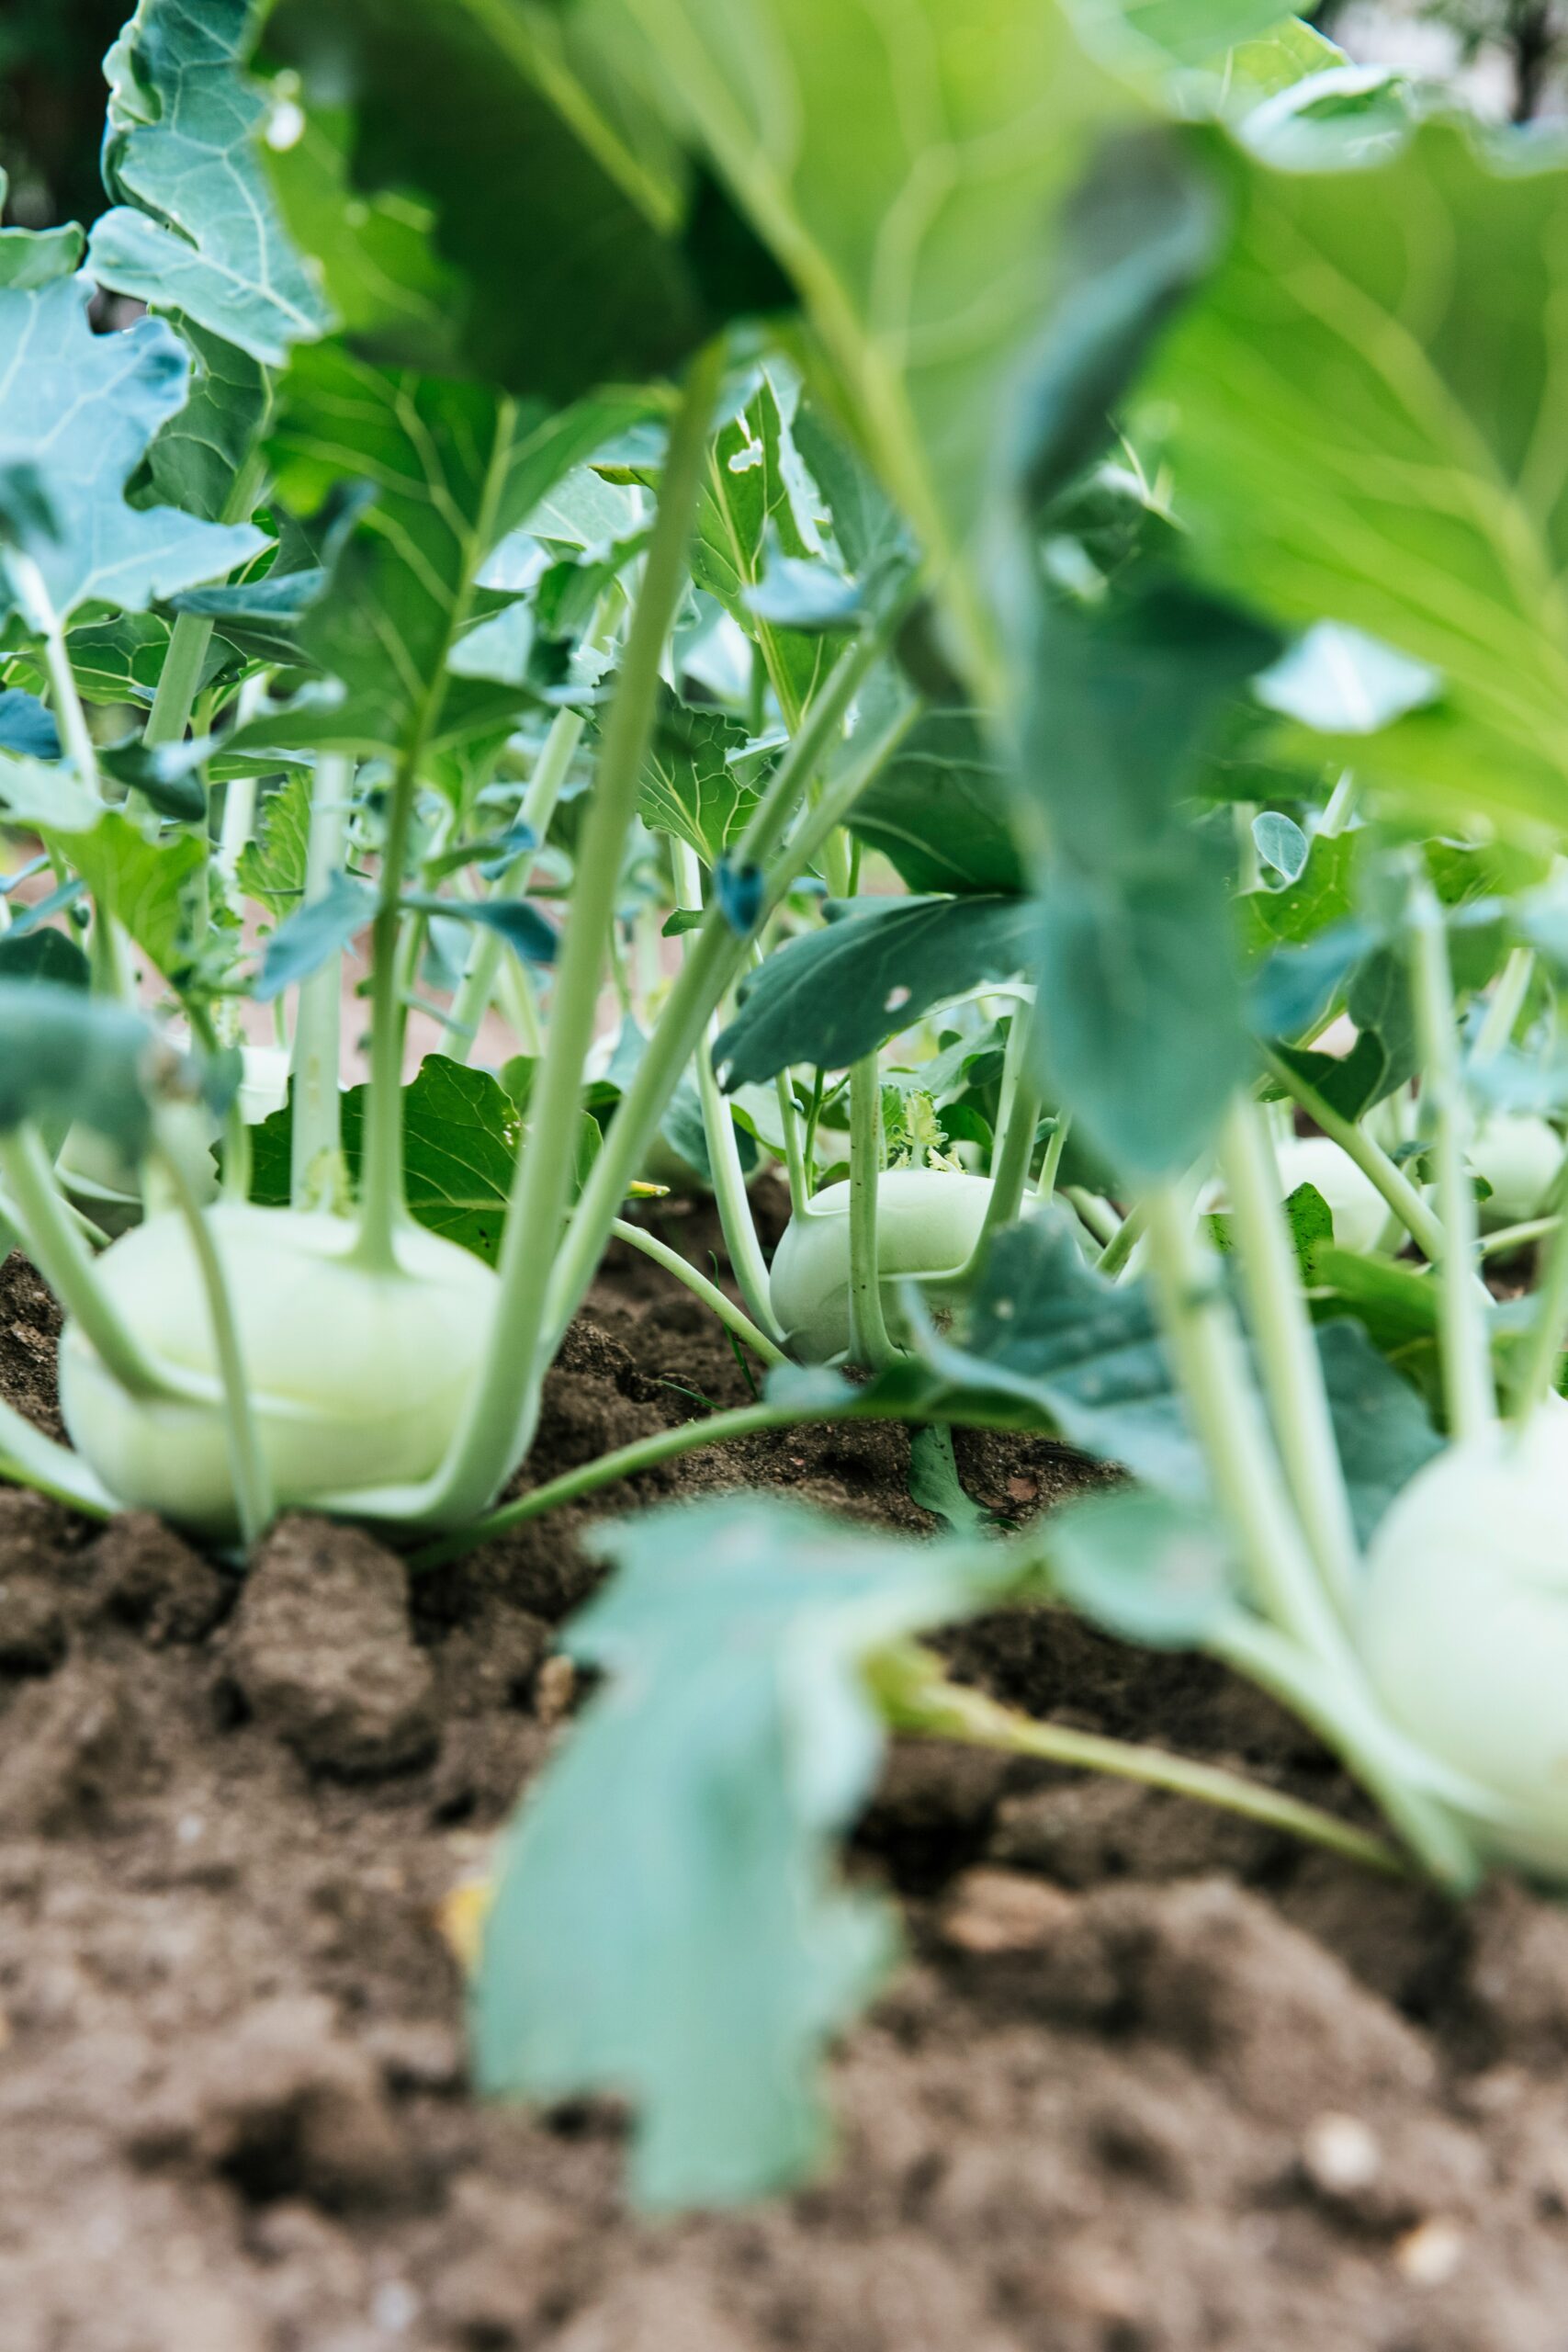
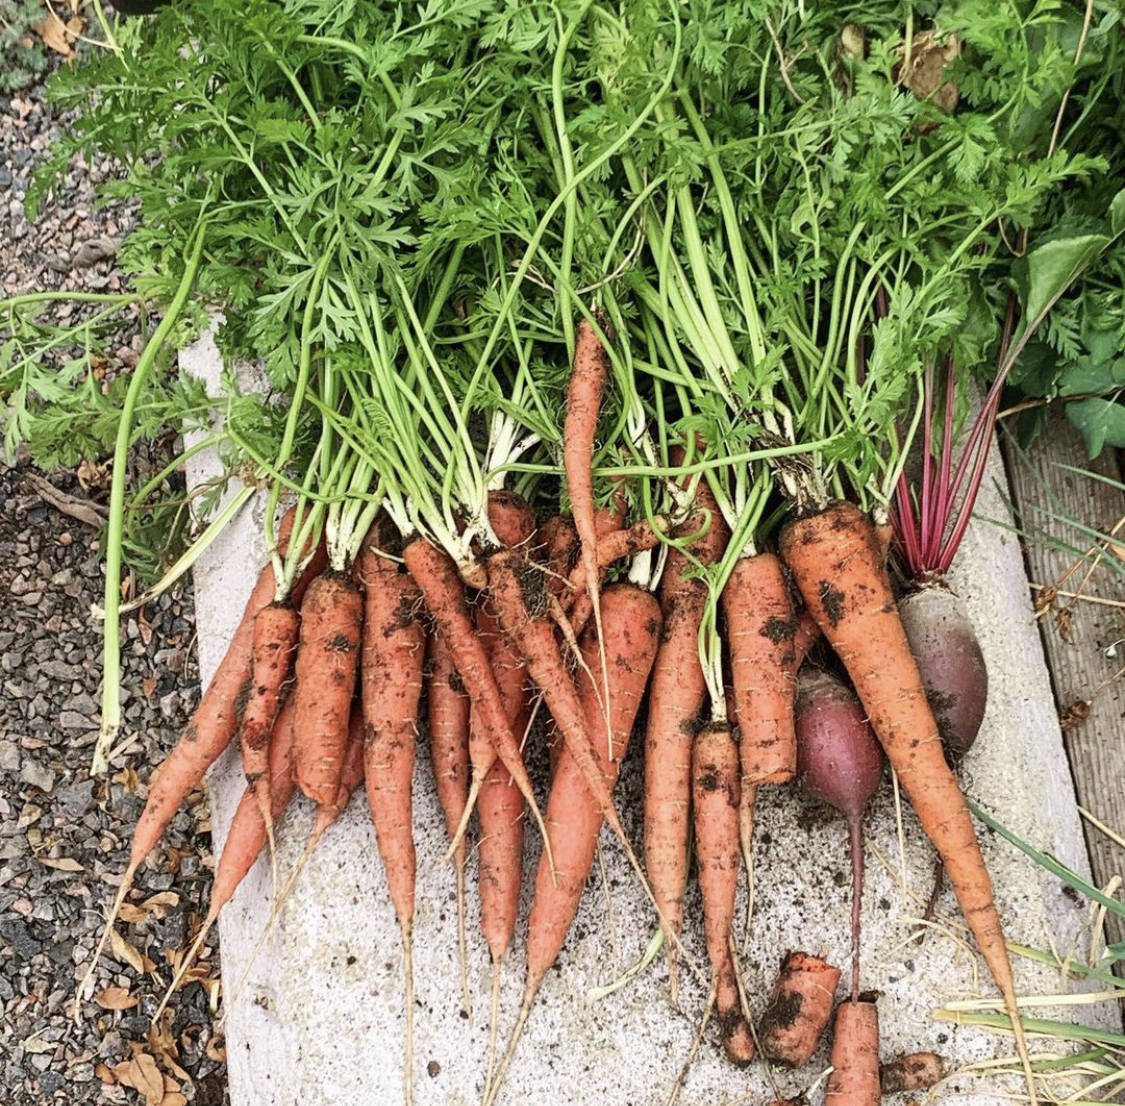
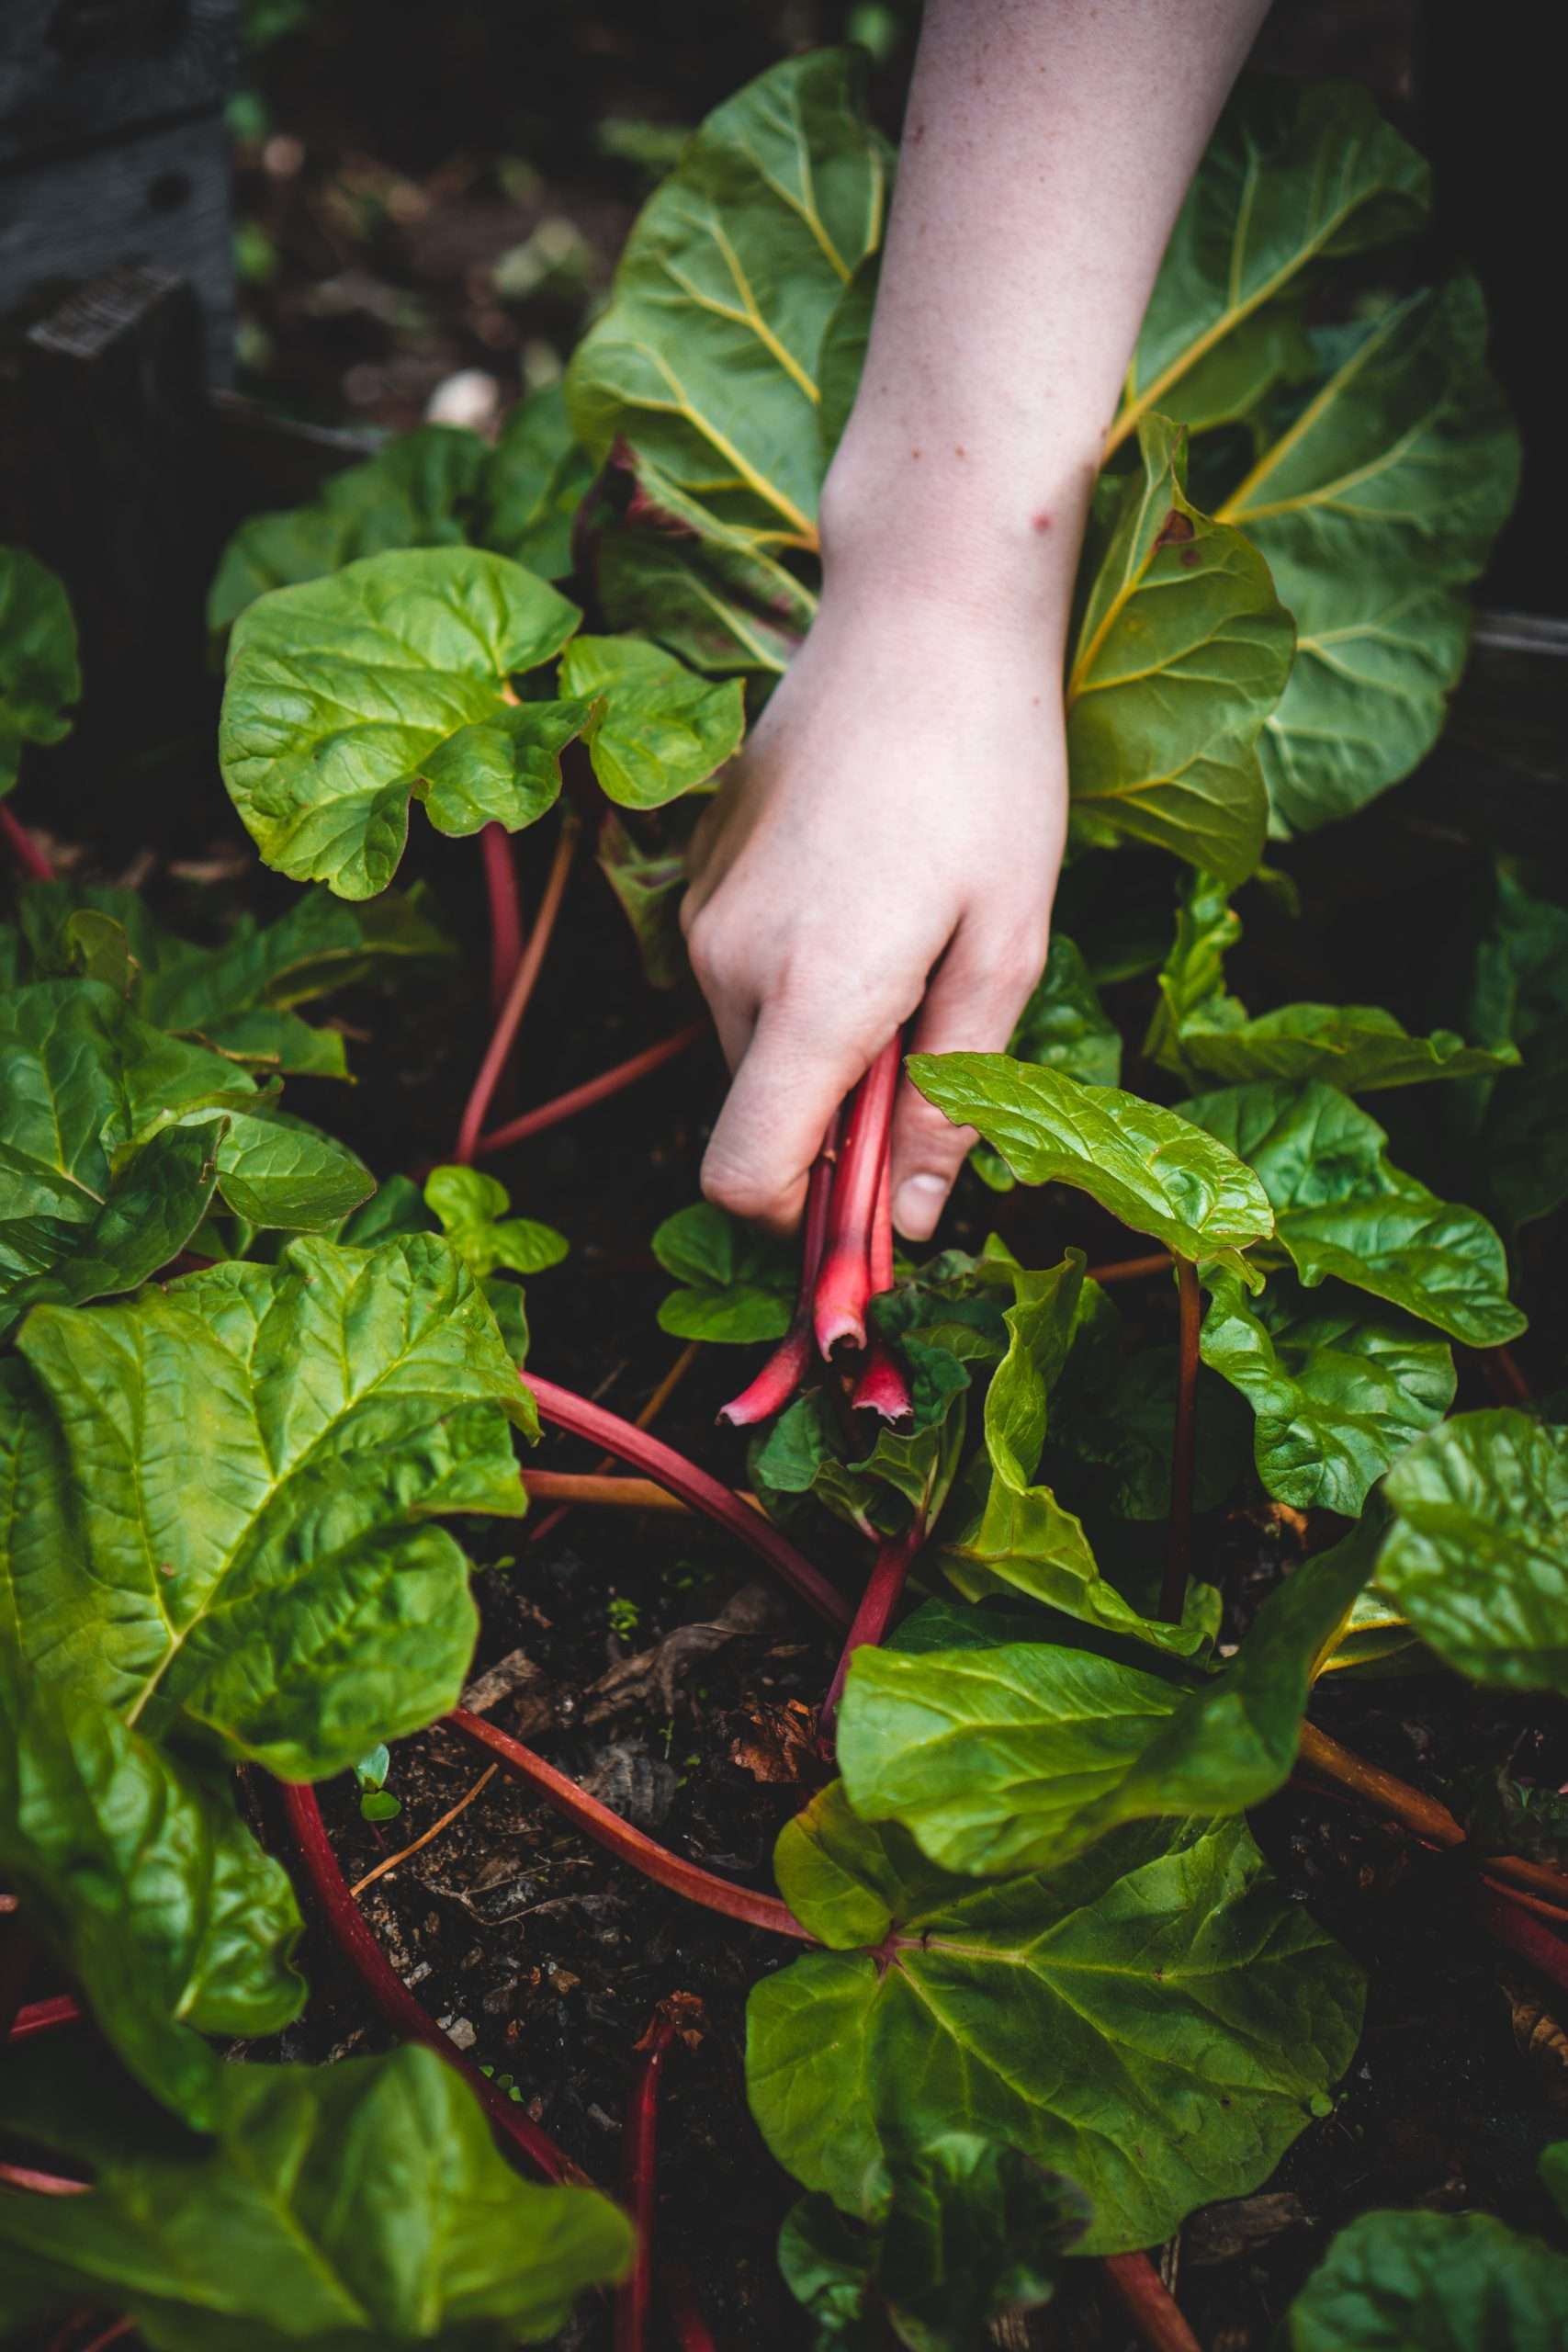
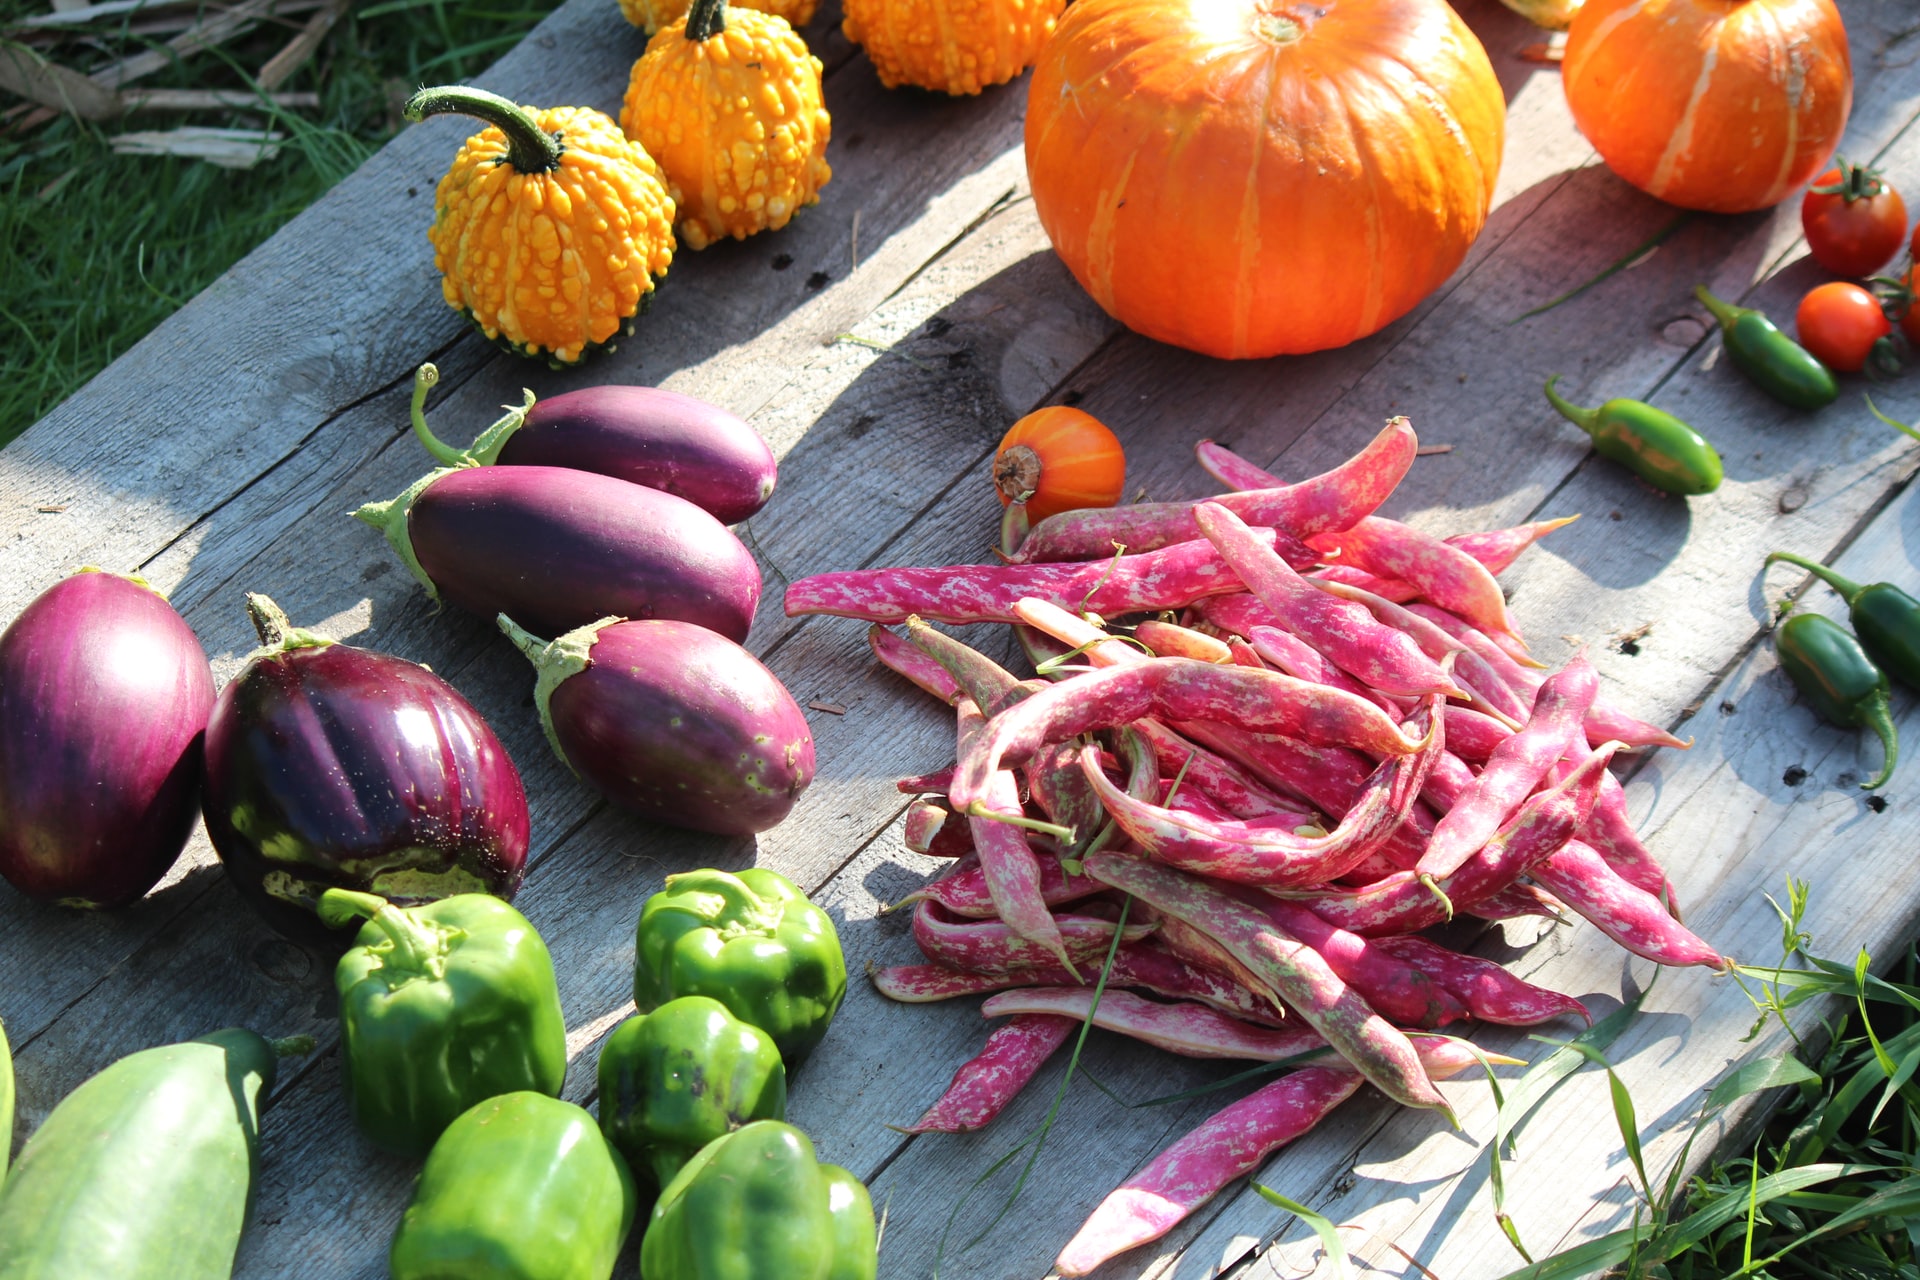
Perennial vegetables like rhubarb and asparagus give an early harvest, while Nanking cherries and wild plums flower early, feeding pollinators and hosting beneficial insects. Comfrey is a great plant to cut back several times a year and add to compost, while yucca and nopales can thrive in brutal conditions and connect you to the ancestral diet of this region.

This is really just the beginning of what a permaculture mindset and practice can bring to your yard and your life. If you’re feeling curious, watch the movie Inhabit, or read the books Gaia’s Garden or Practical Permaculture. Visit the Rainwater Harvesting website for water ideas, and while you’re there you can check out a region-specific Rain and Forest Garden Plant Matrix, compiled by former Boulder permaculturalist Jason Gerhardt. 

Dealing with Flea Beetles

By Education, Grow a Garden, Spring, Summer

Flea beetles are tiny, black, and shiny, and will leave lacy patterns in plant leaves, from cabbages to tomatoes.

‘Jungle Judy’ Elliott, DUG’s Community Education Cultivator,  gave us some tips for treating plants affected by flea beetles:

  • Pull any badly affected plants out.
  • Lightly scratch the soil surface, also known as cultivating the soil, around the plant to expose the pests to birds.
  • Spray the tops and bottoms of affected leaves, and the soil around the plant, with soapy water every three days or so.
  • You can also use organic insecticidal soap.
  • Alternatively, you could spray with a hot pepper mixture. Combine half an onion, 2-3 cloves of garlic, and a hot pepper (seeds and all) in a blender with water. You can also add strong smelling herbs like oregano and sage if you have them on hand. Blend, let sit overnight, and then strain with cheese cloth or a coffee filter, then dilute with water by 50% before spraying plants.
  • To strengthen plants, you can spray with kelp.
  • For preventing infestations, companion plant your brassicas and tomatoes with strong smelling plants like garlic and onions.

Have more questions about organic pest management? Join our upcoming Pests & Diseases workshop. Register here.

Companion Planting Guide

By Education, Grow a Garden, Spring, Summer

Companion planting is the practice of growing different crops near one another to enhance crop production, repel damaging pests, improve soil health, and promote biodiversity.

Three Sisters Garden
Utilizing companion planting also helps maximize your garden space, by pairing different types of plants, like tall plants to provide shade to smaller plants, vining plants like squashes to help with weed suppression, and flowering plants to attract beneficial insects. A great example of companion plantings is ancestral The Three Sisters Garden or Milpa, which includes corn, beans and squash. The corn provides a natural support trellis and shelter for beans, peas and other climbing crops. In return, these legumes provide nitrogen to the soil for the corn and squash plants. Squash and pumpkin leaves shade the smaller bean and pea plants that need sun protection and provide weed suppression.

Here is a list of the most crops and their preferred companions:

Vegetable Plant with Do not plant with
Beans Potatoes, carrots, cucumbers, cauliflower, cabbage,

summer savory, most other vegetables and herbs

Onions, garlic,

gladiolus

Beans, Bush Potatoes, cucumbers, corn, celery, summer savory,

sunflowers, strawberries

Onions
Beans, Pole Corn, summer savory Onions, beets,

kohlrabi, sunflower

Beets Onions, kohlrabi Pole beans
Cabbage Family (cabbage, cauliflower, kale,

kohlrabi, broccoli)

Aromatic plants, potatoes, celery, dill, chamomile, sage, peppermint, rosemary, beets, onions, thyme, lavender Strawberries, tomatoes, pole beans
Carrots Peas, leaf lettuce, chives, onions, leek, rosemary,

sage, tomatoes

Dill
Celery Leek, tomatoes, bush beans, cucumbers, pumpkin, squash
Corn Potatoes, peas, beans, cucumbers, squash, pumpkin
Cucumbers Beans, corn, peas, radishes, sunflowers Potatoes, aromatic

herbs

Eggplant Beans
Leek Onions, celery, carrots
Lettuce Carrots and radishes (lettuce, carrots, and radishes

make strong team grown together), strawberries, cucumbers

Onion/Garlic Beets, strawberries, tomato, lettuce, summer savory,

chamomile, beans (protects against ants)

Peas
Parsley Tomatoes, asparagus
Peas Carrots, turnips, radishes, cucumbers, corn, beans,

most vegetables, herbs (adds Nitrogen to soil)

Onions, garlic,

gladiolus, potatoes

Potato Beans, corn, cabbage, horseradish (should be

planted at corners of patch), marigold, eggplant (as a lure for Colorado potato beetle)

Pumpkins, squash,

cucumber, sunflower, tomato, raspberries

Pumpkin Corn Potatoes
Radish Peas, nasturtium, lettuce, cucumbers
Soybeans Grows with anything; helps everything
Spinach Strawberries
Squash Nasturtium, corn
Sunflower Cucumbers Potatoes
Strawberry Bush Beans
Tomatoes Chives, onion, parsley, asparagus, marigold, nasturtiums, carrots, limas Kohlrabi, potatoes, fennel, cabbage
Turnip Peas

Here is a list of the most commonly planted herbs and their preferred companions

Herbs Companions and Effects
Basil Companion to tomatoes; dislikes rue intensely; improves growth and flavor;

repels mosquitoes and flies.

Beebalm Companions to tomatoes; improves growth and flavor.
Borage Companion to tomatoes, squash, and strawberries; deters tomato worm;

improves flavor and growth.

Caraway Plant here and there; loosens soil.
Catnip Plant in borders; deters flea beetles.
Chamomile Companion to cabbages and onions; improves growth and flavor.
Chervil Radishes; improves growth and flavor.
Chives Companion to carrots; improves growth and flavor; plant around base of fruit

trees to discourage insects climbing trunks.

Dill Dislikes carrots; improves growth and health of cabbage.
Fennel Plant away from the garden; most plants dislike it.
Garlic Plant near roses and raspberries; deters Japanese beetle; improves growth and

health; plant liberally throughout the garden to deter pests.

Horseradish Plant at corners of the potato patch to deter potato bugs.
Hyssop Companion to cabbage and grapes; deters cabbage moth; keep away from

radishes.

Lamb’s Quarters This edible weed should be allowed to grow in moderate amounts in the garden, especially in the corn.
Lemon Balm Sprinkle throughout the garden.
Marigolds The workhorse of the past deterrents; plant throughout garden especially with

tomatoes; it discourages Mexican bean beetles, nematodes, and other insects.

Mint Companion to cabbage and tomatoes; improves health and flavor; deters white cabbage moth.
Marjoram Plant here and there in the garden; improves flavor.
Nasturtium Companion to tomatoes and cucumbers.
Petunia Protects beans; beneficial throughout the garden.
Purslane This edible weed makes good ground cover in the corn.
Pigweed One of the best weeds for pumping nutrients from the subsoil, it is especially

beneficial to potatoes, onions, and corn; keep weeds thinned.

Rosemary Companion to cabbage, bean, carrots, and sage; deters cabbage moth, bean beetles, and carrot fly.
Rue Keep it far away from sweet basil; plant near roses and raspberries; deters

Japanese beetle.

Sage Plant with rosemary, cabbage, carrots, beans, and peas; keep away from cucumbers; deters cabbage moth and carrot fly.
Summer Savory Plant with beans and onions, improves growth and flavor; deters bean beetles.
Tansy Plant under fruit trees; companion to roses and raspberries; deters flying insects,

Japanese beetles, stipend cucumber beetles, squash bugs, and ants.

Tarragon Good throughout the garden.
Thyme Plant here and there in the garden; it deters cabbage worms.
Yarrow Plant along borders, paths, near aromatic herbs; enhances essential oil

production.

Adapted from Organic Gardening and Farming, February 1972, pp. 32-33, 54, and The Encyclopedia of Organic Gardening, Rodale Press, Inc., 1978, pp. 233-235.

Strategies to Combat Hail

By Education, Grow a Garden, Spring

To Replant or Not to Replant

Although there is no single solution to mitigate the impact of a severe hailstorm, it’s sometimes helpful to take a few minutes and remember some of the strategies we can pull out of our toolboxes to help promote healing.

  • Gardens, like their caretakers, are resilient and have an amazing capacity to  ‘come back’ in the most challenging situations. For a few days after a severe hailstorm, allow for grieving to occur but don’t concentrate on this aspect.
  • Carefully look for signs of new growth, and realize that given the crop or time in the season in which hail occurs, many plants will have time to recover.
  • After several days, spread about ½ inch of aged, landscape – based compost around all plants, and, using a hoe, hand trowel, or other type of cultivating tool, lightly dig it into the soil, taking care to not dig deeply or damage roots. Hail Storms lead to hard, crusted soil and a light cultivation not only opens air channels but also allows for the slow release of nutrients obtained from compost.
  • Tomatoes have the benefit of producing new side shoots from many of the leaf nodes so watch for this new growth before pruning them back.
  • Prune back damaged tops of eggplants and peppers to an outward facing node.
  • Remove shredded leaves that may be on the soil surface to prevent places for slugs, cutworms and other moisture – loving critters to move in.
  • Use a foliar spray (a spray bottle is fine) with one tsp. of liquid kelp per pint of water & spray all foliage with this solution.  Kelp provides many micronutrients and also compounds known as cytokines that stimulate and strengthen new plant growth.
  • Remove outer leaves of damaged lettuce and squash, to stimulate new growth.
  • Replant seeds of collards, summer squash, basil and beans. There’s plenty of time left in the season for them to flourish.
  • Plant marigolds and zinnias around the edges of beds to attract beneficial pollinators.
  • Consider erecting windbreaks of fallen branches near crops to break the force (next time, of course) of pounding rain, wind and/or hail. Branches can be erected in ‘teepee like’ structures to straddle rows of taller crops. If crops are low enough, a basic cover of several layers of garden row cover (often sold as ‘season extenders’ or frost protection) placed directly over the crops and weighted down with rocks or soil at the bottom may provide some protection.

Most of all, celebrate you! Realize that you play an essential part in the garden’s recovery. Hail is a natural part of our Colorado landscape—but so are the incredible blue skies, relatively few problems with disease-causing organisms and smiles we gain from noticing that first new shoot that seems to stand out so strongly as a survivor—a testament to the caring spirit of you—that special person working in partnership with the earth.

Hands holding a handful of dirt with red wriggler worms

Basics of Vermicomposting

By Education

Composting is a natural way to take organic material like food scraps and garden materials and turn them into a natural soil amendment called compost.

Vermicomposting is the process of using worms to turn these materials into a specific type of compost called castings, or worm poop.

Here are some basics of vermicomposting at home, which our Master Composters explain in depth at our vermicomposting classes the first Saturday of every month during spring, summer and fall.

Here are some basics of vermicomposting at home, which our Master Composters explain in depth at our vermicomposting classes the first Saturday of every month during spring, summer and fall. 

Follow these guidelines and watch this video to get you started in your journey with worm composting.

What is vermicompost
Vermicompost, or ‘worm castings’, is worm manure, the end result of worms eating food scraps and garden waste, digesting it and turning it into a soil-looking material with high levels of nutrients and beneficial fungus and bacteria that allow plants to easily access nutrients, making it a great soil amendment to improve the health and growth of your plants, indoors or outdoors. 

What kind of worms should you use?
The most commonly used worm for home vermicomposting is the Red Wiggler worm. This is different from an earthworm, which does not thrive in captivity.  

Hands holding vermicompost (worms and lettuces and dirt)

The Ideal Home for Red Wiggler Worms
Worms prefer a temperature range between 55-77 degrees fahrenheit (13-25 celsius) and a moist environment. You can build a home vermicomposting bin to suit these needs with simple materials:

  • A shallow wide tub – drill holes all around the container to allow air flow
  • A bottom liquid catcher – worm bins produce ‘worm leachate’ that settles at the bottom of the bin. You can dilute this and use it to water your plants. 
  • A lid – Keep the lid ajar to allow air flow

Bedding: the ideal bedding is made of ‘brown materials’ like newspaper (non-glossy), brown recycled paper, unbleached paper, dried leaves, cardboard, or egg cartons, wet like a wrung out sponge but not soaked that could drown the worms because they breathe through their skin.

What do they eat?
Red wiggler worms have a wide plant-based diet. No meat or dairy products, the only animal product they eat is eggshells. They also stay away from citrus fruits, garlic or onions, spicy peppers, all of which irritate their skin. They also eat unbleached paper, dried leaves, and the different materials used to make their bedding. 

You can feed your worms a pint of food scraps once every couple of weeks, making sure they have consumed their previous meal. Too much food scraps can bring unwanted smells and critters, for that same reason make sure to bury the food scraps under the bedding. 

How to Harvest the Castings
Stop feeding and watering the bin a week before you plan to harvest the castings, to allow it to dry out a bit to make it easy to separate the castings from other material and from the worms. 

  • Build a mount and allow light to hit the worms, they will scurry down to hide from the light making it easier to leave them behind.
  • Use a colander or similar tool to sift through the castings leaving behind large pieces of food scraps or bedding.

How to Use the Castings
Castings are nutrient-dense, heavy on nitrogen that can burn your plants if added in high amounts. It is a great fertilizer used in small quantities:

  • Top dressing: sprinkle a small amount of castings at the base of bushes or around vegetable plants and lightly work into the soil
  • Casting tea: in a 1:3 castings to water ratio, dilute the castings and let the mixture rest overnight. Apply directly to the root base of the plants.
  • Soil amendment: Add worm castings directly to the soil where you are planting, about 10% of the soil mass.  

Keep your fully-dried castings in a container in a cool-dry area, and use it throughout the growing season for outdoor plants. Apply to indoor plants every couple of months to boost their growth throughout the year.

Learn more about our composting classes here.

Guide to Container Gardening

By Education, Grow a Garden, Spring

Container gardening refers to the gardening practice of cultivating plants in pots, tubs, or other containers instead of directly in the ground or in raised beds. Container gardening allows for food, flower, and herb production in locations where traditional gardens are not possible or accessible, including patios, balconies, decks, and sites with poor soil quality. They are a great option for renters, individuals with limited mobility, gardeners seeking to extend the growing season, and beginner gardeners looking to start their gardening practice gradually.

The portability of containers allows gardeners to choose micro-climates for each plant based on their preferred temperature and level of sunlight. Please refer to the instructions on the back of your seed packets for more information about the preferred micro-climate of your plant varieties. 

Keep in mind that containers are more susceptible to high temperatures and moisture loss than traditional gardening arrangements. You can mitigate damage to your plants by watering the base of the plant only, checking water level daily, covering the soil with mulch, and, if necessary, using shade cloth to lessen the sunlight’s intensity. 

When growing plants in containers, pay special attention to the type of soil that you use. Soil from garden beds or your yard is generally too dense for container gardening. Instead try a lightweight potting mix.

Most garden centers will carry general purpose potting mixes or mixes specifically designed for container gardening. Or create your own soil substitute for container gardening by mixing 3 parts organic compost, 3 parts peat moss or coconut coir, and 1 part vermiculite.

Plants grown in containers often need additional nutrients since potting mixes don’t provide the same nutritional profile as garden soil. Use an organic based fertilizer several times during the season.

Remember to always add mulch (such as straw, not wood chips) on top of your soil in containers to reduce moisture loss from intense Colorado sunlight.

Tips for choosing containers 

  • Use containers at least 8” in depth for all plant varieties other than herbs and lettuces, and much larger containers will be required for many plant varieties. 
  • In general, the larger the container, the better. More soil and space will allow plants to thrive and generate larger harvests. 
  • Always use containers with drainage holes on the bottom or drill drainage holes into containers that do not already have them. 
  • You can increase harvest yield for some plant varieties (such as potatoes) with specialized planters adapted to the unique features of certain plants.

Tips for selecting plant varieties

  • Always select plants based on the amount of light available in your space. Refer to the back of seed packets for this information. 
  • Consider planting more than one plant variety together in a container. Companion gardening is most effective when you choose plants that have physical characteristics that aid each other’s growth. Common companion plants for container gardening include: 
    • Beans, Carrots, and Squash
    • Eggplant and Beans
    • Tomatoes, Basil, and Onions
    • Lettuce and Herbs
  • Companion plants should have a diversity of root depths to limit competition for water. 
    • Common shallow root plant varieties include: chives, lettuce, radishes, salad greens, basil, cilantro, beans, garlic, kohlrabi, onions, peas, mint, and thyme.
    • Common deep root plant varieties include carrots, chard, cucumber, eggplant, fennel, leeks, peppers, spinach, parsley, rosemary, beets, broccoli, okra, potatoes, and summer squash. 
    • Most, but not all, plant varieties are adaptable to growing in containers. Common varieties that are generally not adaptable to container gardening include deep-root plants such as corn or sprawling plants with extra large yields like pumpkins and melons. 
      • Varieties with ‘Patio’ or ‘Dwarf’ in the title are container friendly.

Container gardening can be very resource intensive. You’ll need to acquire large containers and enough soil to fill them. 

Tips for making container gardening cost effective

  • Consider recycling existing containers such as buckets or tubs into plant containers. Make sure to thoroughly clean and disinfect recycled containers using chlorine free bleach before planting.
  • Buy your soil and soil amendments in bulk rather than in bags.
  • Order a seed, seedling, and educational resource kit through DUG’s pay-what-you-can with a free option annual program called Grow a Garden www.dug.org/growagarden
  • Get your seeds for free from DUG every spring in our office (1031 33rd St. St #100, Denver, CO 80205)!

____________________________________________________________


Sources: 

  • CSU Extension “Colorado Gardening: Challenge to Newcomers” Guide 
  • Dustin Wright of Living Earth Designs

Safe Planting Dates in Denver for Garden Vegetables

By Education, Spring

When talking about safe planting days for vegetables we need to consider the type of crops that can be grown not just based on the ambient temperature but also the soil temperature.

Things to consider

As the spring days become warmer so does the soil. Some cold weather crop varieties, like peas and radishes, have now been bred to germinate in colder soils and be can easily withstand frost. Thus, reading the seed package is your best chance of success.

Most cold weather crops require a minimum of 40F soil temperature to thrive, preferably higher, which you can achieve by covering your garden bed, pots, or garden area to allow heat to build and warm the soil.

Cold weather crops can be planted as early as mid-march, keeping an eye on drastic temperature drops and covering them when it dips below 26F. These crops include brassicas (cauliflower, broccoli, kale, etc.) radish seeds, lettuce seeds or seedlings. Onions can be sown as early as February!

For warm weather crops we must way until the danger of frost has passed. On average we will see our last frost somewhere between May 15th and May 25th. However, in Colorado it can snow in June or September, so keep an eye on the weather forecast. 

Most warm weather crops, like tomatoes, peppers, eggplants, squashes, etc., prefer a soil temperature above 55F, and night time temperatures above 50F. They’ll perform best and get stronger when the temperatures are favorable rather than struggle to settle and become defenseless to pests and disease. 

The table below lists the approximate dates for safe planting of vegetable seeds and pre-started vegetable plants.

Vegetable Approximate Safe Date
Artichokes May 15 to May 25
Asparagus from Seed
Asparagus from Crowns
May 15 to May 25
April 1 to April 30
Beans – Bush & Pole May 15 to May 25
Beans – Lima & Butter May 15 to May 25
Beets May 4 to May 18
Broccoli April 20 to May 5
Brussels Sprouts April 20 to May 5
Cabbage from pre-starts April 20 to May 5
Cantaloupe May 15 to May 25
Carrots May 4 to May 18
Cauliflower April 20 to May 5
Celery from pre-starts May 4 to May 18
Collard Greens April 20 to May 5
Corn May 15 to May 25
Cucumbers May 15 to May 25
Eggplant May 15 to May 25
Garlic October/November
Kohlrabi April 20 to May 5
Leek April 20 to May 5
Lettuce April 20 to May 5
Mustard Greens April 20 to May 5
Okra May 15 to May 25
Onions for sets April 1 to April 30
Peas April 20 to May 5
Peppers May 15 to May 25
Potatoes 
Potatoes – Sweet
April 1 to April 30
May 15 to May 25
Pumpkins May 15 to May 25
Radishes May 4 to May 18
Rhubarb April 1 to April 30
Rutabaga April 20 to May 5
Shallots Plant in fall or April 20 to May 5
Spinach April 20 to May 5
Strawberries from crowns April 1 to April 30
Squash May 15 to May 25
Tomatoes May 15 to May 25
Turnips April 20 to May 5
Watermelons May 15 to May 25

Gardeners Can Save Water and Grow a Bountiful Garden, Too

By All Seasons, Education, Grow a Garden, Summer

If you have been paying attention to the news, you’ve seen a lot of coverage on the Colorado River Basin and its dwindling water supplies the “bathtub” rings of Lake Mead; the controversy of which states can reduce their water usage and when.

Walking through our verdant community and home gardens, it may seem like water scarcity is someone else’s problem. But climate change, a growing population and annual weather events (or the lack of them) are squeezing nearly everyone’s water supplies. Even our largest and most stable local water providers in Colorado are prioritizing water conservation policies and programs. Aurora Water, which serves the city’s population of more than 386,000 and provides some water to surrounding communities, is experiencing concerningly low reservoir levels and has declared Drought Stage 1 with watering restrictions going into effect on May 1.

While conserving water during a drought is critical, we all need to do our part to conserve water every year. The more of a buffer we can create between our water demand and our total supply, the more resiliency we have to handle the unexpected. 

There is a lot of water to be saved outdoors, even in our vegetable gardens. With the right tools and methods, your veggie patch will use less water than a traditional Kentucky bluegrass lawn.

What are these amazing conservation tools and methods?

  1. Healthy soil
  2. Mulch 
  3. Watering low and slow
  4. Choosing water-wise plants
A person with gloved hands is scooping dirt out of a tipped wheelbarrow

Healthy Soil
Soil that is healthy for growing vegetables and saving water is soil that is rich in organic material, airy and contains moisture. The natural soils of the Denver metro area are generally lean and either very clayey or very sandy, which is not a healthy environment for veggies. Amending your soil is therefore necessary every year. We recommend organic amendments, meaning materials derived from living matter.

Organic amendments such as compost (purchased or homemade), worm castings, composted manure and coco coir will not only add nutrients, but will increase the water holding capacity of sandy soils and improve the tilth of clay soils. Those elements help water slowly move through the ground and reach your plant’s roots.

In the spring, cover your entire garden with two to three inches of your chosen amendment (or a mix) and till it in. After harvest in the fall, you can cover your beds with a layer of leaves. The base of the layer will decompose over the winter, and then you can till it all in with an additional amendment the following spring.

Mulch is Magic
Organic mulch makes the magic happen. It benefits your vegetables in so many ways:

  1. Retains moisture in the soil
  2. Prevents erosion
  3. Cools the surface of the soil
  4. Inhibits the growth of weeds
  5. Reduces compaction as you weed or harvest
  6. Prevents soil surface crusting so that water doesn’t run off
  7. Keeps plants clean
  8. Creates a tidy look

Select an organic mulch that will decompose quickly, such as straw, grass clippings, dried leaves, non-glossy newspaper or a combination of those. Start off with a layer three inches thick and replenish throughout the season as needed.

Watering can watering garden bed

Watering Efficiently
There is a lot to know about applying water efficiently in the vegetable garden. Vegetable gardens in our region generally require about one inch of water per week, but the efficient gardener pays attention to the weather and adjusts accordingly. Your plants’ watering needs will change as they mature. For seeds and small seedlings, water shallowly and keep soil evenly moist which may mean watering daily if temperatures warrant it. When seedlings are at least four inches tall and have several mature leaves, you can reduce watering to about every other day to encourage deep root growth. 

Don’t use your eyes to check if your plants need water—use your fingers. Seeing some wilting during a hot day is okay. To know if your plants really need water, check the moisture level two inches below the soil surface with your fingers. If the soil is obviously moist, dark and cool, no need to water.

Avoid overhead watering. It’s tempting to rely on your pop-up sprinklers, but that can trap humidity that encourages the growth of powdery mildew and other diseases.  

The most efficient type of irrigation for a garden is in-line drip. You can add a drip zone for your vegetable garden onto your current sprinkler system (it must have its own zone). Update your controller settings each month, as your veggies need a lot less water in April than in July.

Alternatively, you can connect a regular hose to drip tubing or soaker hoses on top of your mulched bed and run it. You can then run your hose manually. Do not bury these hoses because of concerns that soil may get into your water line. We don’t recommend hose bib timers, as they can break and waste hundreds of gallons or worse.

Hand watering works best for small areas or containers. Always use a nozzle on your hose to slow down the volume and flow rate and water as close to the ground as possible. Do your hand watering in the coolest and least windy parts of the day. In the summer, that means before 9 a.m. or after 7 p.m.

Go Water-wise
Many of us love to plant vibrant annuals like marigolds near our vegetable gardens to attract those awesome pollinators! Generally, annuals require more water than water-wise or native perennial flowers. So switch it up by planting a water-wise and/or native perennial border to accomplish the same purpose. After the perennials are established, they’ll need little to no water. Make sure to mulch them with a three-inch layer of mulch like bark or wood chips. They’ll use less water while providing habitat for the bees and other insects that pollinate our vegetable plants.

This article was written by Diana Denwood, Senior Water Conservation Specialist for Aurora Water

For more information on Aurora Water Conservation Plan click here

Effective Water Conservation Techniques

By All Seasons, Education, Grow a Garden

Gardening in Colorado mandates the conscious use of effective water conservation techniques. We believe community gardens should be models of efficient water use, especially in seasons of drought. Additionally, use of water conservation techniques has several other benefits including reduced water costs and weed proliferation.

If you apply the following techniques, plants will respond by growing quickly and producing an abundant harvest. We have also outlined a set of water restrictions required of all community gardeners in response to the on-going drought. Regardless of the duration of the drought, however, DUG advocates gardeners adopt and incorporate these techniques as a way of life.

Water Plants in the Cool of the Day, Especially During the Evening
Watering first thing in the morning or an hour or so before sunset, allows plant roots to utilize moisture more efficiently. Late-day watering allows the water to percolate into the soil for 12 hours or more before the sun and wind magnify the effects of evaporation and transpiration from soil and foliage.

Mid-day watering is a poor use of gardening time and an extremely inefficient way of watering into thirsty soils. Since plants do a significant amount growing at night, it makes sense to provide moisture prior to this critical period. 

Water the Roots and Soil, Not the Leaves
Although some plants, such as the broccoli family and lettuces, do not mind overhead watering and moist leaves, most vegetables prefer watering at soil level. Tomatoes, peas and members of the squash and melon families can suffer from disease problems that proliferate on wet foliage. 

Cultivate the Soil Before Watering
Hoe the soil around plants at least once a week. This serves a dual purpose—cutting off germinating weeds that compete for moisture and opening up our heavy clay soil so that water can more easily penetrate to deeper levels. Watering should be done after cultivation, while the soil is loose and airy.

Compost Throughout the Season
Compost should be applied at the beginning of the gardening season, digging two inches of compost into the top 4 – 6 inches of soil, as well as several other times during the summer and fall.

Spread a shovel-full of compost around vegetables, flowers and herbs, lightly cultivating the soil to incorporate the organic material. Since compost has the ability to hold up to 100% of its weight in water, this allows soils to hold and release moisture and organic nutrients slowly. Having compost-enriched soils is one of the best water conservation techniques available to gardeners.

Space Plants so that their Mature Leaves Shade the Soil Surface
Soil that is in shade, even in conditions of drought, is more capable of retaining moisture and reducing evaporation. The mini-climate that is produced by plants that are spaced so that mature leaves almost touch provides shading and cooling effects on the soil surface below. You can extend the growing season of cool season plants, such as lettuce, by growing them in the shade of taller plants such as pole beans. Their leaves provide a “living mulch” to help cool the roots of surrounding plants and to retain moisture.

Mulch Any Uncovered Soil Areas
Mulch conserves water, moderates soil temperature, helps to prevent erosion and slowly enriches the soil with humus as it decays. Pesticide-free grass clippings that have dried out for a few days, clean straw or fall leaves are all excellent sources of mulch. Exposed soil areas that are not being used for growing quickly become weedy and unsightly and are spaces where wasteful evaporation occurs. Mulch warm season crops, such as tomatoes and peppers, after the soil warms. Mulch cool season crops, such as lettuce, peas and broccoli several weeks after they have been transplanted or after they have been growing for about a month after germination.

Check the Soil for Needed Moisture
Most vegetables need about an inch of water per week for adequate growth. Poke a stick or your finger an inch to two inches below the soil surface to see if water is needed. Soils that are exposed to the sun (with no mulch), and are deficient in organic matter, will be significantly less efficient at retaining moisture and nutrient supplies than those that are shaded and compost enriched.

Wilting Leaves Do Not Always Signal a Call for Water
Plants with large leaves, such as those in the pumpkin/squash family, normally droop during the heat of the day. Plants are just minimizing the water loss (due to transpiration) and watering them at this time will increase water loss rather than lessen it. It also weakens the plants by promoting shallow rooting structure. 

Utilize Efficient Watering Tools
Using a hand-held watering wand with a shutoff nozzle allows you to water underneath leaves and close to the soil surface. This also breaks the force of the spray and lessens effects of soil compaction and erosion. Water with a low volume spray, as this lets water percolate deeply into the soil. Clay soils absorb water slowly. Watering for a short period of time, allowing the water to infiltrate the top layer and then re-moistening the area is a more efficient watering technique rather than short, intense watering. As an option to hand watering we suggest the use of black soaker hose snaked through your garden at the base of your plants.

Harvest Frequently
Harvest crops while plants are actively producing and healthy. Overgrown, insect and/or disease- laden plants should be removed and the area replanted to another type of plant or seeded with a cover crop. When the plant is taking more out of the soil than it returns, it is time to concentrate on soil improvement.

When to Harvest? Follow These Guidelines to Get the Best from your Garden

By All Seasons, Education, Grow a Garden

Part of having a garden is enjoying vegetables, fruits, and herbs at their peak. Follow these guidelines to get the best of your garden.

Asparagus: Begin harvesting when spears are 6-8 inches tall and about as thick as your small finger. Snap them off at ground level and new spears will continue to grow. Stop harvesting about 4-6 weeks after the initial harvest, to allow the plants to produce foliage and food for themselves.

Beans, Green: Pick before you can see the seeds bulging. They should snap easily into two. Check daily. It doesn’t take long for beans to go from tender to tough. 

Beets: Harvest and eat the greens that you thin out of the rows. It’s a matter of personal preference when it comes to the right size for harvesting. They are ready any time after you see the beets shoulders protruding at the soil line. 

Broccoli: We eat the unopened flower buds of broccoli, so check frequently, especially as the weather warms up, to ensure you don’t let the flower heads bloom. Don’t expect your home grown broccoli to get to the size of supermarket heads. Harvest when the buds are about the size of a match head. Use a knife to cut below the main crown to harvest. Once the central crown is harvested, smaller broccoli spears will grow as side shoots.

Brussels Sprouts: The sprouts will mature from the bottom up. You can begin harvesting once the sprouts are at least an inch in diameter. Harvest by twisting off or cutting the sprout from the stem. 

Cabbage: The cabbage head will feel solid when gently squeezed. Cabbage needs to be harvested when it reaches maturity or it will continue to grow and split open. Use a knife to cut at the base of the head. Large cabbage leaves that surround the head can also be harvested and used like cabbage. 

Carrots: Carrots can be hard to judge. The tops of the carrot will show at the soil line and you can gauge when the diameter looks right for your variety. If the diameter looks good, chances are the length is fine too. Pull one to be certain. Carrots can be left in the ground once mature. A light frost is said to improve and sweeten the carrot’s flavor. 

Cauliflower: Like broccoli, your homegrown cauliflower heads will probably not match supermarket size. Harvest when the head looks full and while the curds of the head are still smooth. Cut at the base of the crown with a knife.

Corn: About 3 weeks after silks form, they will dry and brown. Kernels should exude a milky substance when pricked. 

Cucumber: Check daily and harvest young. Timing and length will vary with variety. The fruits should be firm and smooth. Over ripe cucumbers can be very bitter or pithy, even before they start to turn yellow.

Eggplant: Slightly immature fruits taste best and should be firm and shiny. Cut the fruit from the plant. 

Garlic: Cut scapes off as soon as they mature, this encourages bulb formation. Garlic tops will fall over and begin to brown when the bulbs are ready. Dig, don’t pull, and allow to dry before storing. Brush off the dirt instead of washing.

Kale: Kale leaves can be harvested throughout the season. They should be a deep green with a firm, sturdy texture. Kale flavor is best in cooler weather. Harvest the largest outer leaves on a plant by simply grabbing a hold of the stem and pulling down. 

Kohlrabi: For the best texture, harvest once the kohlrabi bulb has reached about 2-3 inches in diameter. The bulbs become tougher as they grow and age. Pull or slice at the base. 

Leeks: Harvest leeks when they are about 1 inch in diameter. 

Lettuce, Head: Harvest once the head feels full and firm with a gentle squeeze. Hot weather will cause it to bolt or go to seed rather than filling out. Pull the entire head out. 

Lettuce, Leaf: Harvest the outer leaves once the plant has reached about 4 inches in height. Allow the younger, inner leaves to grow. Leaf lettuce can be harvested in this fashion for most of the summer.

Melons: There are many varieties of melons, but a general rule of thumb is that the color should change to beige and the fruit will slip from the vine when lifted. You should also be able to notice a sweet smell when ripe. 

Onions: Onions can be dug once the tops have ripened and fallen over. Brush the dirt off rather than rinsing and allow the onions to dry in the sun. 

Parsnips: Parsnips taste best if they are left in the ground until after a frost or two. They can be left in the ground over the winter and harvested in the spring. In cold areas, they should be mulched for the winter.

Peas: The pea pods should look and feel full. Peas are sweeter if harvested before fully plumped. Peas really need to be tasted to determine if they are sweet enough. 

Peppers: Each variety is different, but generally, peppers should be harvested when they turn the expected color. Carefully cut the pepper from the plant.

Potatoes: ‘New’ potatoes can be harvested when the tops start to flower. Carefully dig at the outer edges of the row. For full size potatoes, wait until the tops of the potato plants dry and turn brown. Start digging from the outside perimeter and move in cautiously to avoid slicing into potatoes. 

Pumpkins: Once the pumpkins have turned the expected color and the vines are starting to decline, check to make sure the skin has hardened enough that poking it with your fingernail will not crack it. Do not pick your pumpkin too soon because it will stop turning orange once it’s cut, but don’t leave them out in a hard frost either.

Radishes: Radishes mature quickly. You will see the shoulders of the bulbs popping out of the soil line. If left too long, they will become tough and eventually go to seed. 

Rutabaga: The bulbs should be about 3 inches in diameter, generally about three months after setting out. Rutabagas can be mulched, left in the ground and dug up as needed. Cold weather improves their flavor.

Swiss Chard: As with leaf lettuce, cut the large outer leaves at the base of the stem—being careful not to cut new growth—and allow the center to continue growing. 

Spinach: Spinach goes to seed quickly. Harvest by cutting at the soil line before you see a flower stalk emerging.

Squash, Summer: Pick young and check often. The skins should be tender enough to poke with your fingernail.

Squash, Winter: Color is a good indicator of winter squash maturity. When the squash turns the color it is supposed to be, cut from the vine. Do not let winter squash be exposed to frost. 

Tomatoes: Harvest when they are fully colored and slightly soft to the touch. Gently twist and pull from the vine. 

Turnips: Turnip shoulders should be about 2” in diameter at the soil line when ready. Overripe turnips are woody. 

Watermelon: The white spot on the bottom of the melon should change to a deep yellow when ripe. You may hear a change in the sound made when the melon is thumped with a finger. It should make a hollow sound when ripe.

Source: Gardening About