
There’s a particular kind of excitement that comes with holding a tray of seedlings, whether you grew them yourself, picked them up at a local plant sale, or received a Grow a Garden kit from DUG. The instinct is to get them in the ground immediately. And while that enthusiasm is exactly what makes a good gardener, a few key steps between “seedling in hand” and “seedling in soil” make the difference between a plant that struggles and one that takes off. Here’s what to do:
Step 1: Harden off first
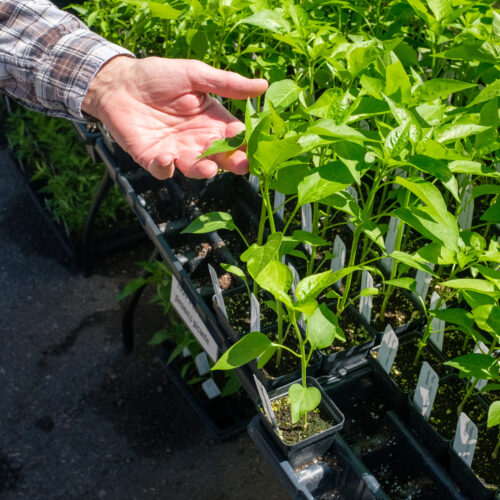
If your seedlings came from indoors or a greenhouse, they need time to adjust to outdoor conditions before going in the ground. This process is called hardening off, and skipping it is one of the most common beginner mistakes.
The process takes about a week. On day one, set your seedlings outside in a sheltered, semi-shady spot for about an hour. Each day, increase their outdoor exposure by an hour or two, gradually moving them into more sun and wind. By day seven, they should be able to handle full outdoor conditions. Bring them in if overnight temperatures drop below 55°F.
If your seedlings came from an outdoor nursery or a farmer’s market, they’re likely already hardened off. When in doubt, ask.
Read DUG’s full hardening off guide here.
Step 2: Choose the right day and time
Pick a cloudy day or evening to plant. Colorado’s strong sun can stress young plants transplanted before a long, hot day. If the forecast is showing lots of sun, aim for late afternoon when the heat of the day has passed so your seedlings will have the cool of the evening to settle in.
Step 3: Prepare the soil, dig, and plant
Before you dig, water your garden bed. Moist soil is easier to work with and gentler on roots. Work 2–3 inches of compost into the top several inches of soil. Most people’s clay-heavy soil benefits from this every season.
Dig a hole roughly twice the size of your seedling’s root ball. Remove your seedling from its container gently– never pull it out by the stem. Support the root ball from underneath, tip the container sideways, and ease the plant out.
Set the seedling into the hole so the root ball sits just below the soil surface, covered by about a quarter inch of soil. Press the soil firmly around the roots to eliminate air pockets, and create a small depression around the base of the stem, which will help trap water right where the plant needs it.
A note on spacing: check your seed packet or plant tag. Crowded plants compete for water, light, and nutrients. When in doubt, give them more room than you think they need.
Step 4: Water in well
Water immediately after planting, deeply and slowly. For the first week, water every day. After that, check soil moisture before watering: push a finger or stick several inches into the soil, and if moist soil clings to it, wait another day. Deep, infrequent watering encourages roots to grow downward, building plants that handle dry spells better over time.
Avoid overhead watering; instead, aim your hose nozzle at the base of the plant. This is especially important for tomatoes, squash, and cucumbers, which are prone to disease when their leaves stay wet.
Step 5: Mulch around the base
Once your seedlings are in the ground, spread 2–3 inches of organic mulch — straw, shredded leaves, or untreated grass clippings — around the base of each plant, leaving a small gap right at the stem. Mulch retains moisture, regulates soil temperature, and reduces how often you need to water. In a Colorado summer, this step makes a real difference.

A few things to watch in the first week
Wilting in the afternoon is normal and not usually cause for alarm as seedlings are adjusting. If they’re still wilted in the morning, they need water. If leaves are yellowing, the plant may be in too much sun or was not fully hardened off. Give it some shade and time before assuming the worst.
Most seedlings take one to two weeks to fully establish. Once you see new growth, you’re in good shape. Happy planting!