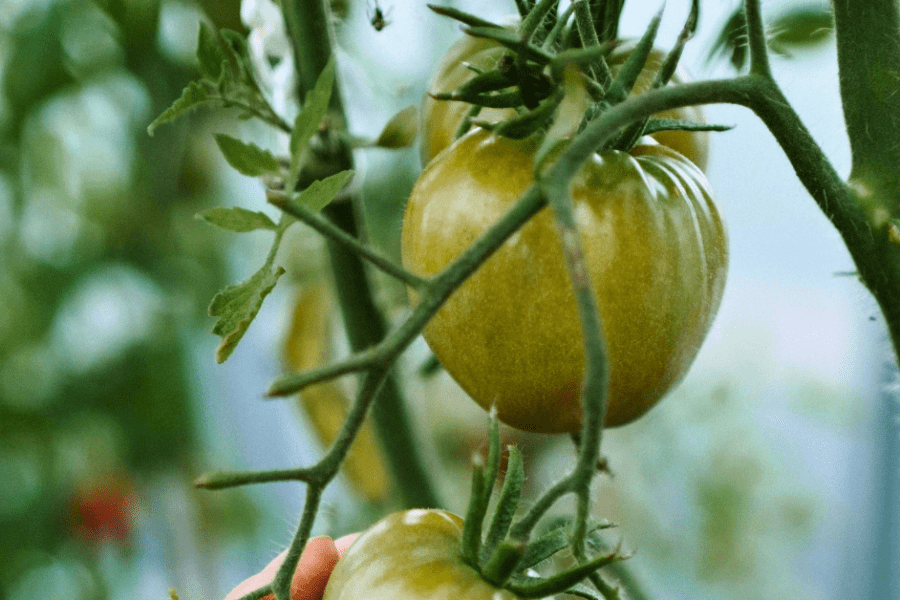
Planning & PlantingSoil & CompostSpringSummer Fertilization Tips for Organic Gardens Maintaining an abundant organic garden includes nurturing the soil and plants with natural fertilizers that…Osiris ManceraJuly 9, 2024
All SeasonsPlanning & PlantingSpringSummer Getting Kids Involved in the Planting Process Planting seeds of curiosity and nurturing a love for nature begins early in childhood. Engaging…Osiris ManceraMay 13, 2024
FallGardening ResourcesSpringSummerSustainabilityWinter Water-wise Gardening in Colorado Colorado's population is booming, ranking as the fourth fastest-growing state in the U.S. This growth,…Osiris ManceraApril 26, 2024
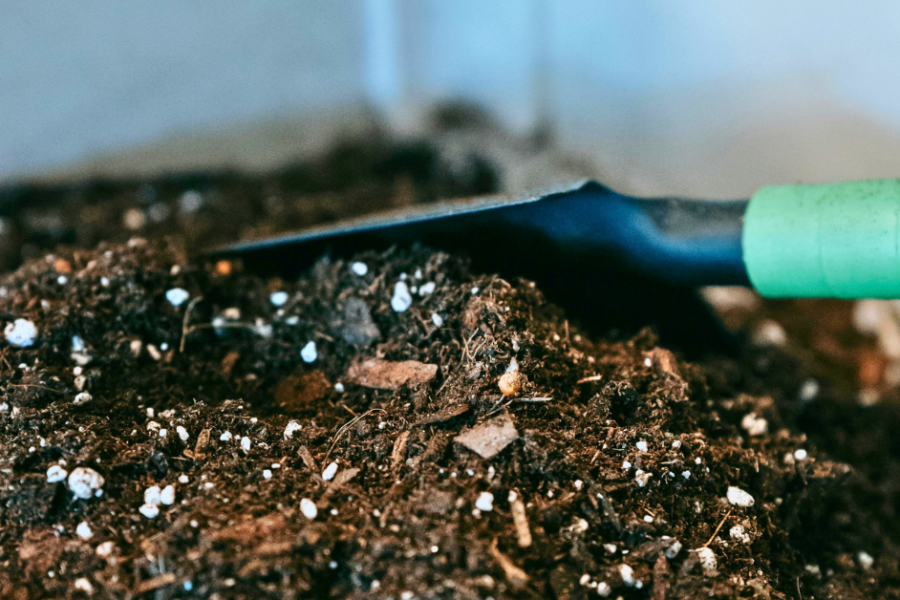
Gardening ResourcesSoil & CompostSpring How To Prep Your Soil For Spring Planting Preparing your garden soil for planting is a fundamental step in cultivating thriving plants, especially…Osiris ManceraApril 26, 2024
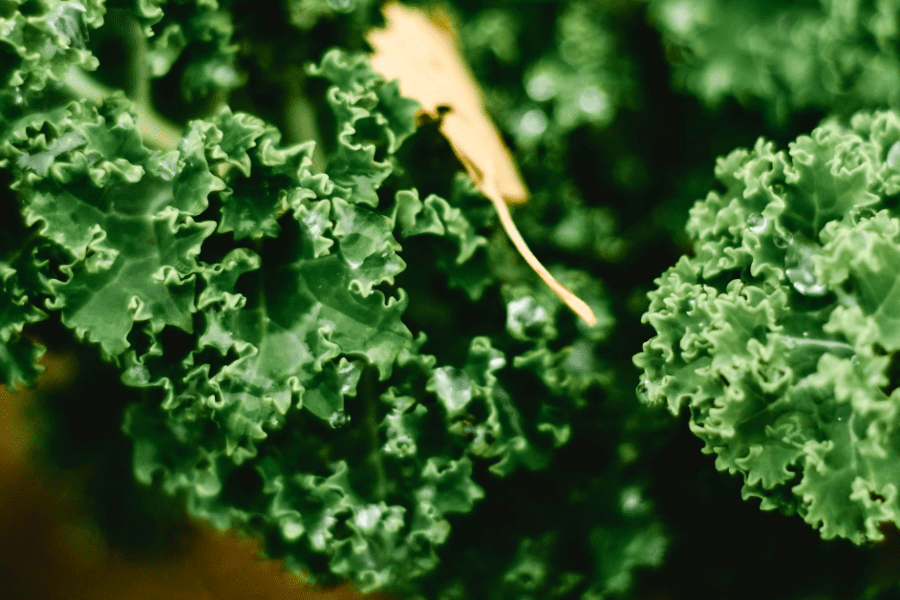
FallGardening BasicsGardening ResourcesSpringSummerWinter What Does It Mean to Grow ‘Organically’? The idea of organic growing has gained significant popularity in recent years as more people…Osiris ManceraApril 26, 2024
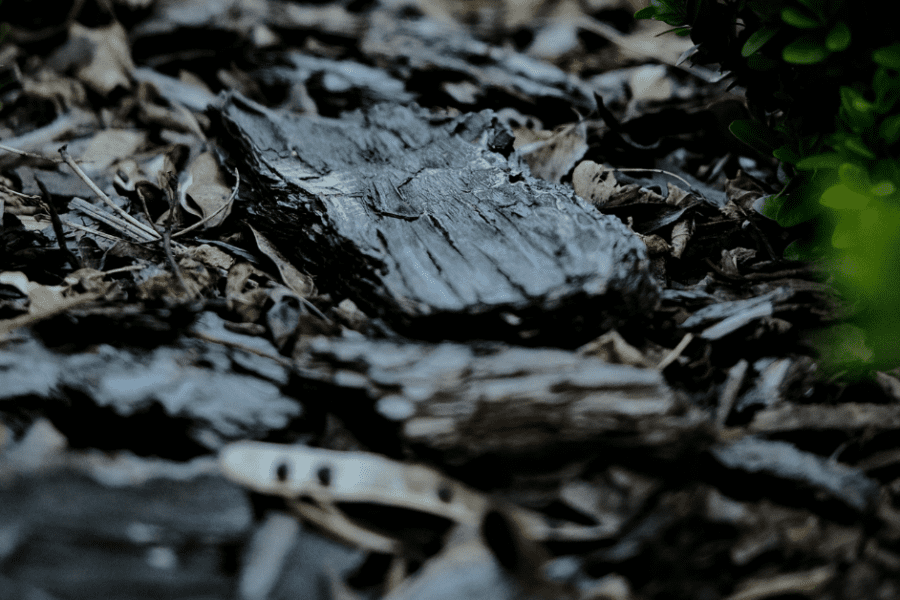
FallGardening ResourcesSoil & CompostSpringSummerWinter The Many Benefits of Organic Mulching Organic mulching involves covering the soil around your vegetable plants with natural materials such as…Osiris ManceraApril 26, 2024
Gardening in Non-Traditional SpacesGardening ResourcesSpringSummer Vertical Growing for Small Spaces As urban gardening gains more popularity, innovative techniques such as vertical growing offer a solution…Osiris ManceraApril 26, 2024
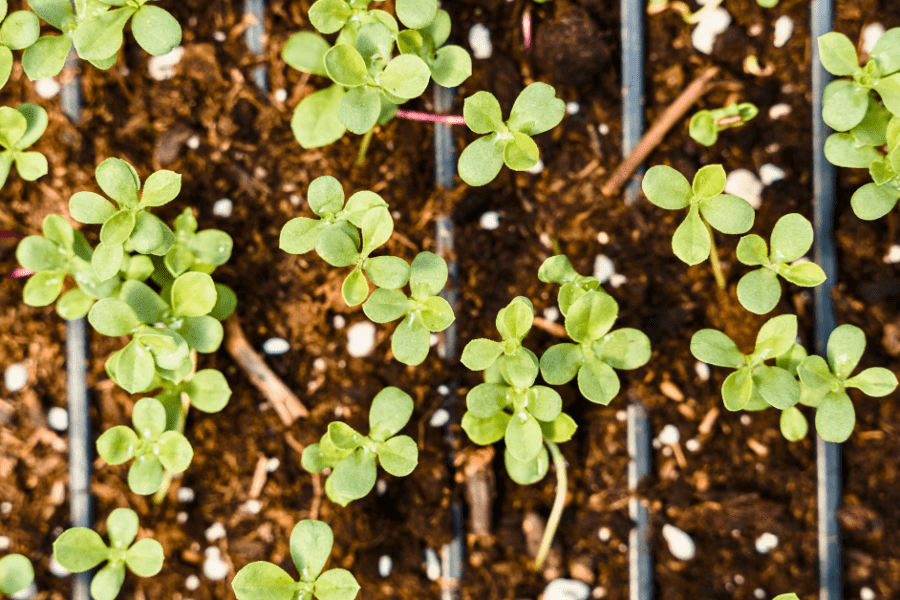
Gardening ResourcesPlanning & PlantingSpring Hardening Off: Why It’s Essential for Indoor Grown Seedlings Springtime in Denver brings the promise of warmer weather, verdant blooms, and gardening season! While…Osiris ManceraApril 26, 2024
FallGardening ResourcesPlanning & PlantingSpringSummerWinter The Power of Journaling in Your Garden: Noticing Change and Enhancing Your Gardening Experience In the hustle and bustle of everyday life, it's easy to overlook the subtle changes…Osiris ManceraApril 3, 2024
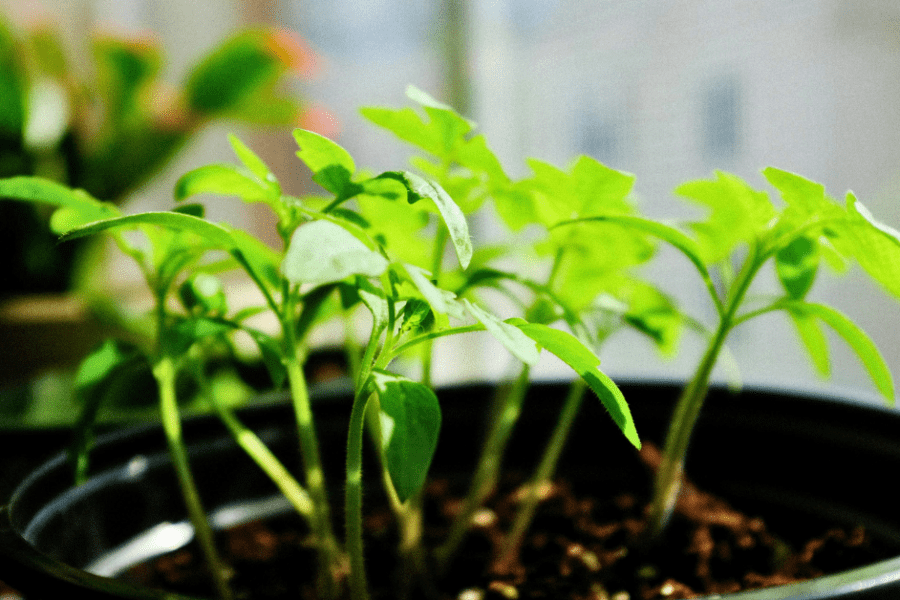
Gardening in Non-Traditional SpacesGardening ResourcesSpringSummer Getting Started with Container Gardening Container gardening refers to the gardening practice of cultivating plants in pots, tubs, or other…Osiris ManceraApril 3, 2024


Recent Comments